
Building Overview Widget
NewVisualize device read status across buildings and floors
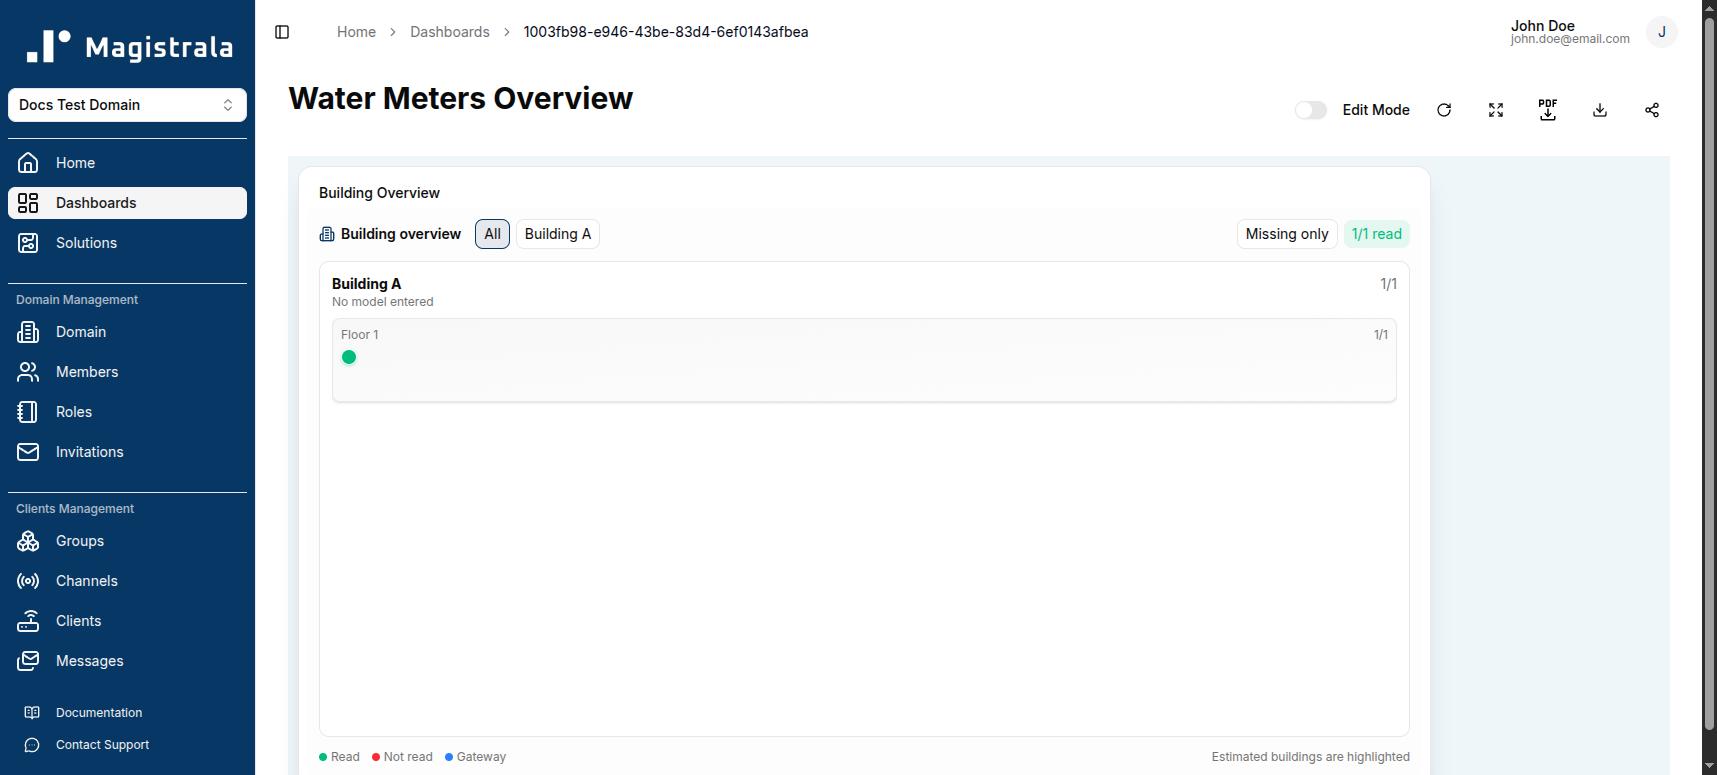
The Building Overview widget is a new widget type for facility-style dashboards. It shows the read/not-read status of devices grouped by building and floor, rather than plotting time-series values.
Adding a Building Overview Widget
- Open your dashboard and switch to Edit Mode.
- Click Add Widget.
- Select Building overview from the widget options. Unlike other widgets, it is added directly to the dashboard without a configuration dialog — you configure it in place.
Configuring Buildings and Floors
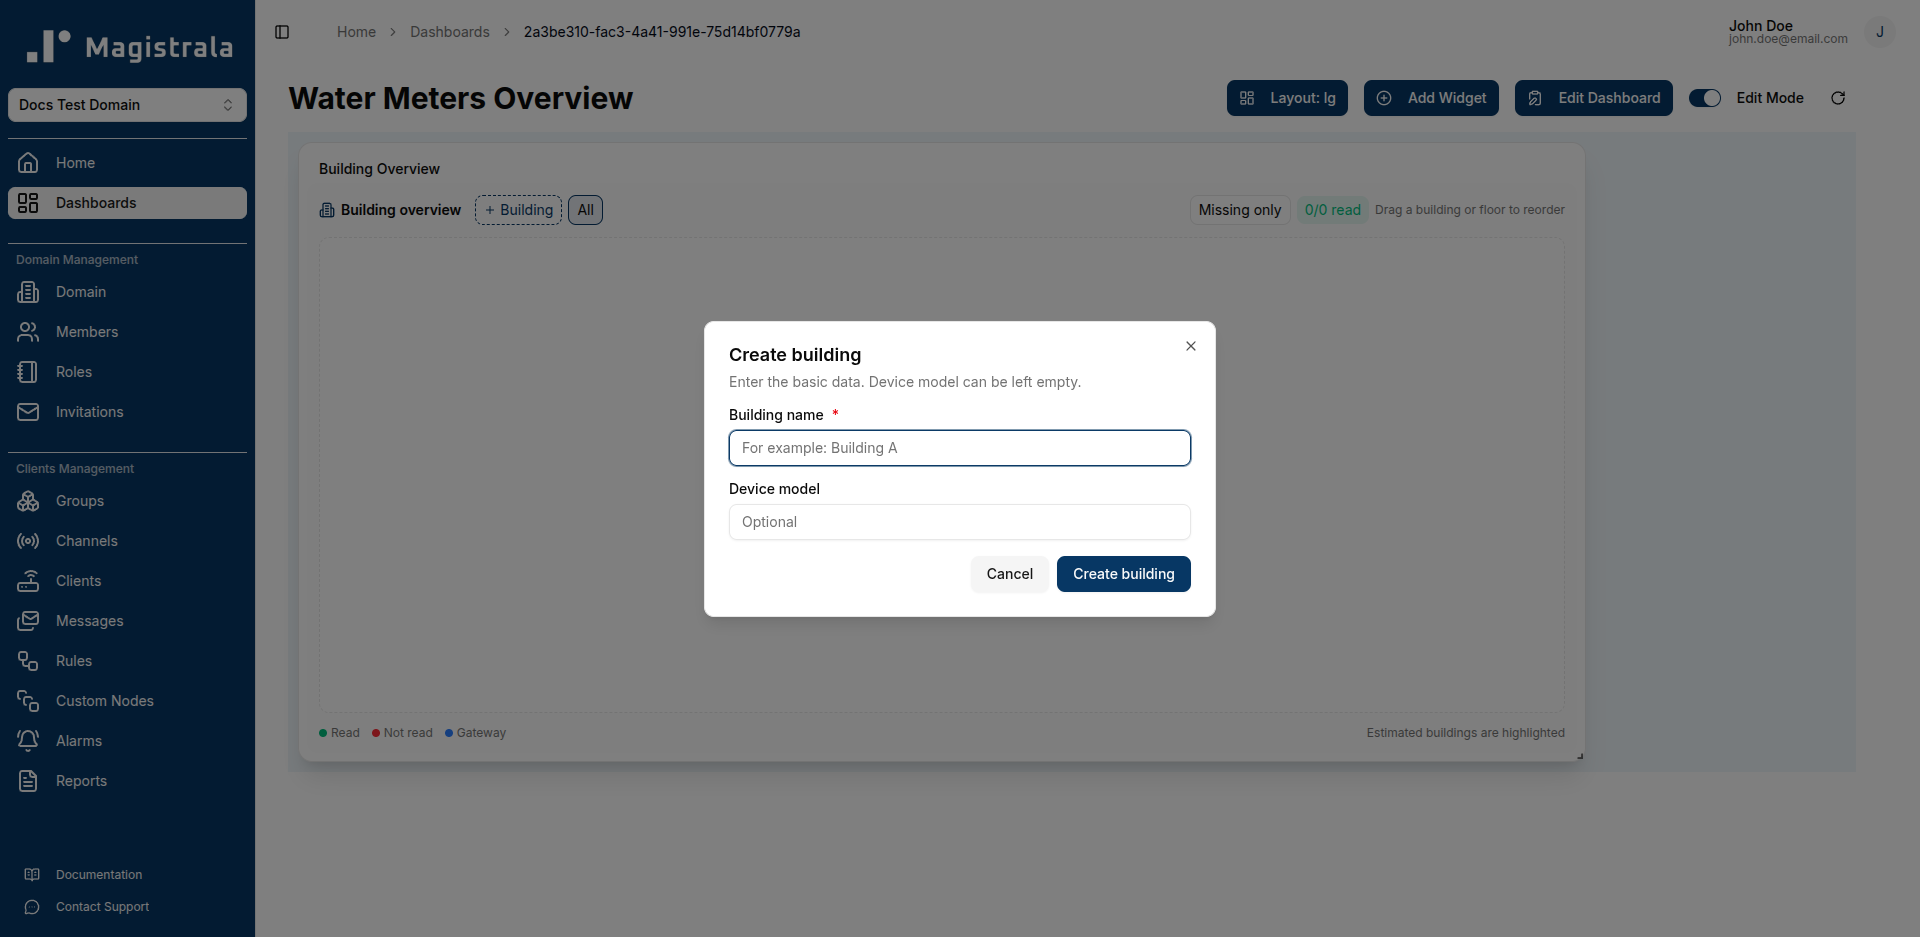
Create a Building
Click + Building, then provide a Building name (required) and an optional Device model.
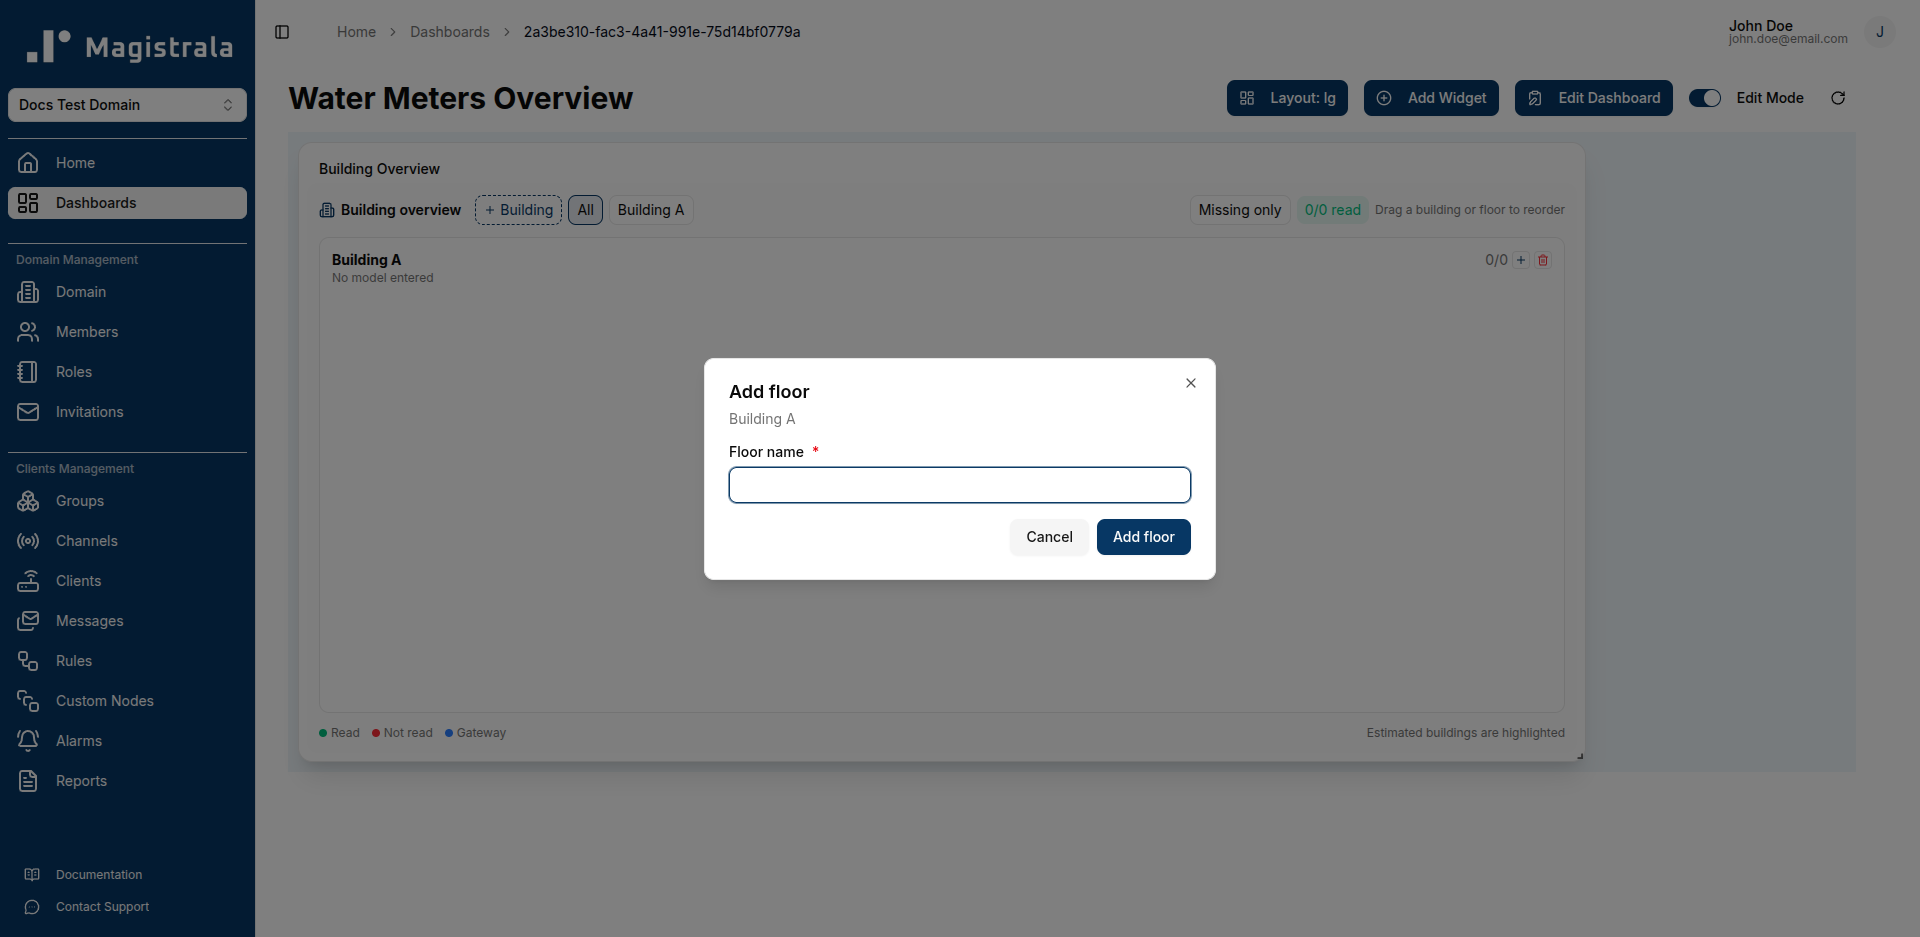
Add a Floor
On the building card, click the + icon to open Add floor, and provide a Floor name.
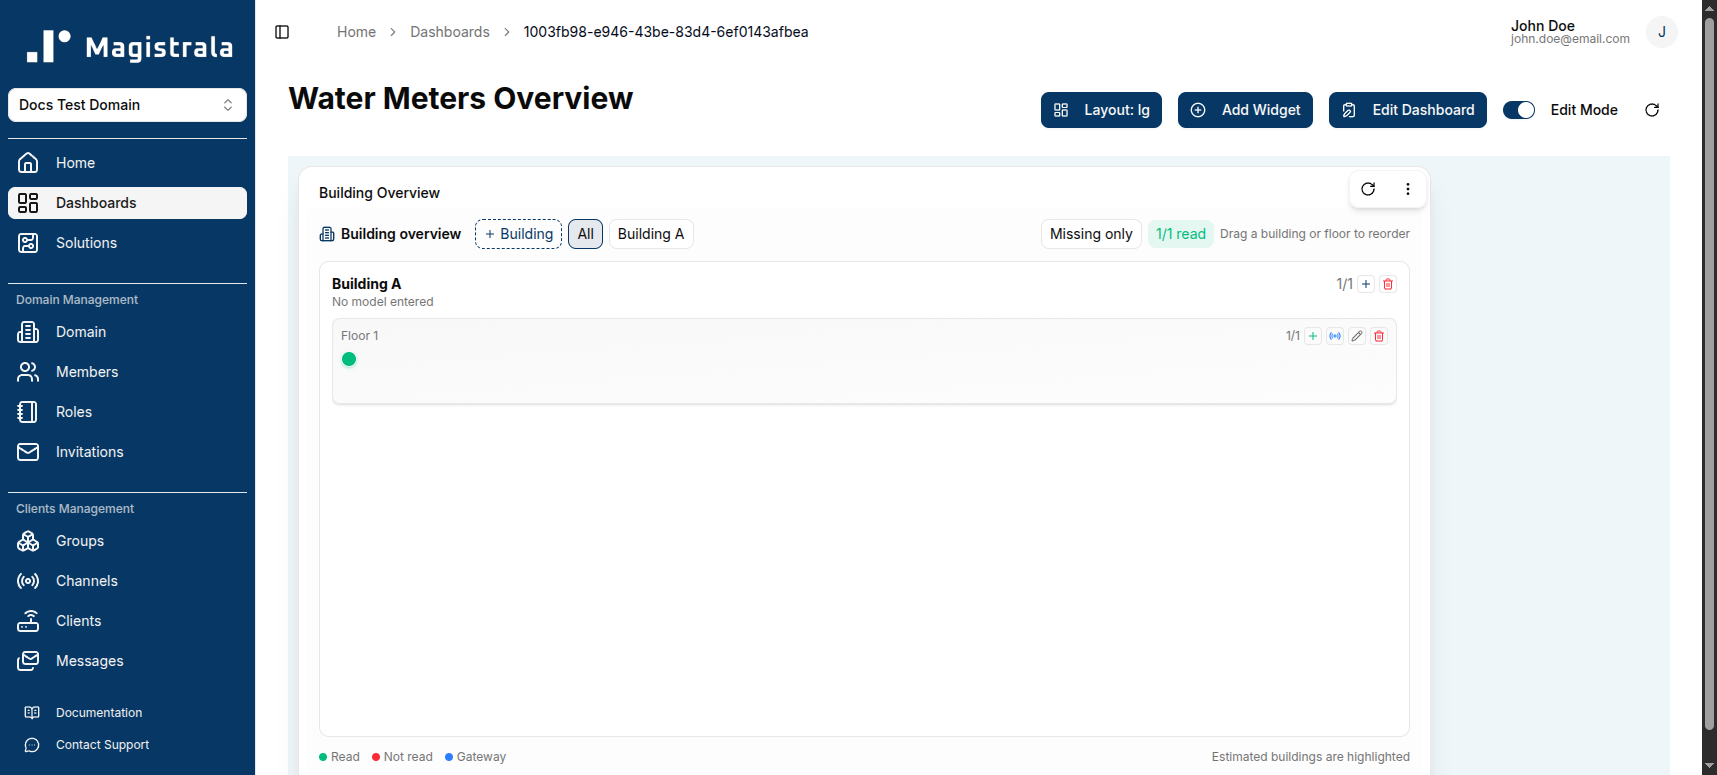
Each floor row has icons to Add device, Add gateway, Rename floor, and Delete empty floor. Buildings and floors can be reordered by dragging them.
Add a Device
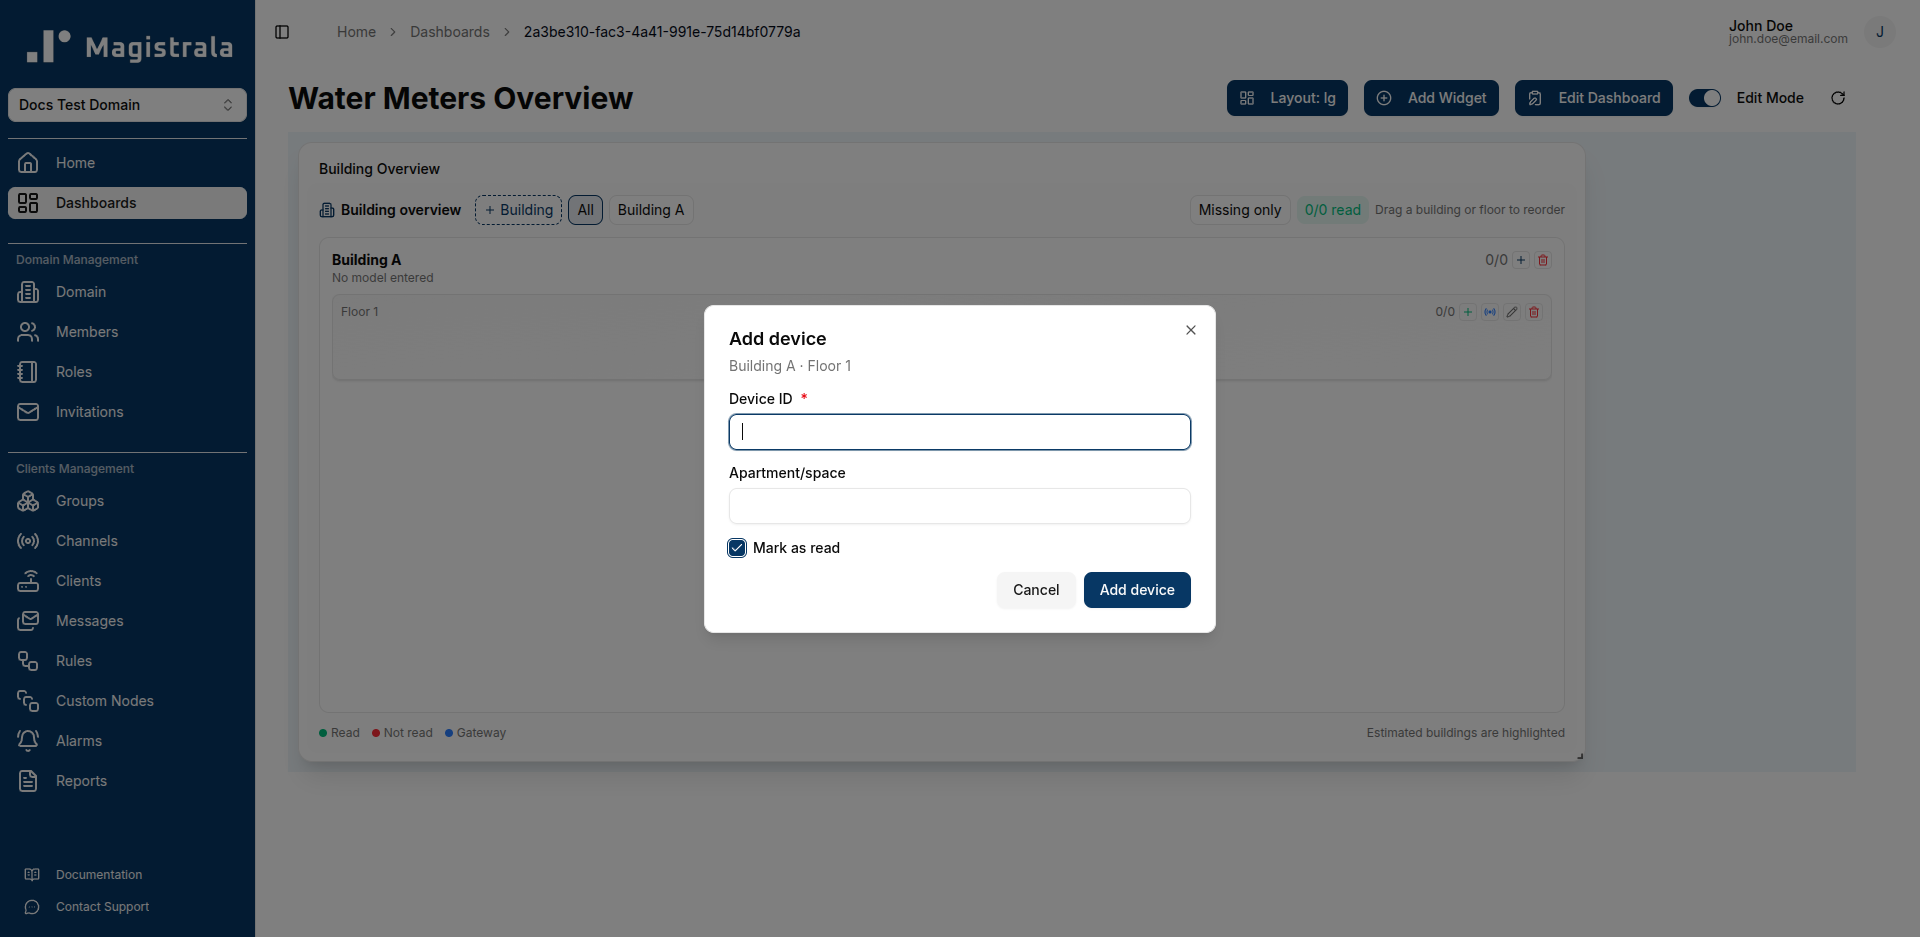
Click Add device on a floor to open the Add device dialog. Provide the Device ID (required, matches a client), an optional Apartment/space label, and a Mark as read checkbox that sets the device's initial read status.
Add a Gateway
Click Add gateway on a floor to associate a gateway device with that floor. Gateways are shown with a distinct marker in the widget legend.
Reading the Widget
The widget header shows an overall read/total read count, and each device is marked with a colored status dot:
- Read (green) — the device has reported data and been marked read
- Not read (red) — the device has not been marked read
- Gateway (blue) — the entity is a gateway rather than a metered device
Use the Missing only toggle to filter the view down to devices that have not yet reported, and use the building tabs (All, or a specific building name) to scope the view to one building at a time.
This widget is well suited to solution packs like Smart Water Metering, where the goal is tracking which meters in a building have reported a reading.