Get up and running with Magistrala — the open-source IoT platform. Learn how to create users, manage devices and channels, and explore key services.
Magistrala provides core Services for handling the creation, deletion, updating, and retrieval of user accounts, devices and channels.
Users in Magistrala must have unique credentials, including a username, secret, and email address upon creation.
This guide will take you through the core services for a quick setup of Magistrala and a walkthrough of its services and components.
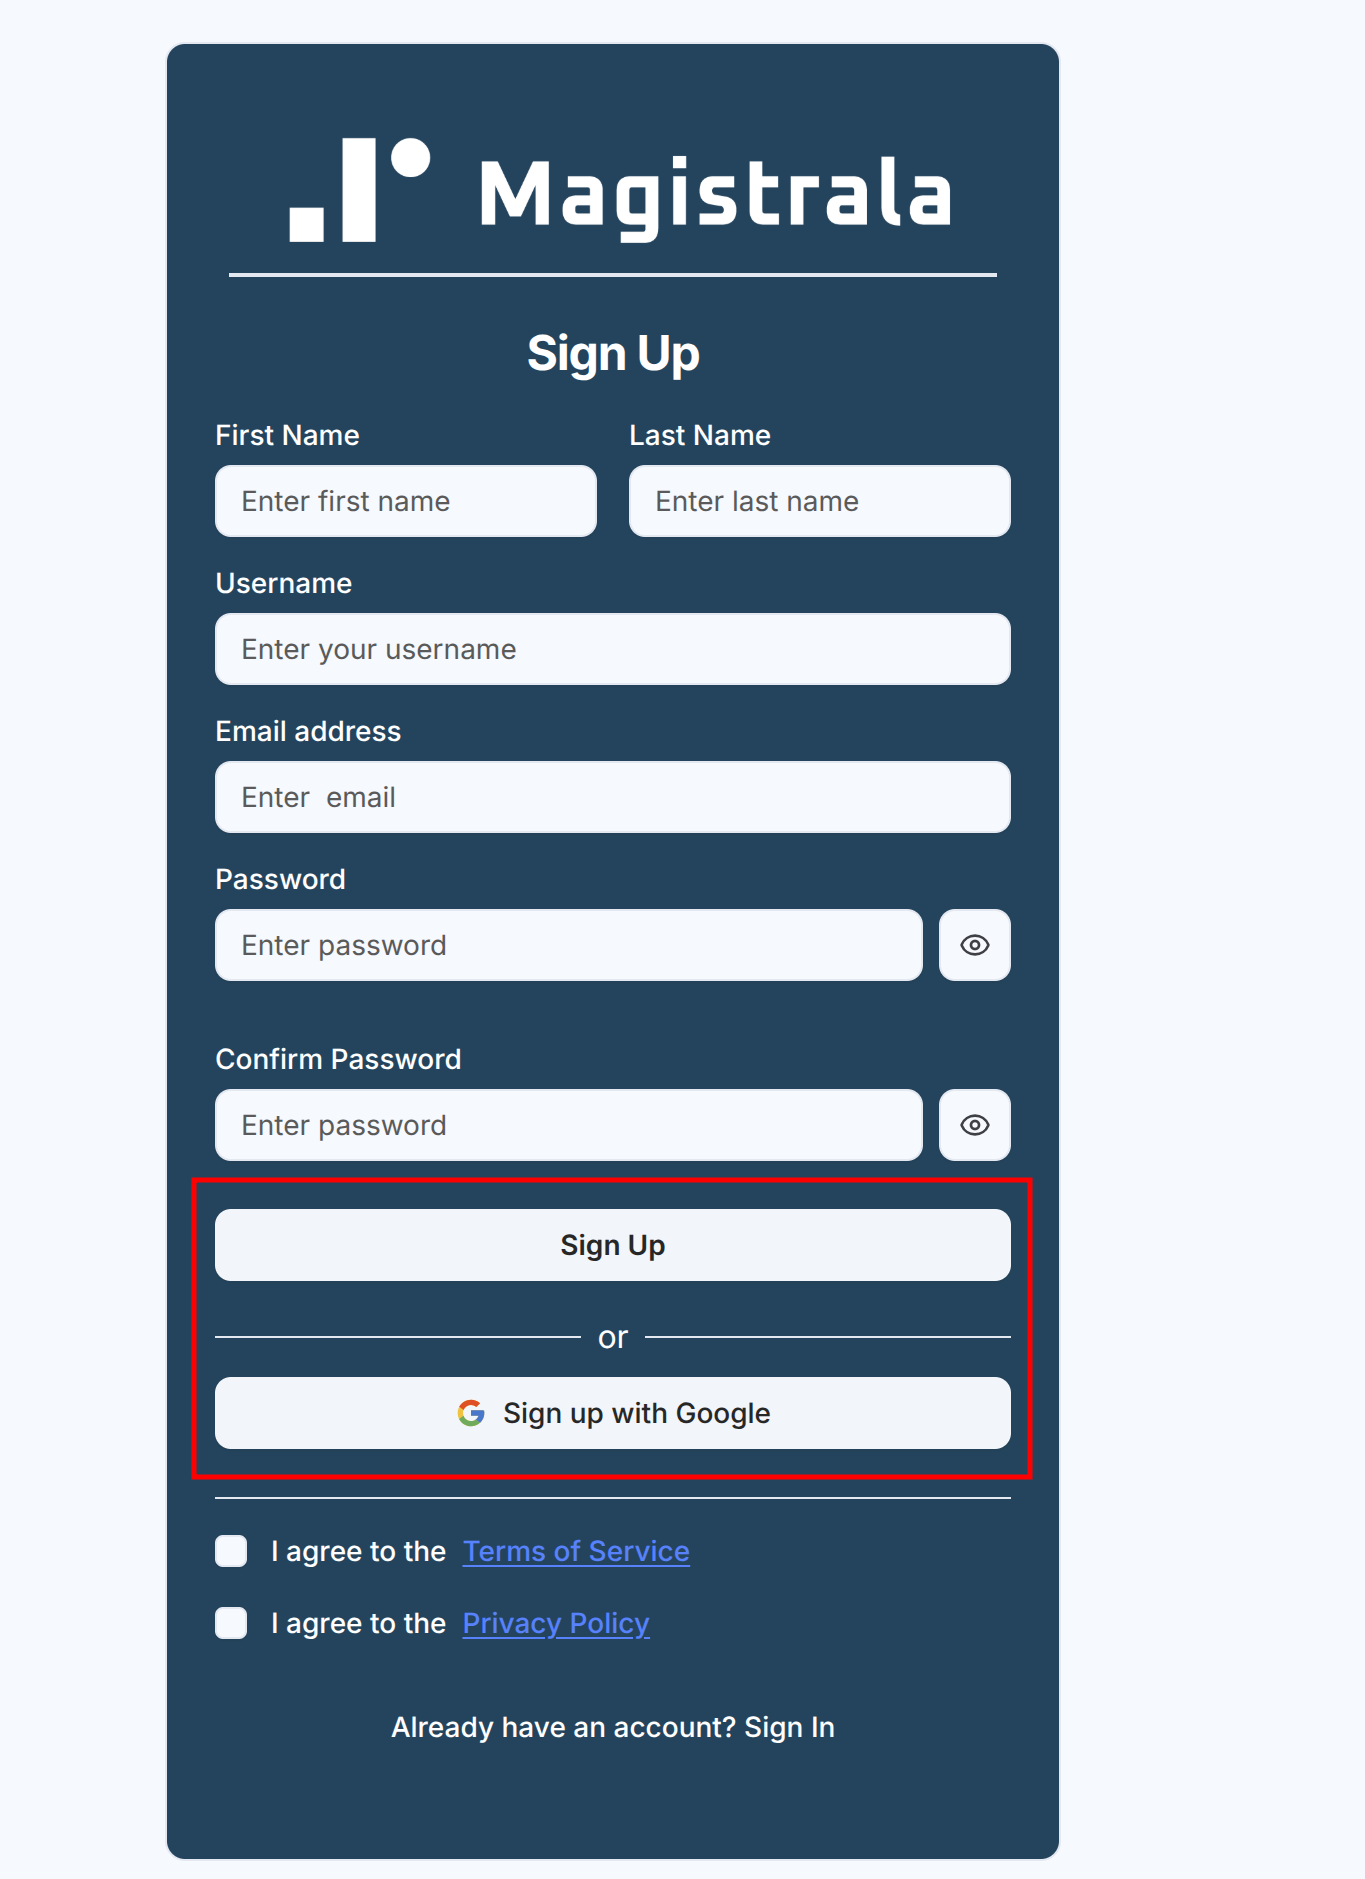
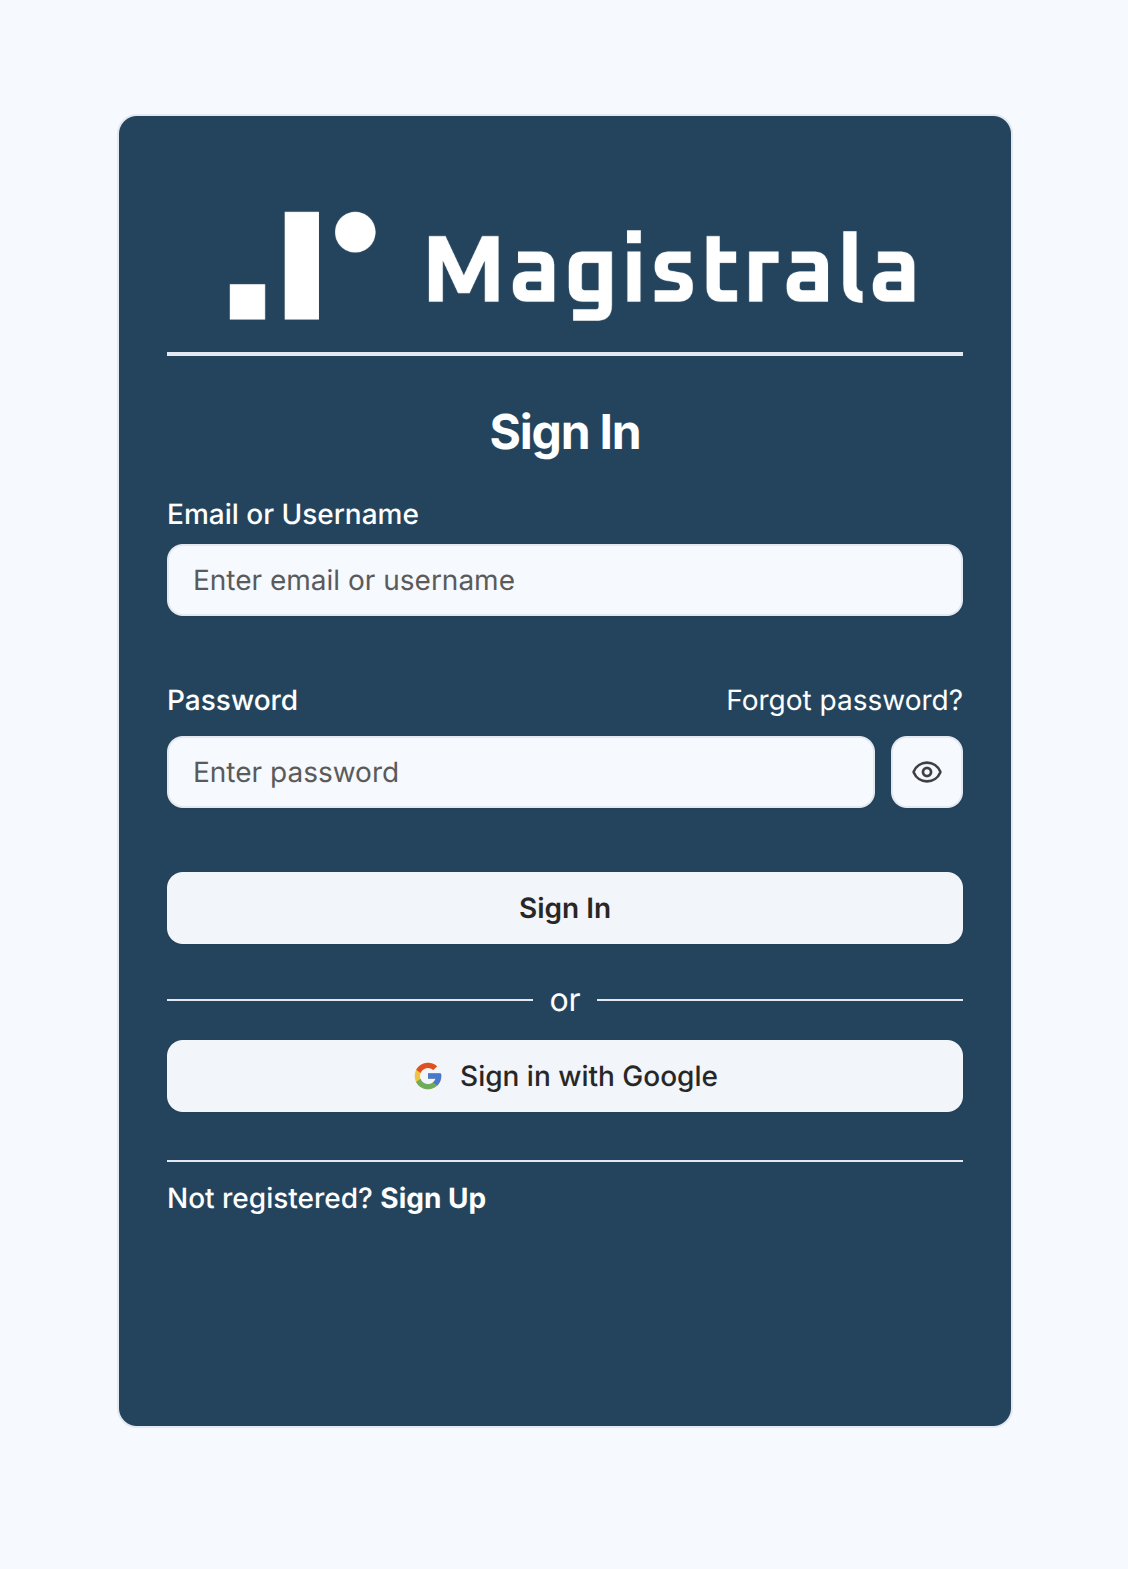
Alternatively, you can create a new Magistrala account using Google Sign-Up.
On the Sign Up page, check the boxes for:
I agree to the Terms of Service
I agree to the Privacy Policy
Then click Sign up with Google.
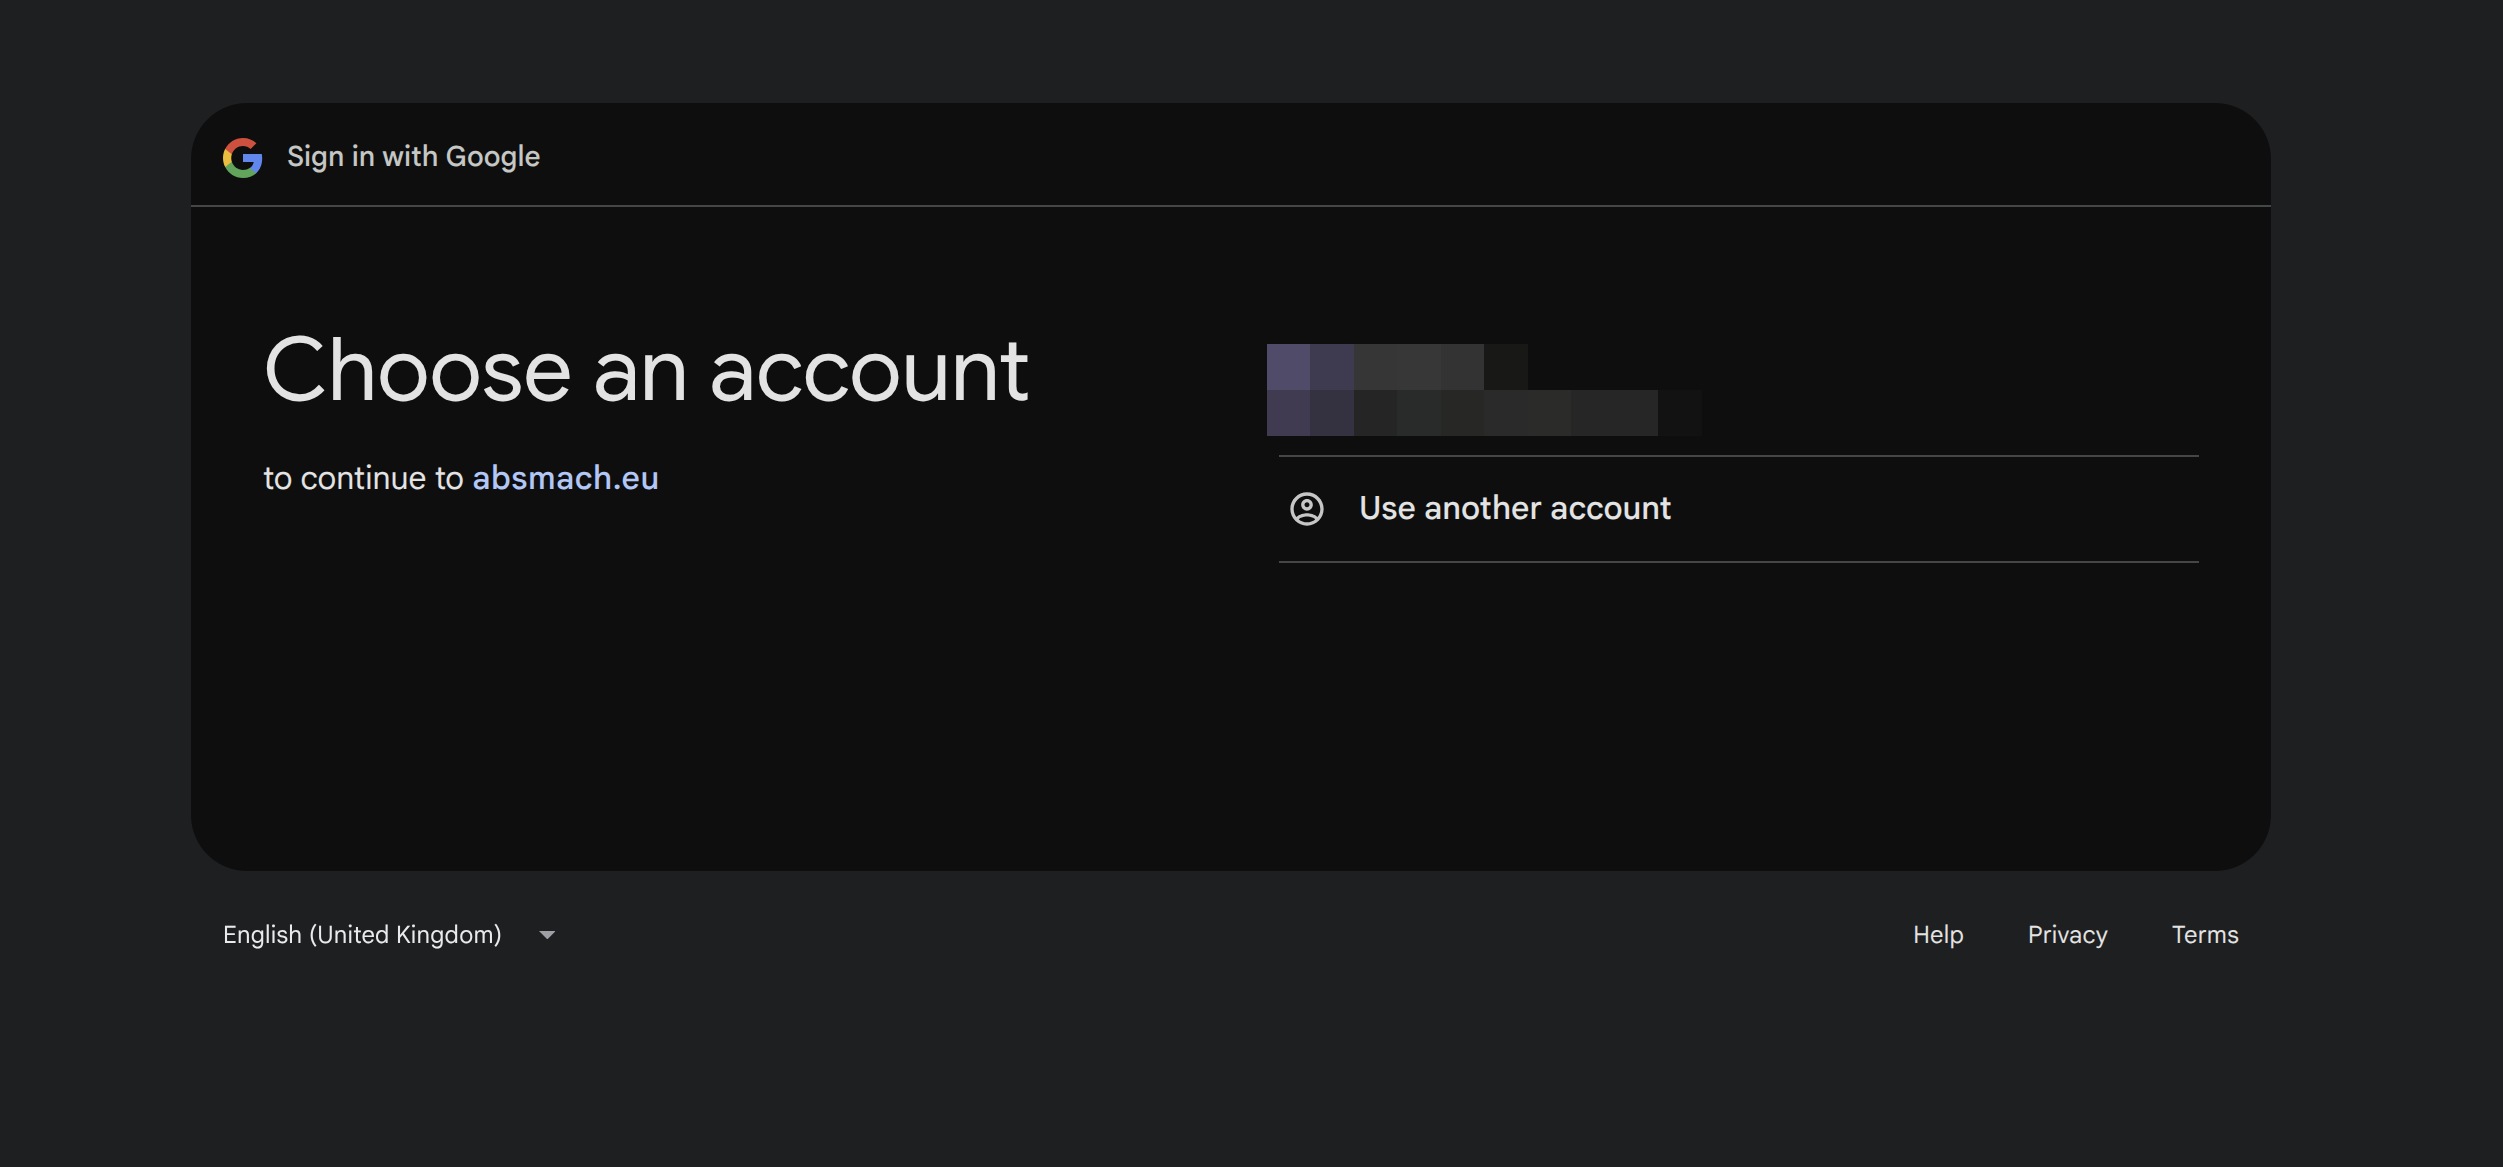
Select your Google account to complete registration. You’ll be redirected to the Workspaces Homepage, where you can create or join existing workspaces.
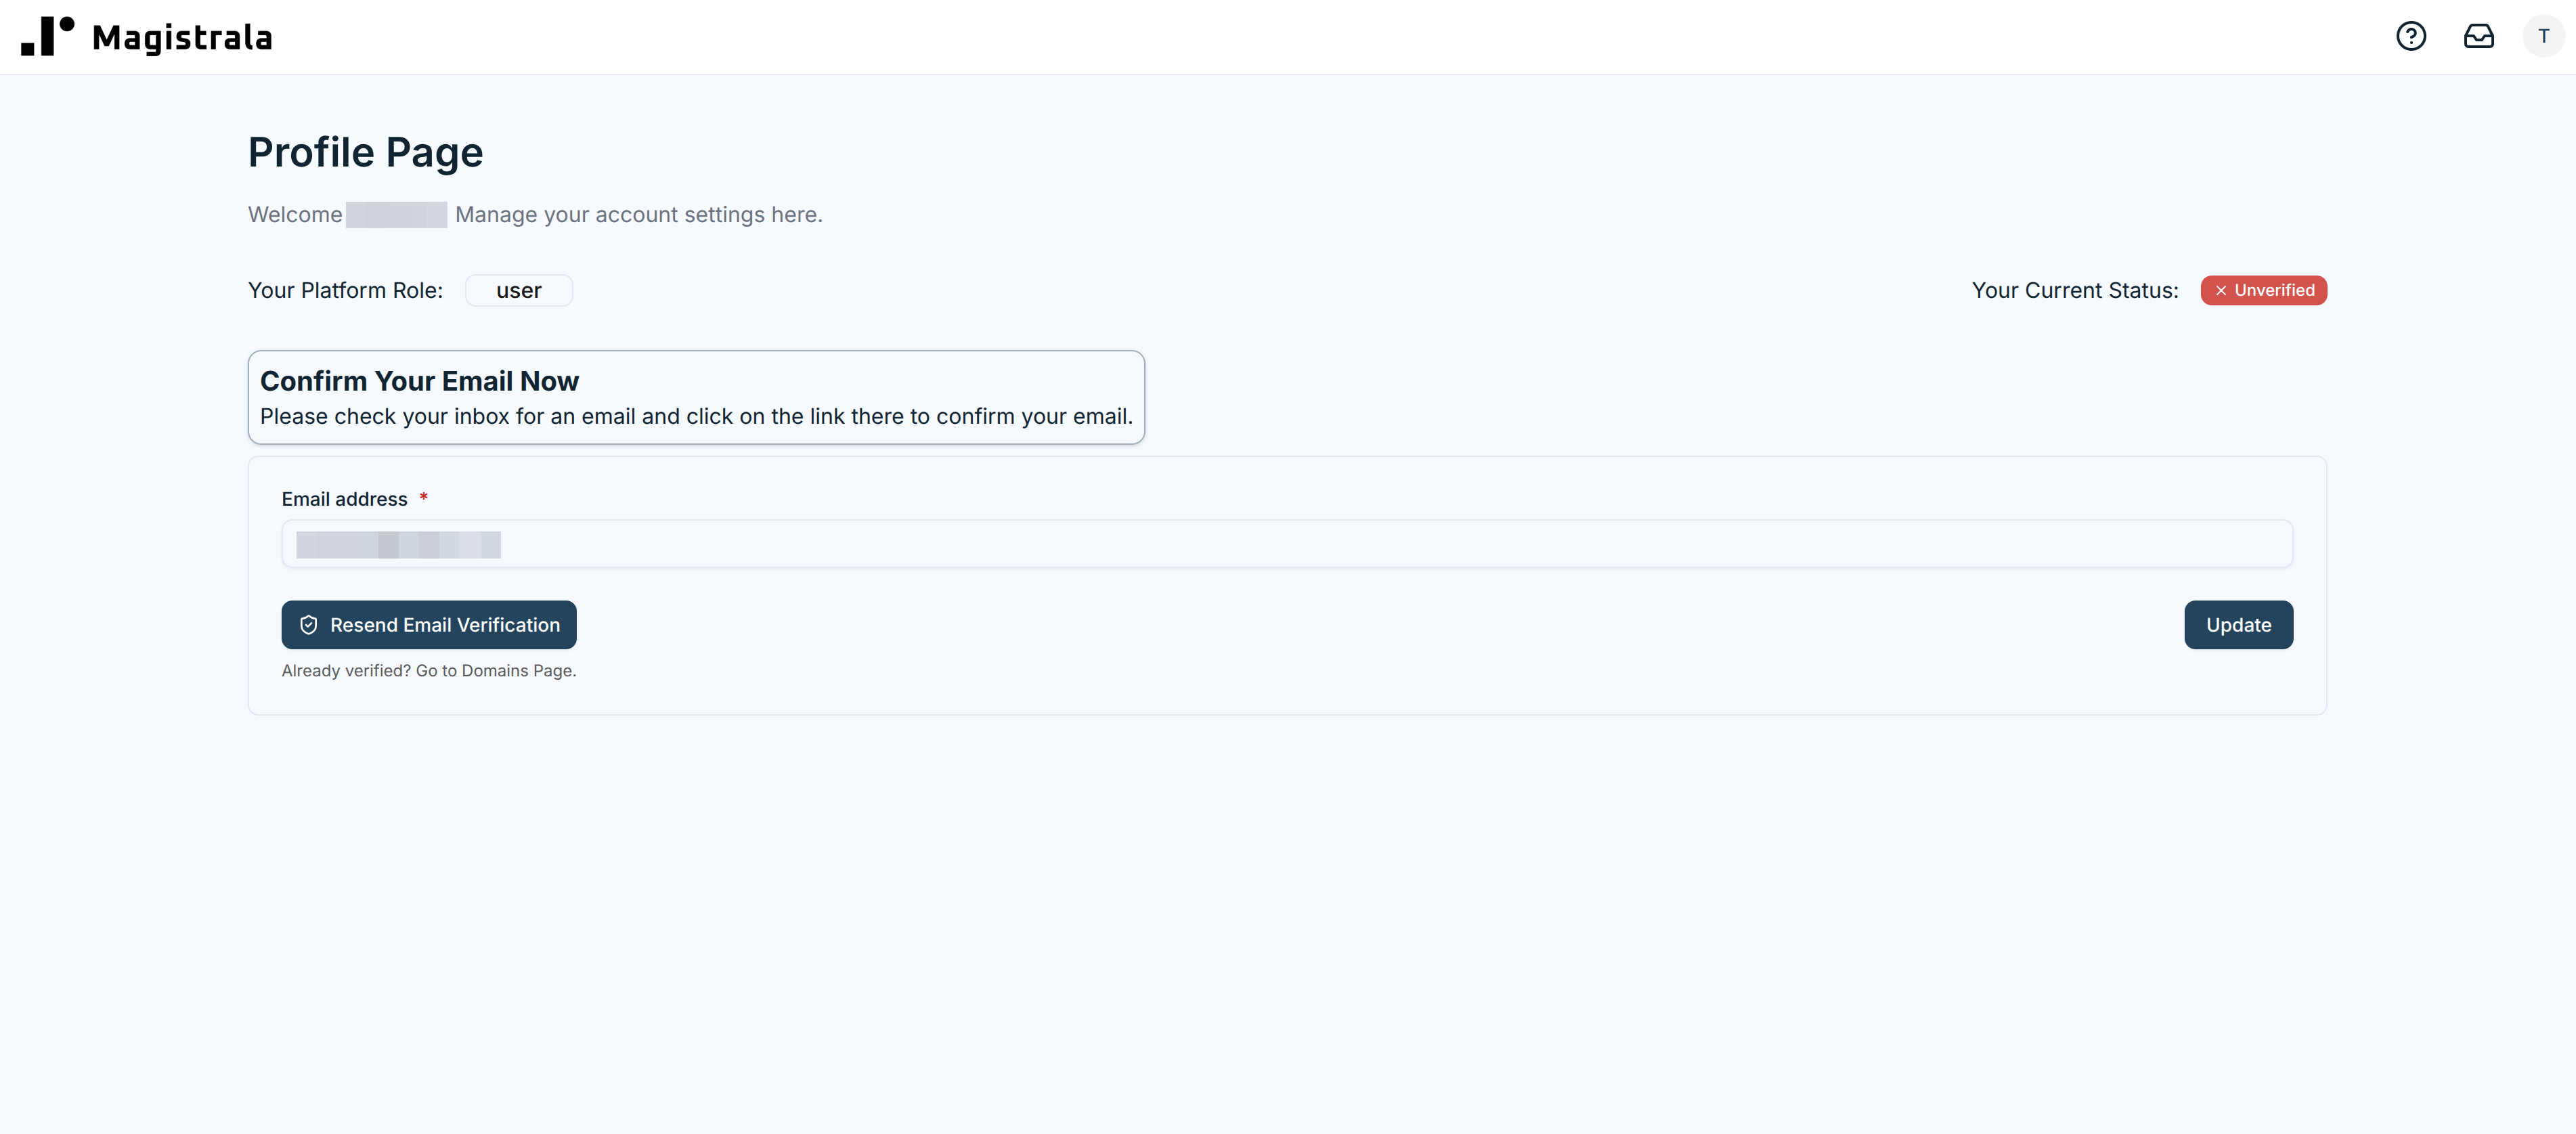
After signing up, you’ll be redirected to your Profile Page, where you’ll need to verify your email before proceeding.
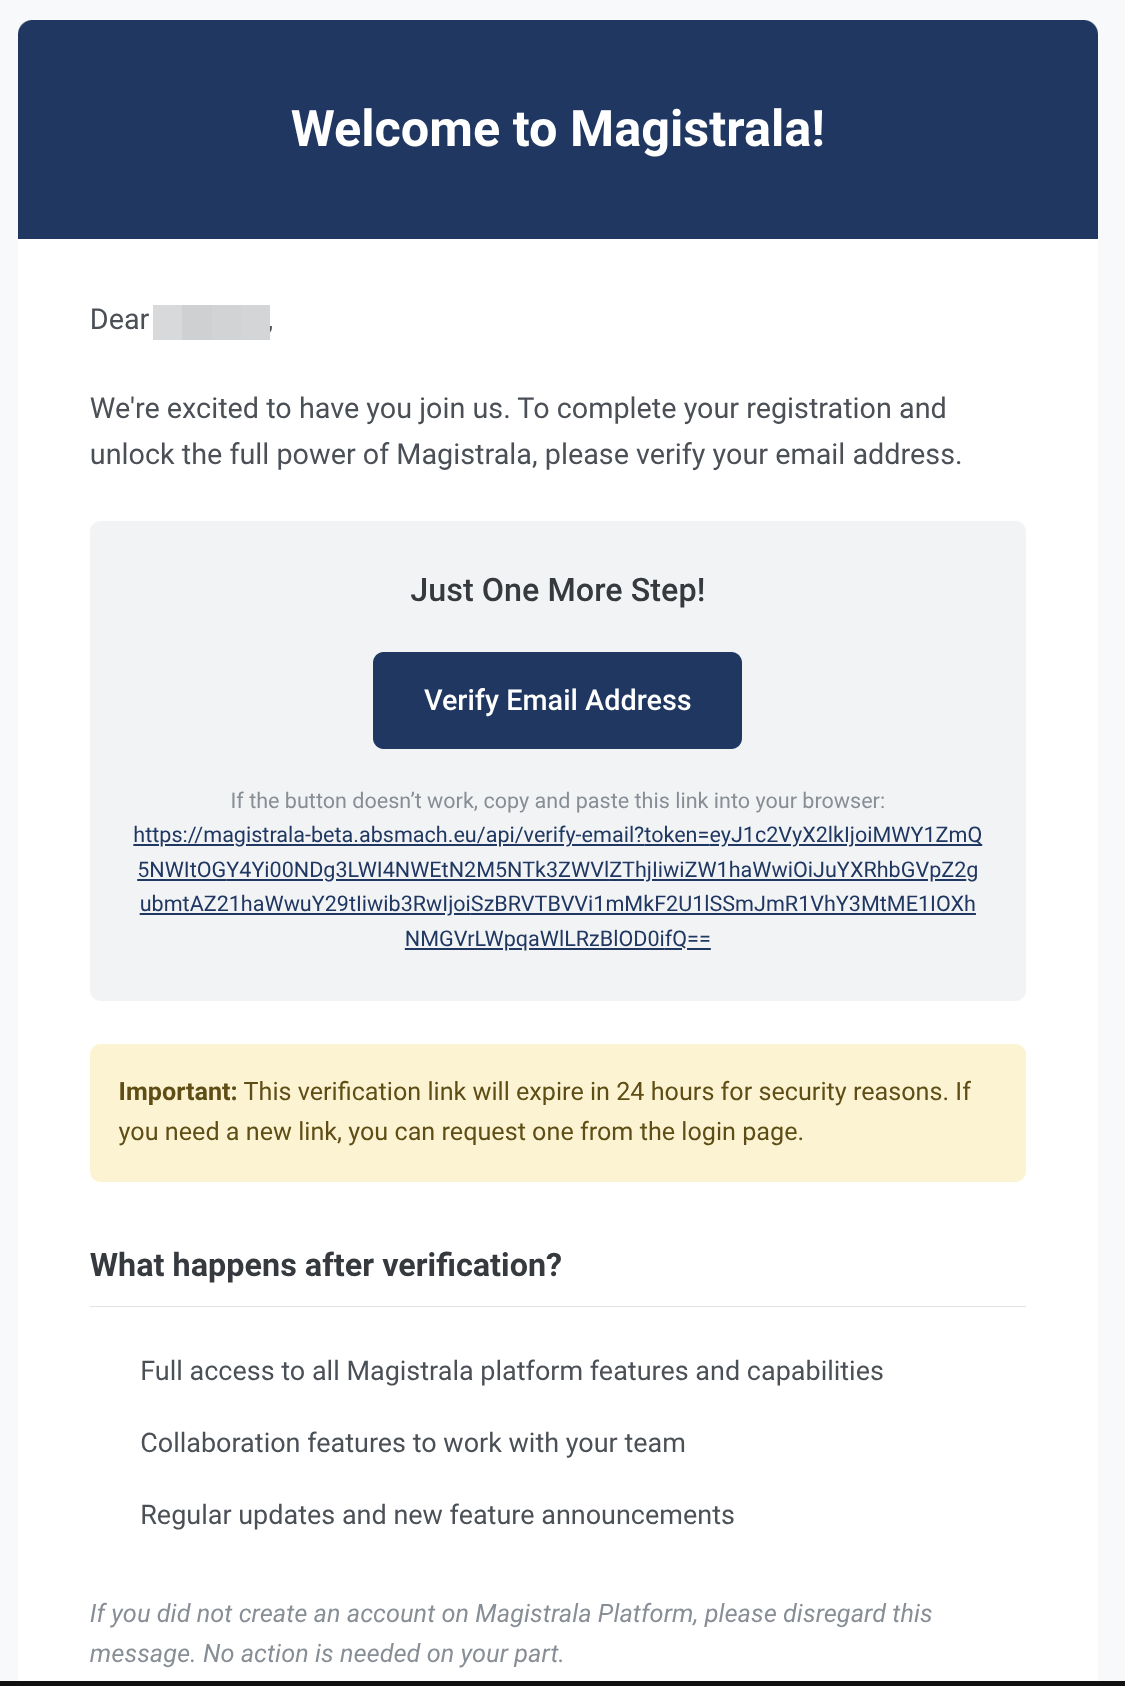
A confirmation email will be sent to the address you registered with.
Open the email titled “Welcome to Magistrala!” and click on the Verify Email Address button.
If the button doesn’t work, you can also copy the verification link provided in the email and paste it directly into your browser.
Important:
The verification link is valid for 24 hours for security reasons.
If it expires or you didn’t receive the email, click Resend Email Verification on your profile page.
Once verified, your profile status will update to Verified, and you’ll gain full access to the platform, including the ability to log in to workspaces.
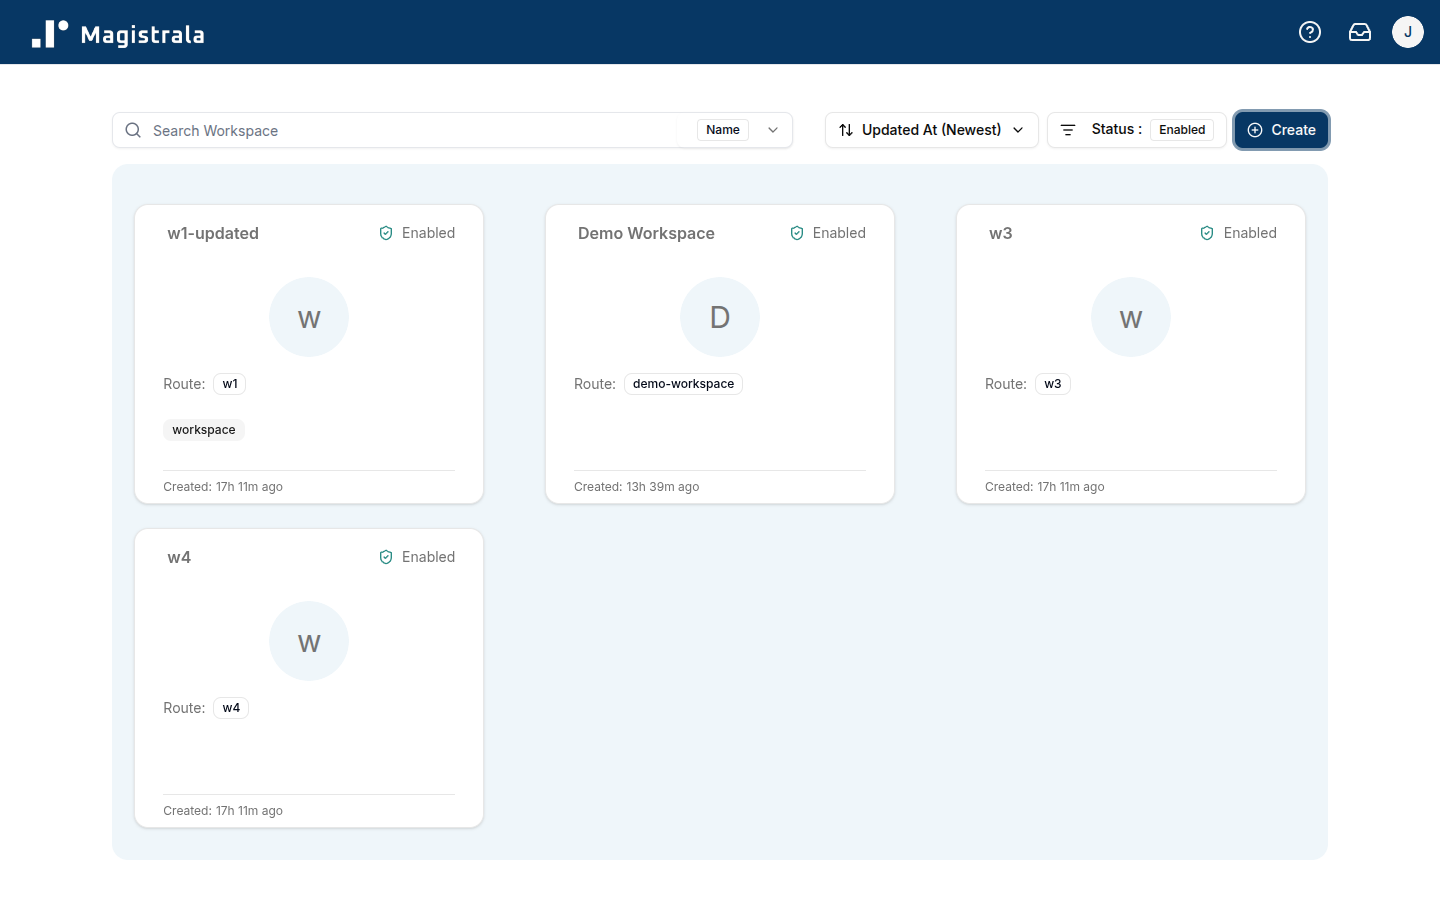
Upon logging in, users are redirected to the Workspace Selection Page.
A Workspace lets you manage Devices, Channels, Groups, Dashboards, Members, Rules and Bootstrap services.
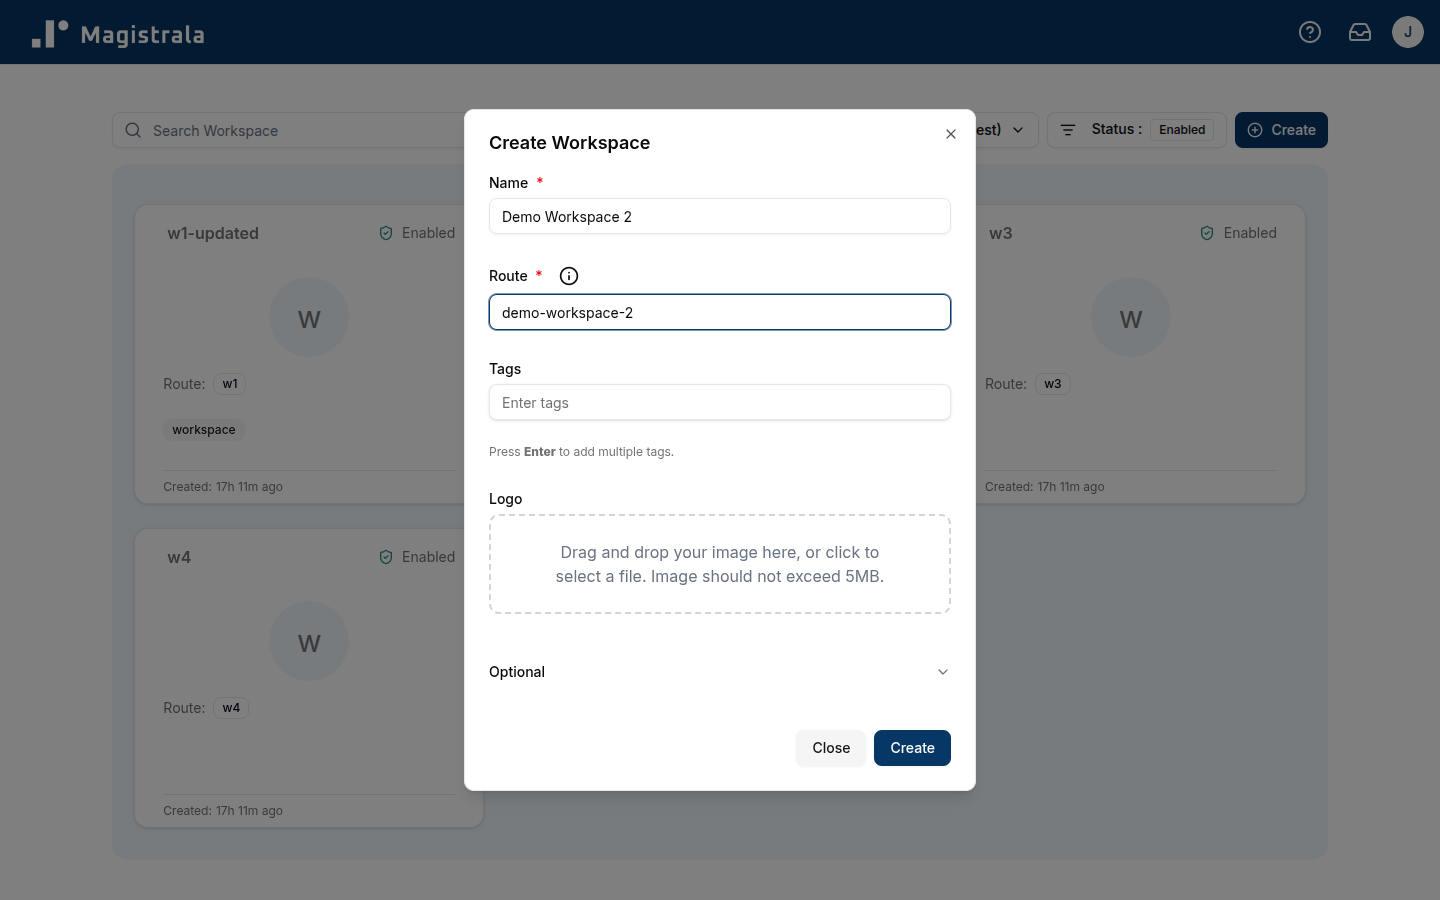
Click the + Create button in the top-right corner to start. In addition to the workspace name, you’ll need to set a route, a unique, user-friendly alias for the workspace’s ID. This route makes it easier to reference or subscribe to the workspace without using its full UUID.
The route is defined only at creation and cannot be changed later, so choose something short, clear, and descriptive.
Once you create a workspace, you are given admin role over the workspace by default. You are able to perform all actions available over the workspace and all the entities provisioned inside the workspace. You can also assign or invite members to the workspace with various levels of permissions. Click on the respective card to log into a workspace of your choice.
We will delve deeper into Workspaces in another section. For now you need to be able to log into a Workspace to move on to Groups.
Once logged in, you will be directed to the Homepage where you can view all the available entities in the workspace.
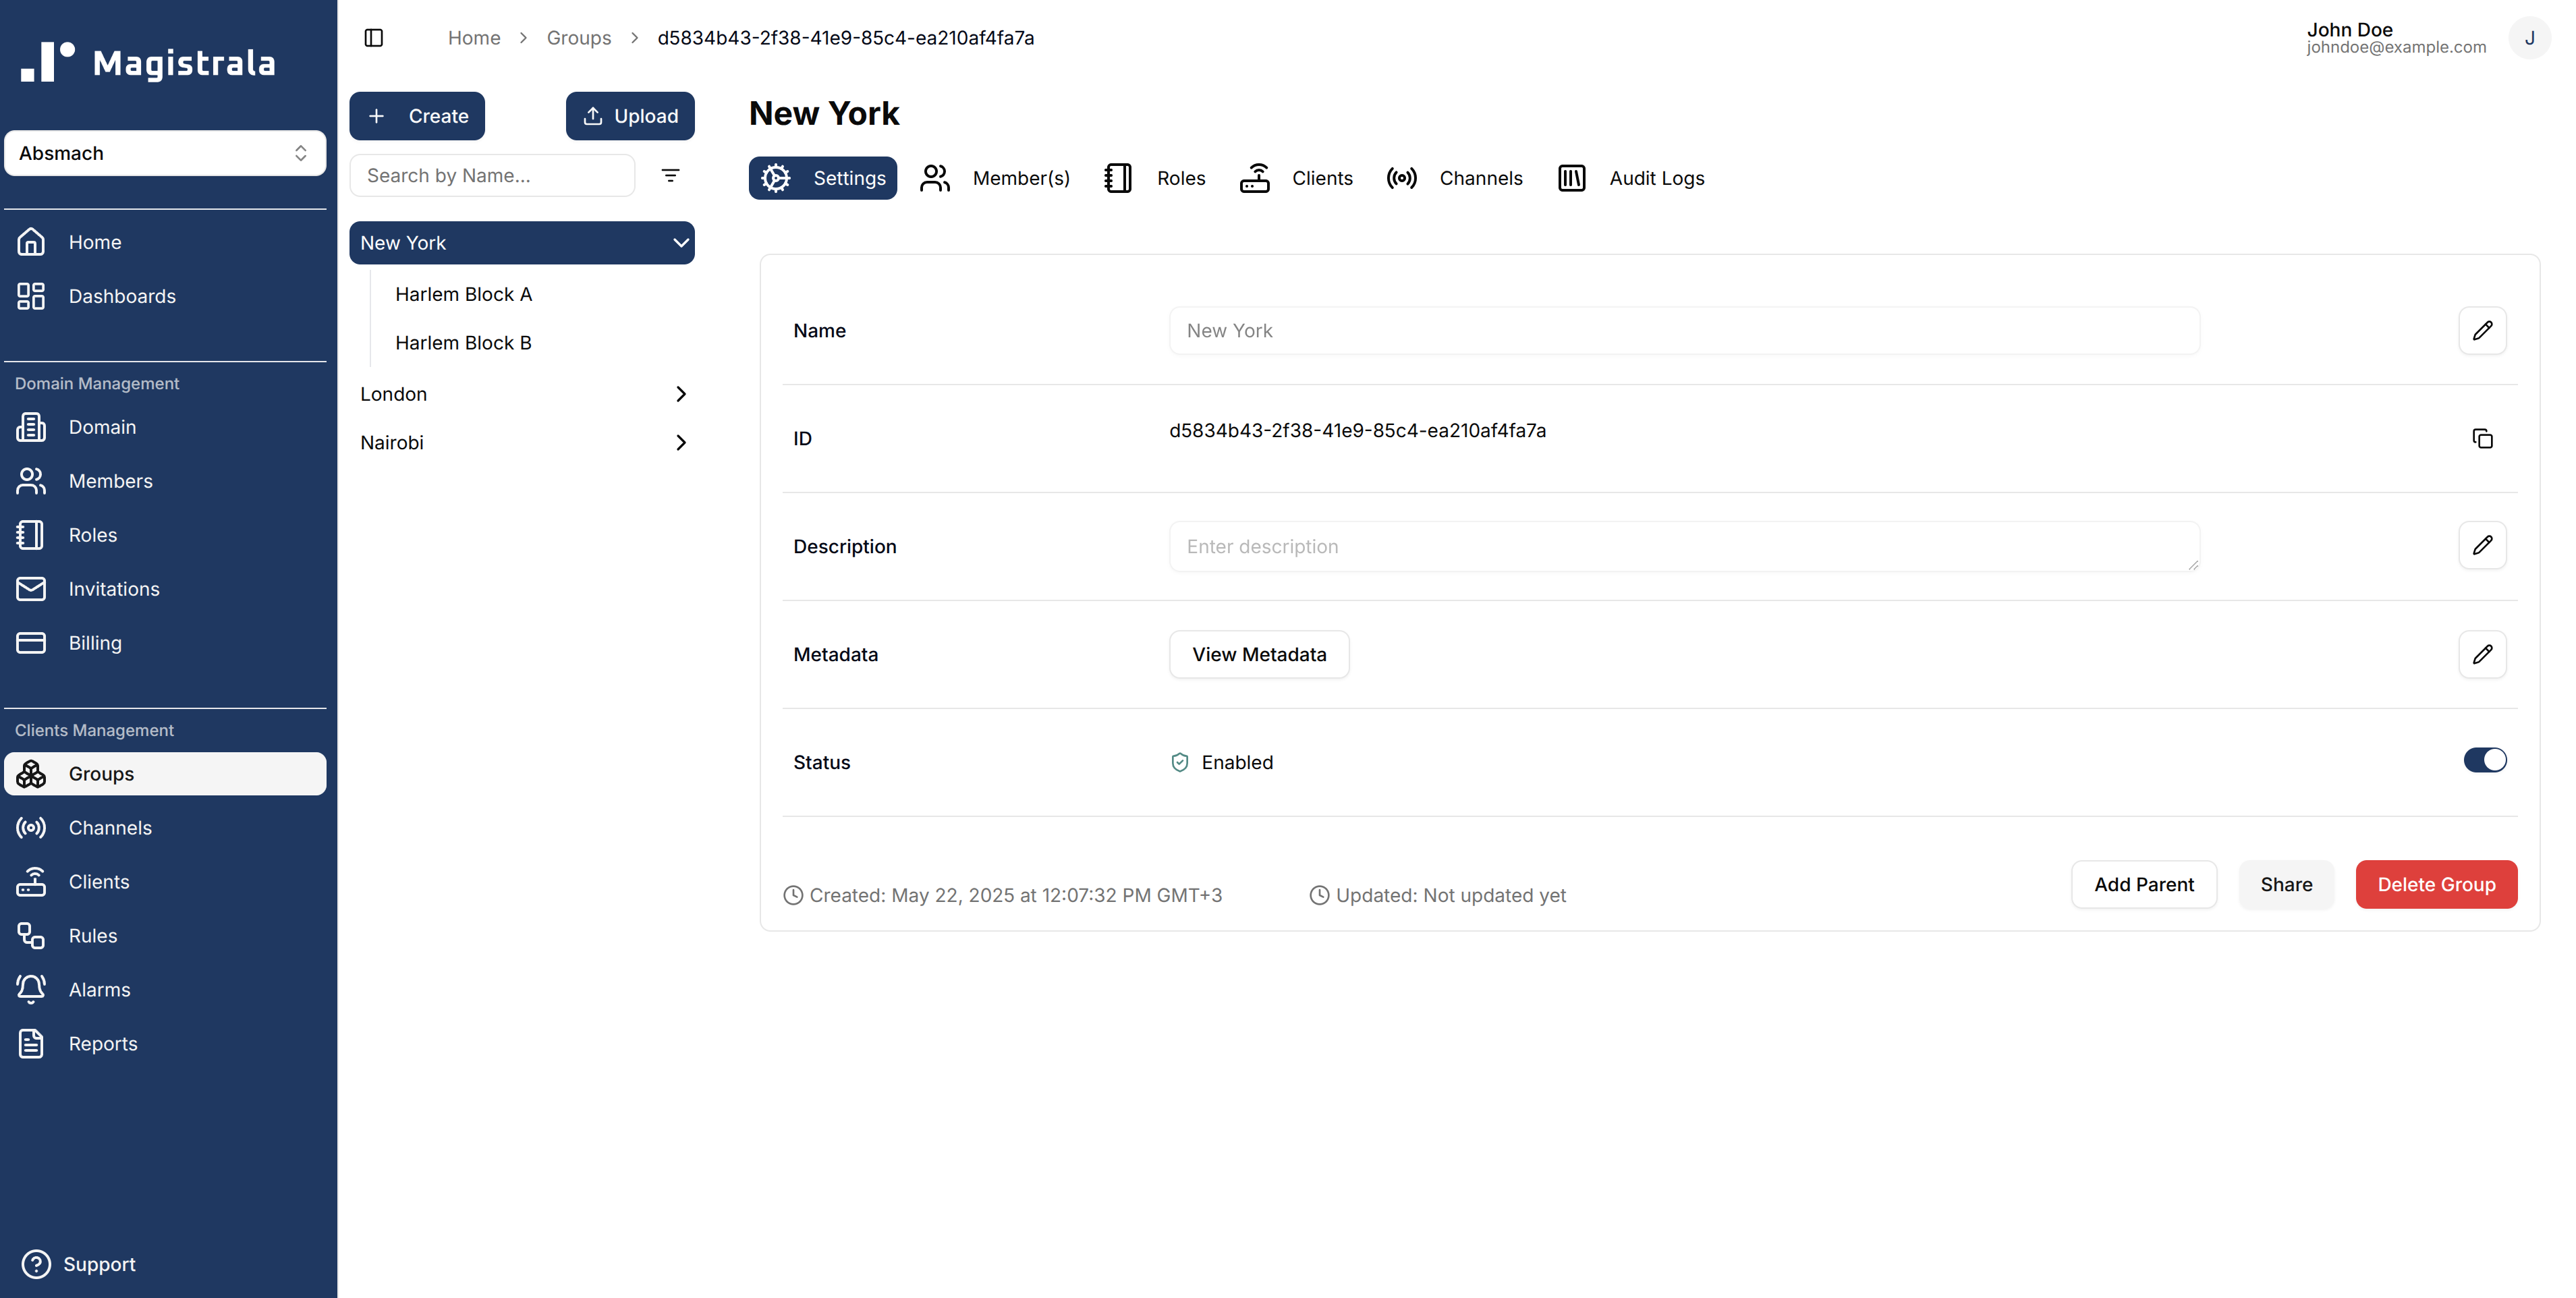
On the sidebar navigation, click on Groups under the Device Management section to be redirected to the groups page.
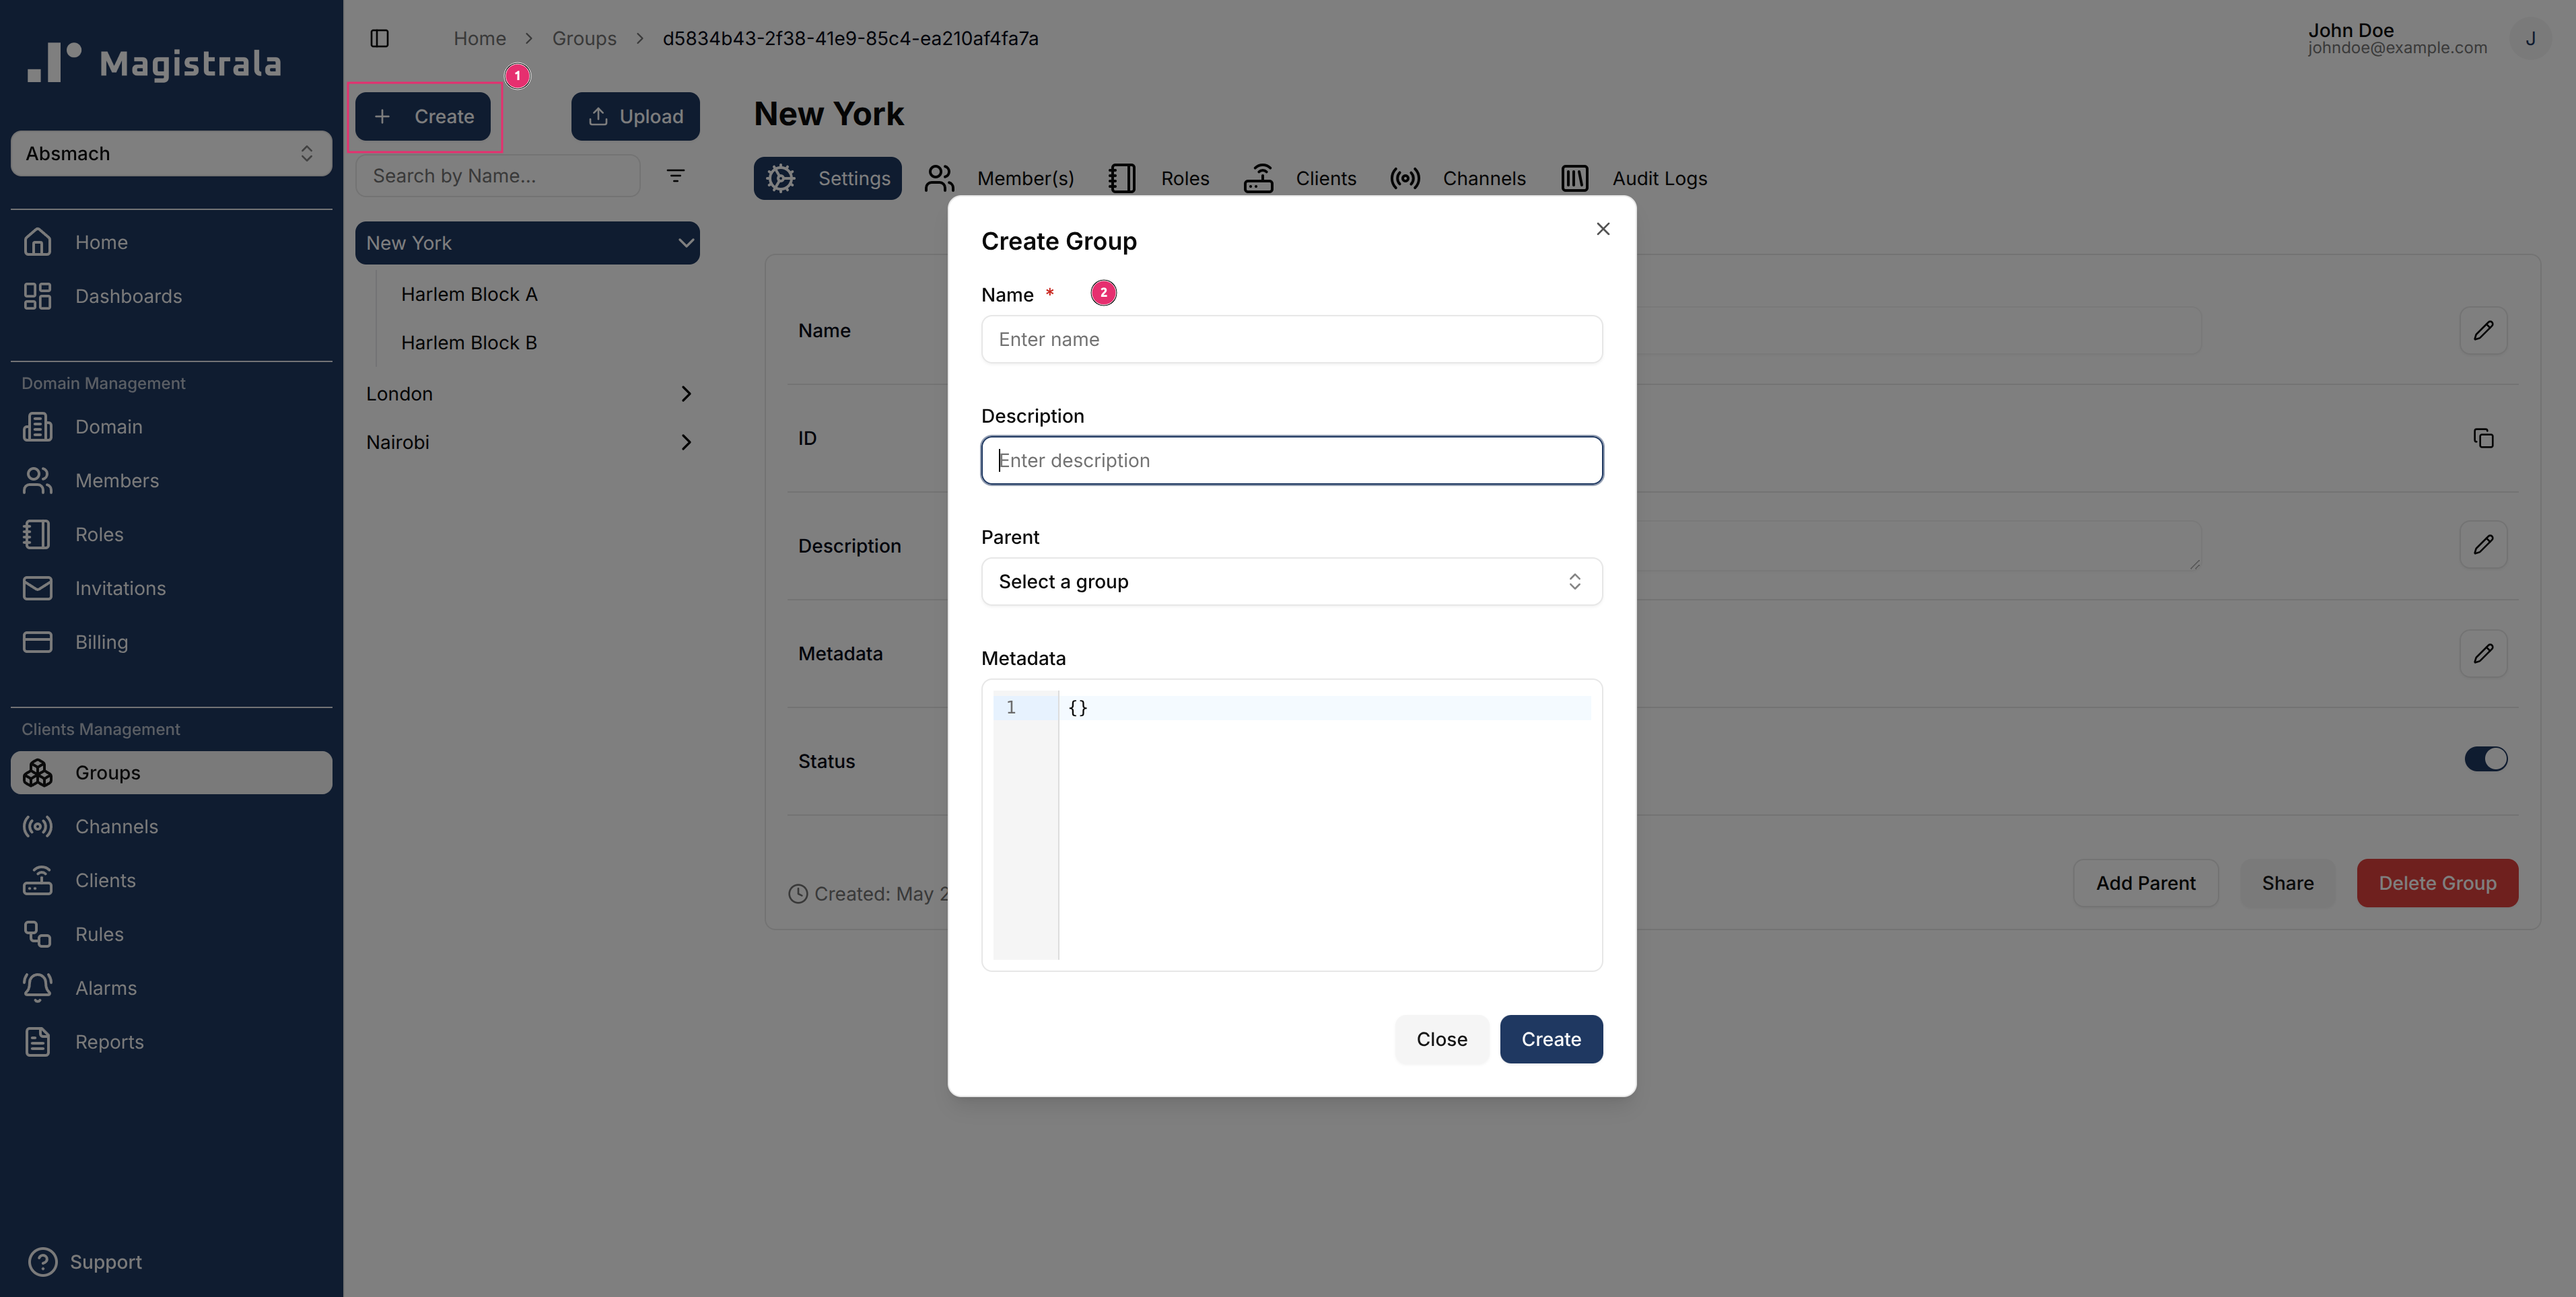
To create a group, click on the + Create button present on the top-left corner of the page. This will open a popover with all the required fields for a new group.
A Device represents a device connected to Magistrala, capable of communication with other devices.
It can be a physical or virtual device that sends and receives messages, often through embedded systems.
When you create a device within a specific group, it is automatically assigned to that group and can be connected to any channel in the workspace.
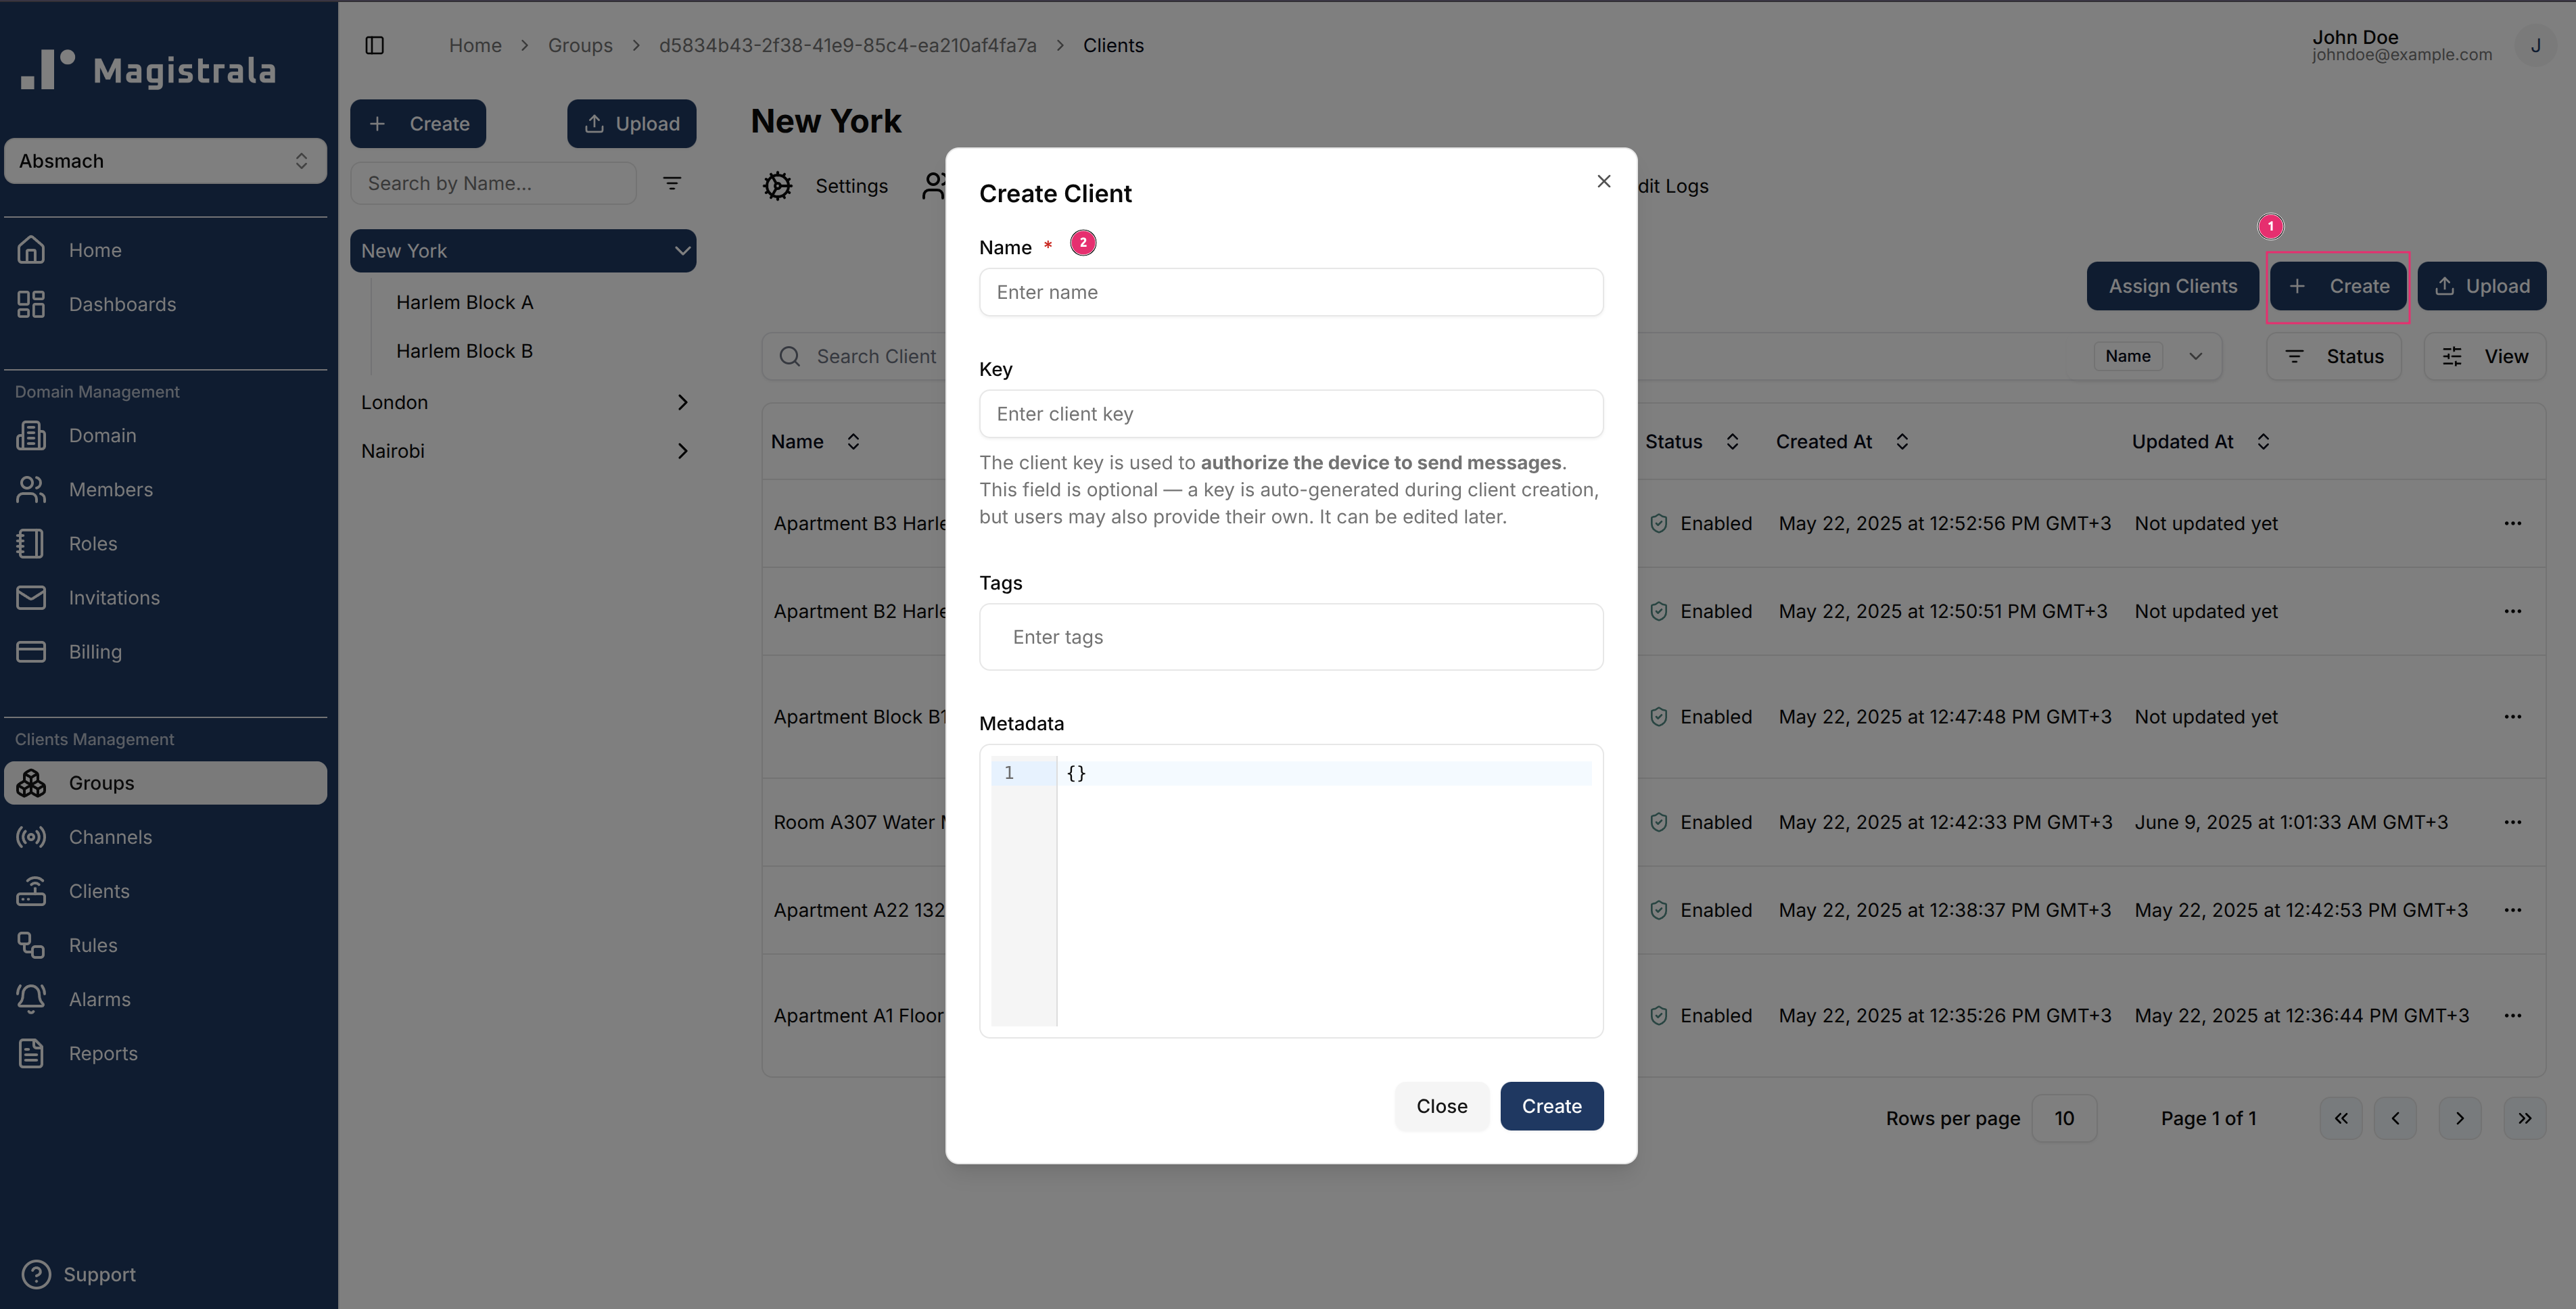
To create a new device, go to the Devices page of the desired group and click the + Create button.
A dialog will appear asking for details such as:
Name (required)
Key (optional) - The device key is used to authorize the device to send messages. If left blank, a key is auto-generated during device creation. Users may also provide their own key, and it can be edited later.
Tags (optional, for organization and filtering)
Adding tags can help you quickly locate and manage devices in larger setups.
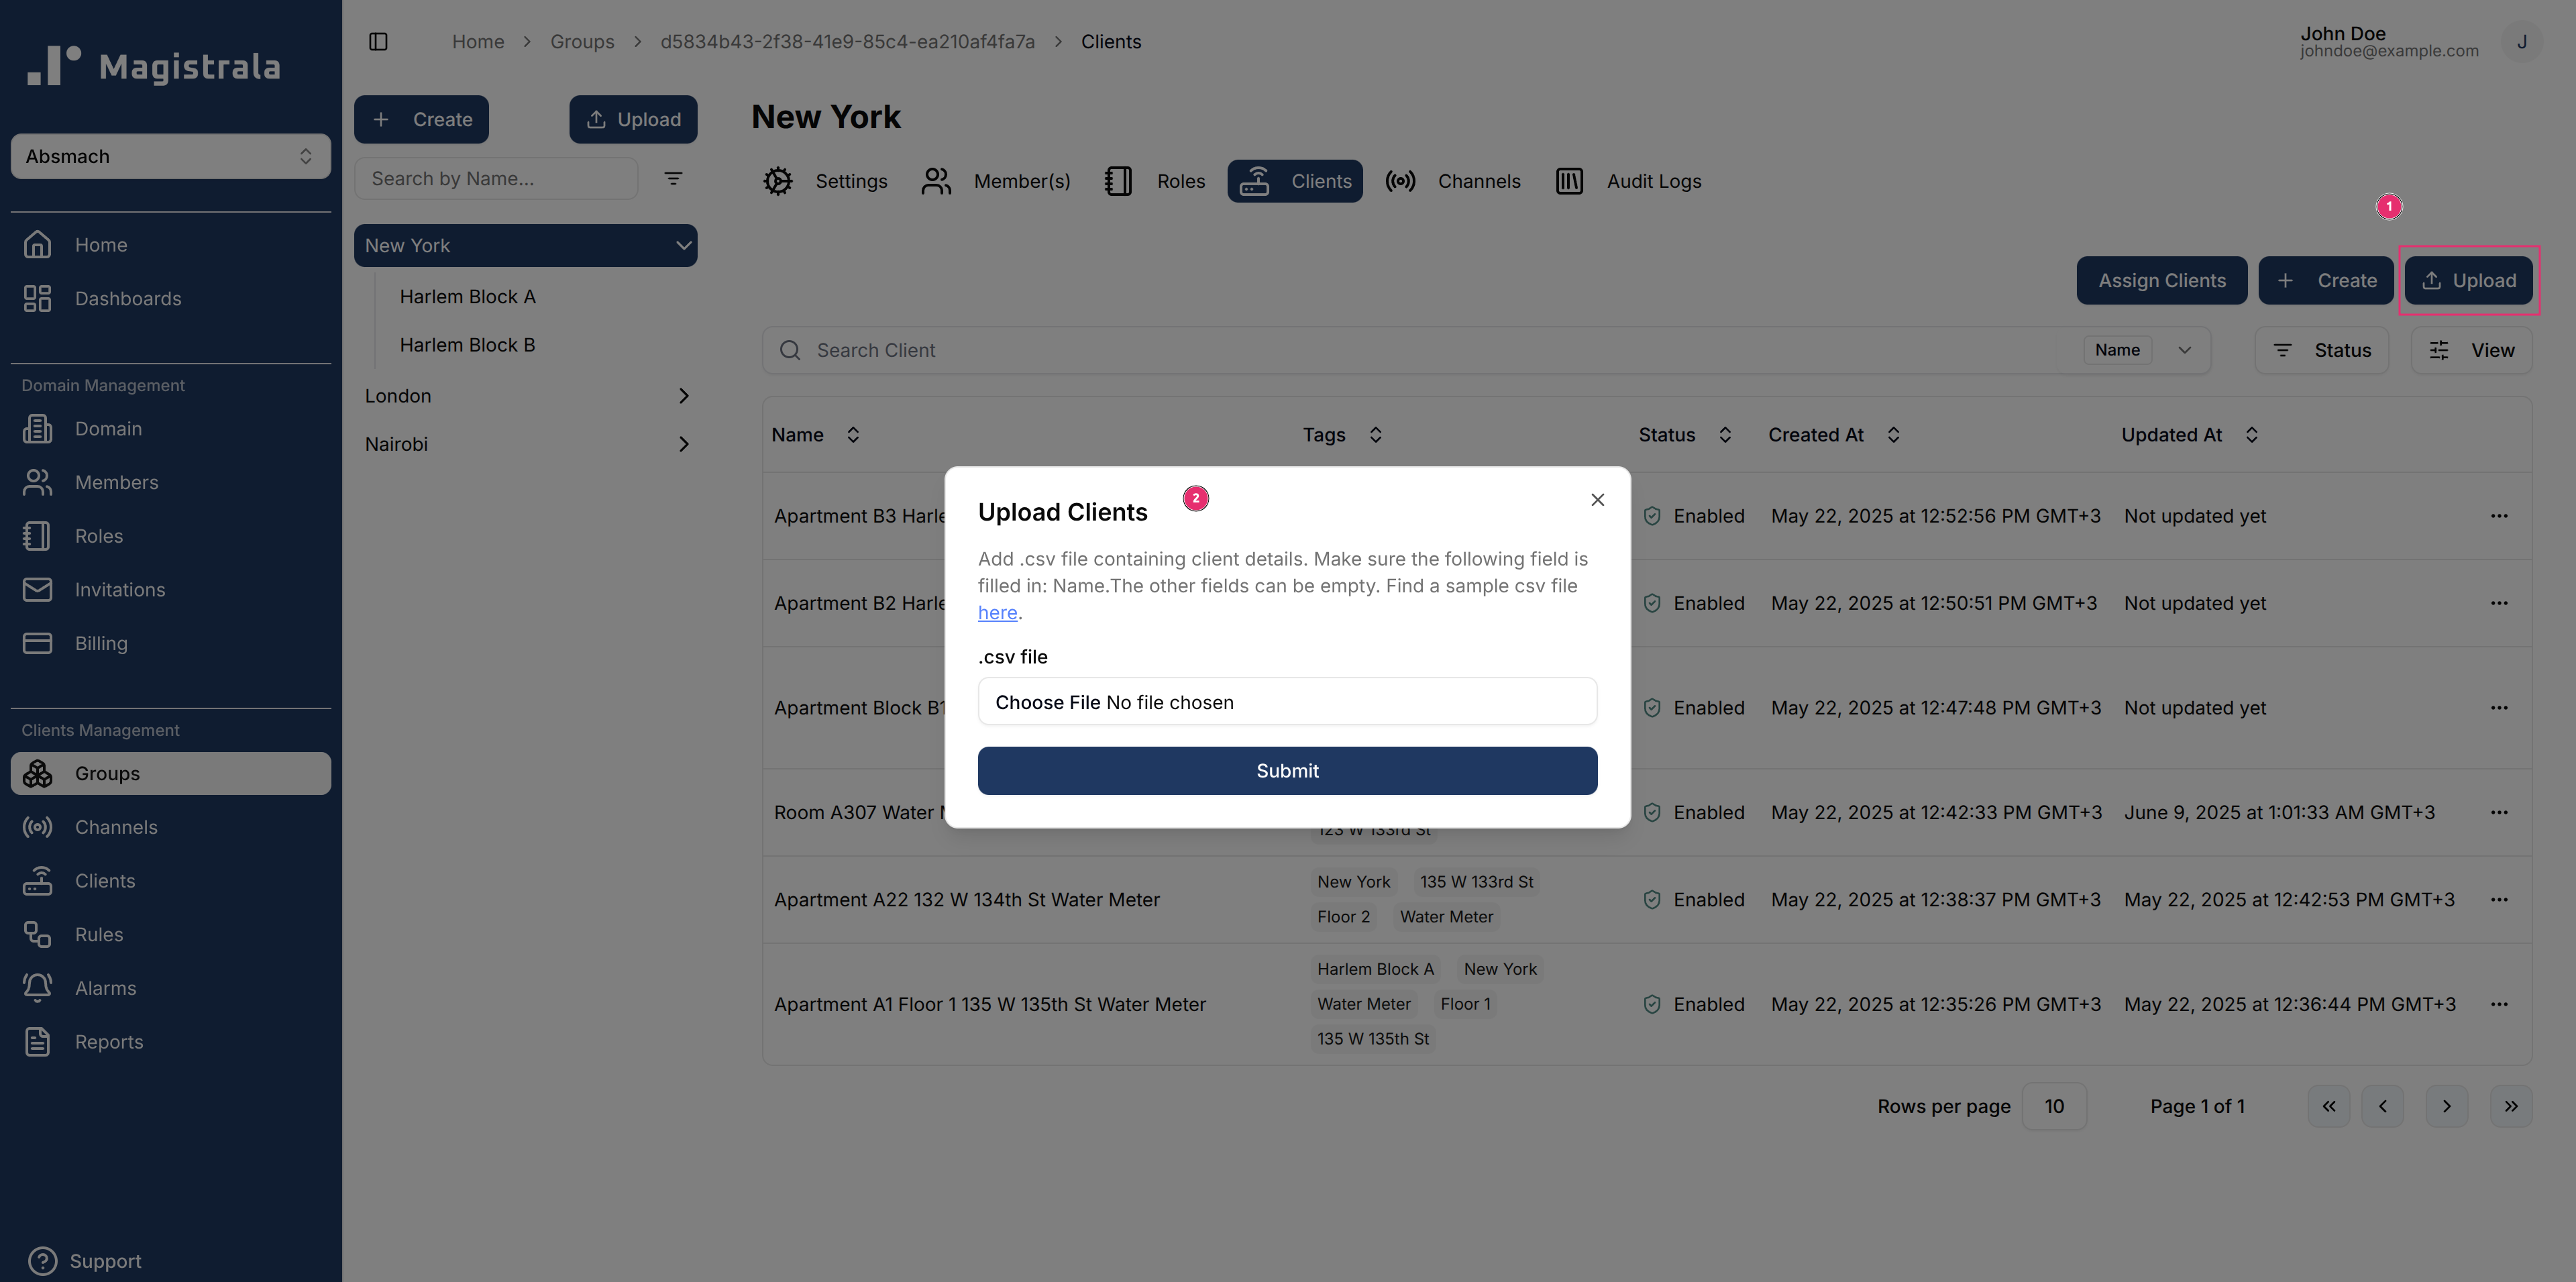
A user can also create bulk devices by clicking on the Upload button. This will lead to a dialog box that takes in a .CSV file with the device's details filled in correctly as seen in these samples.
The CSV is parsed by column header, not position, so the columns can be in any order — but these four headers must all be present or the upload is rejected:
Name (required — a row is also skipped if this is blank)
Secret (required header, but the value itself may be left blank per row)
Tags
Metadata
An optional Identity column is read too, if present.
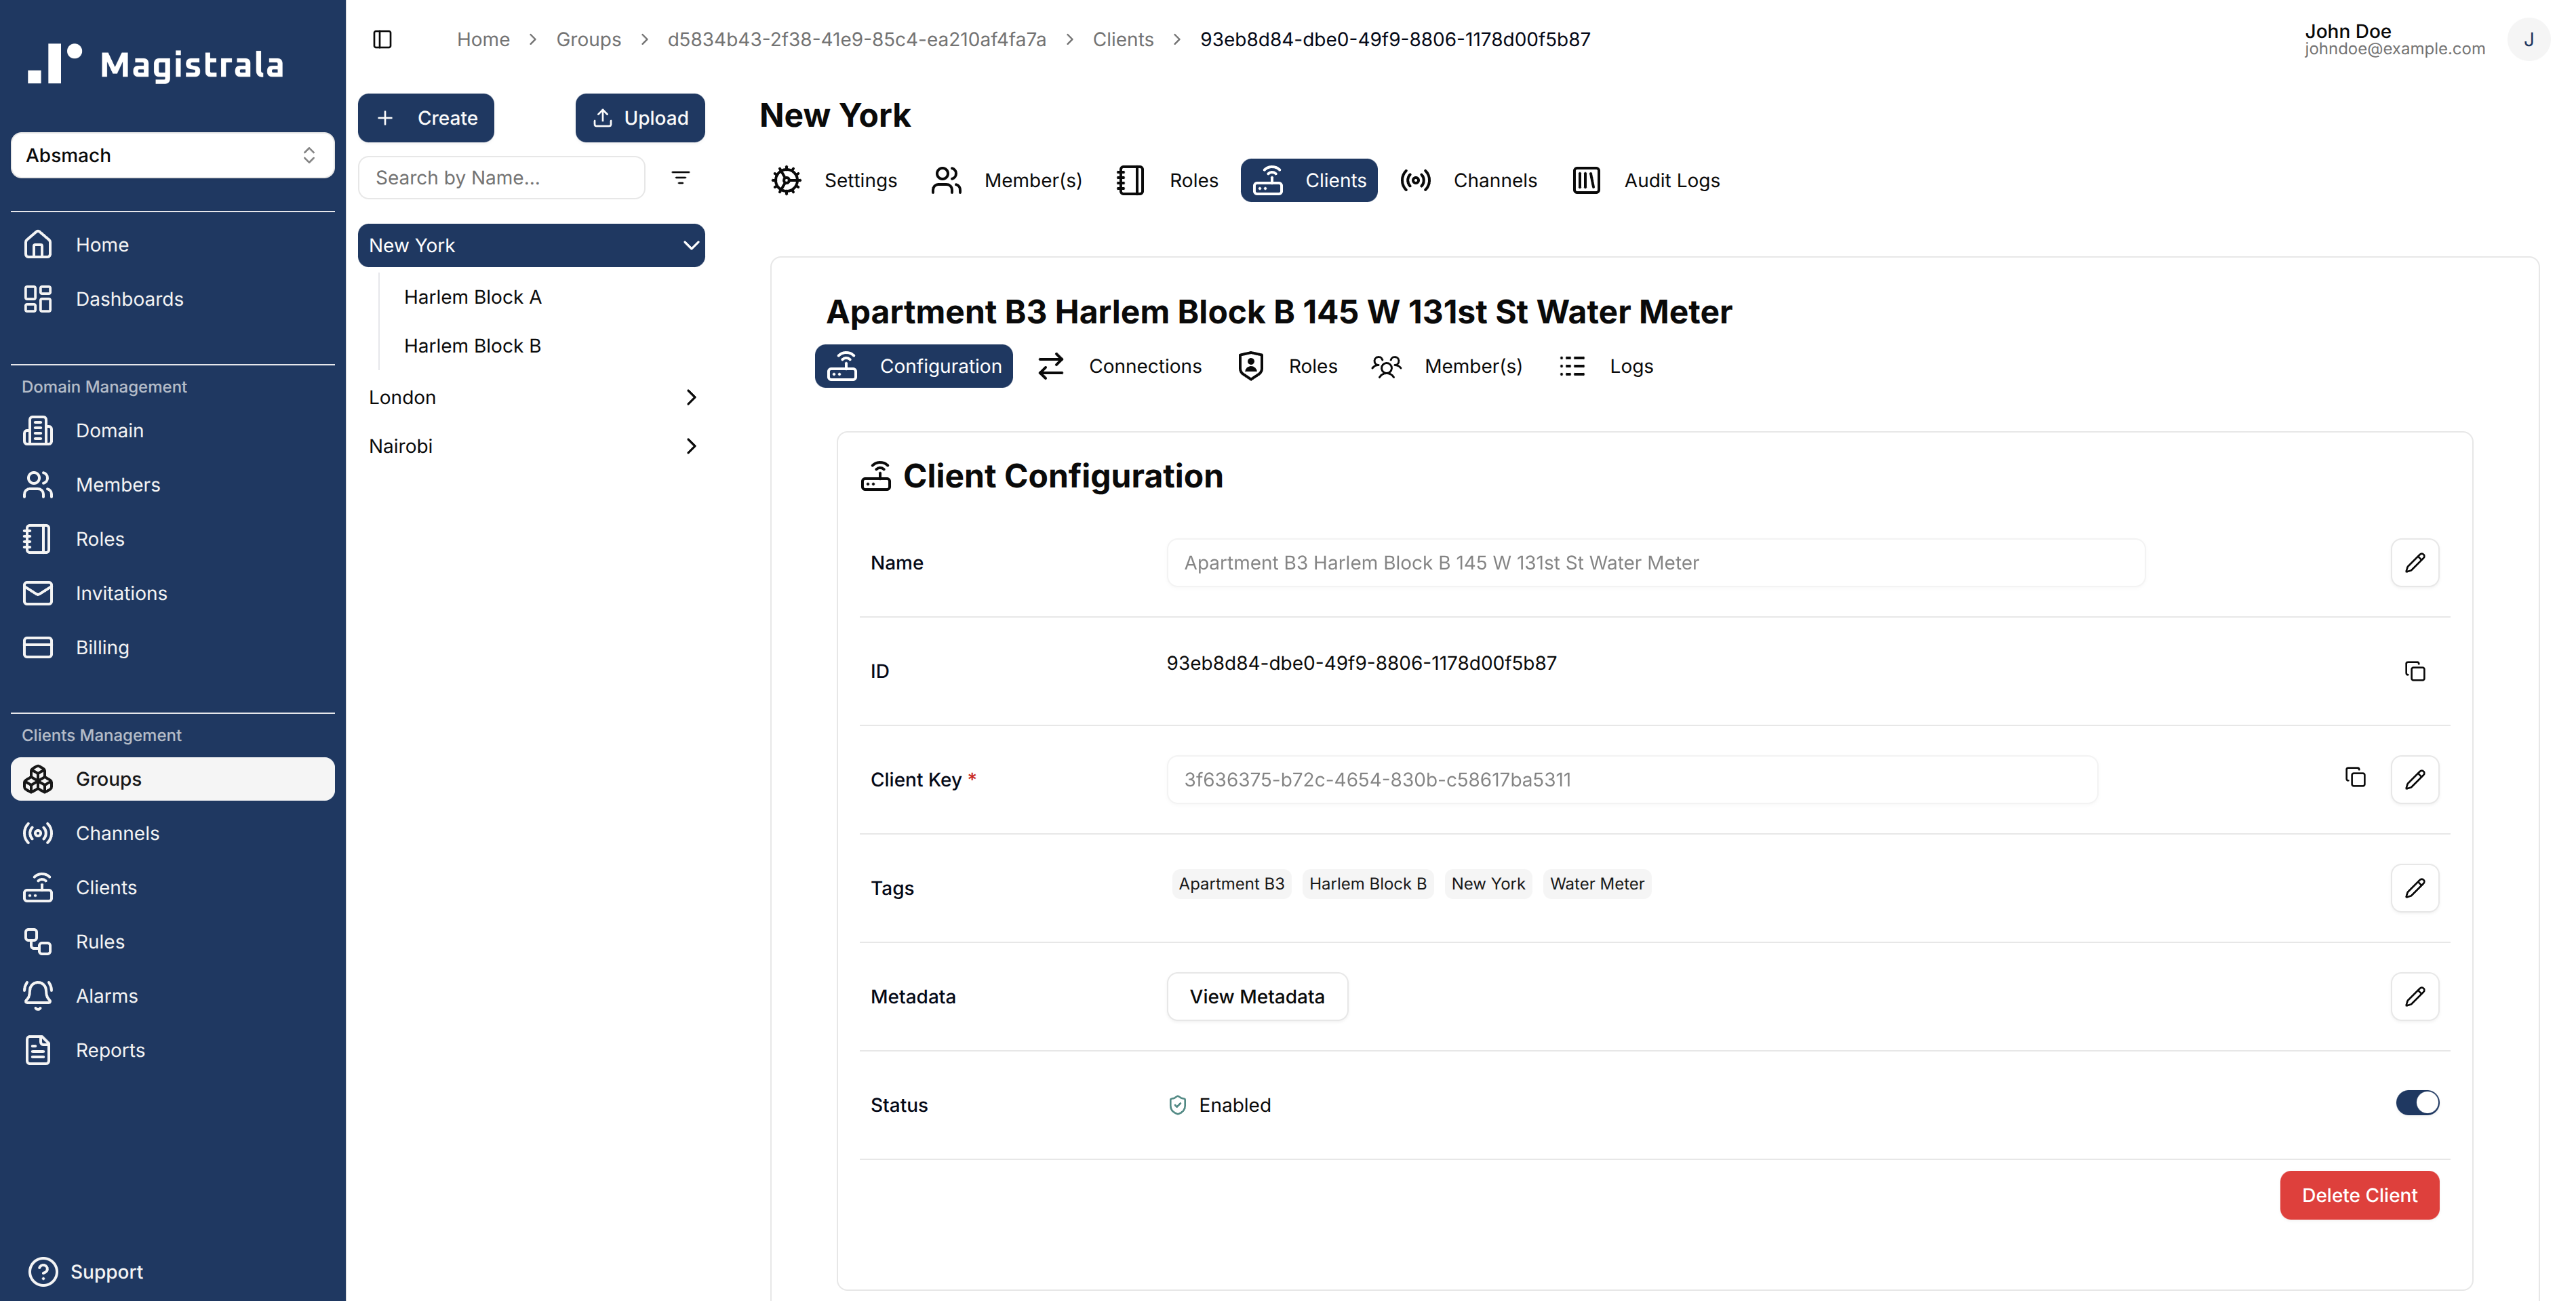
Once created, a group-device can be viewed and updated in the unique Device's ID page.
To open this page, click on the desired device in the Devices table.
From the Device Details page, you can:
Update the device’s information
Copy its ID and secret
Manage its connections
Manage the Device's Roles as well as Members
View the Device's audit logs
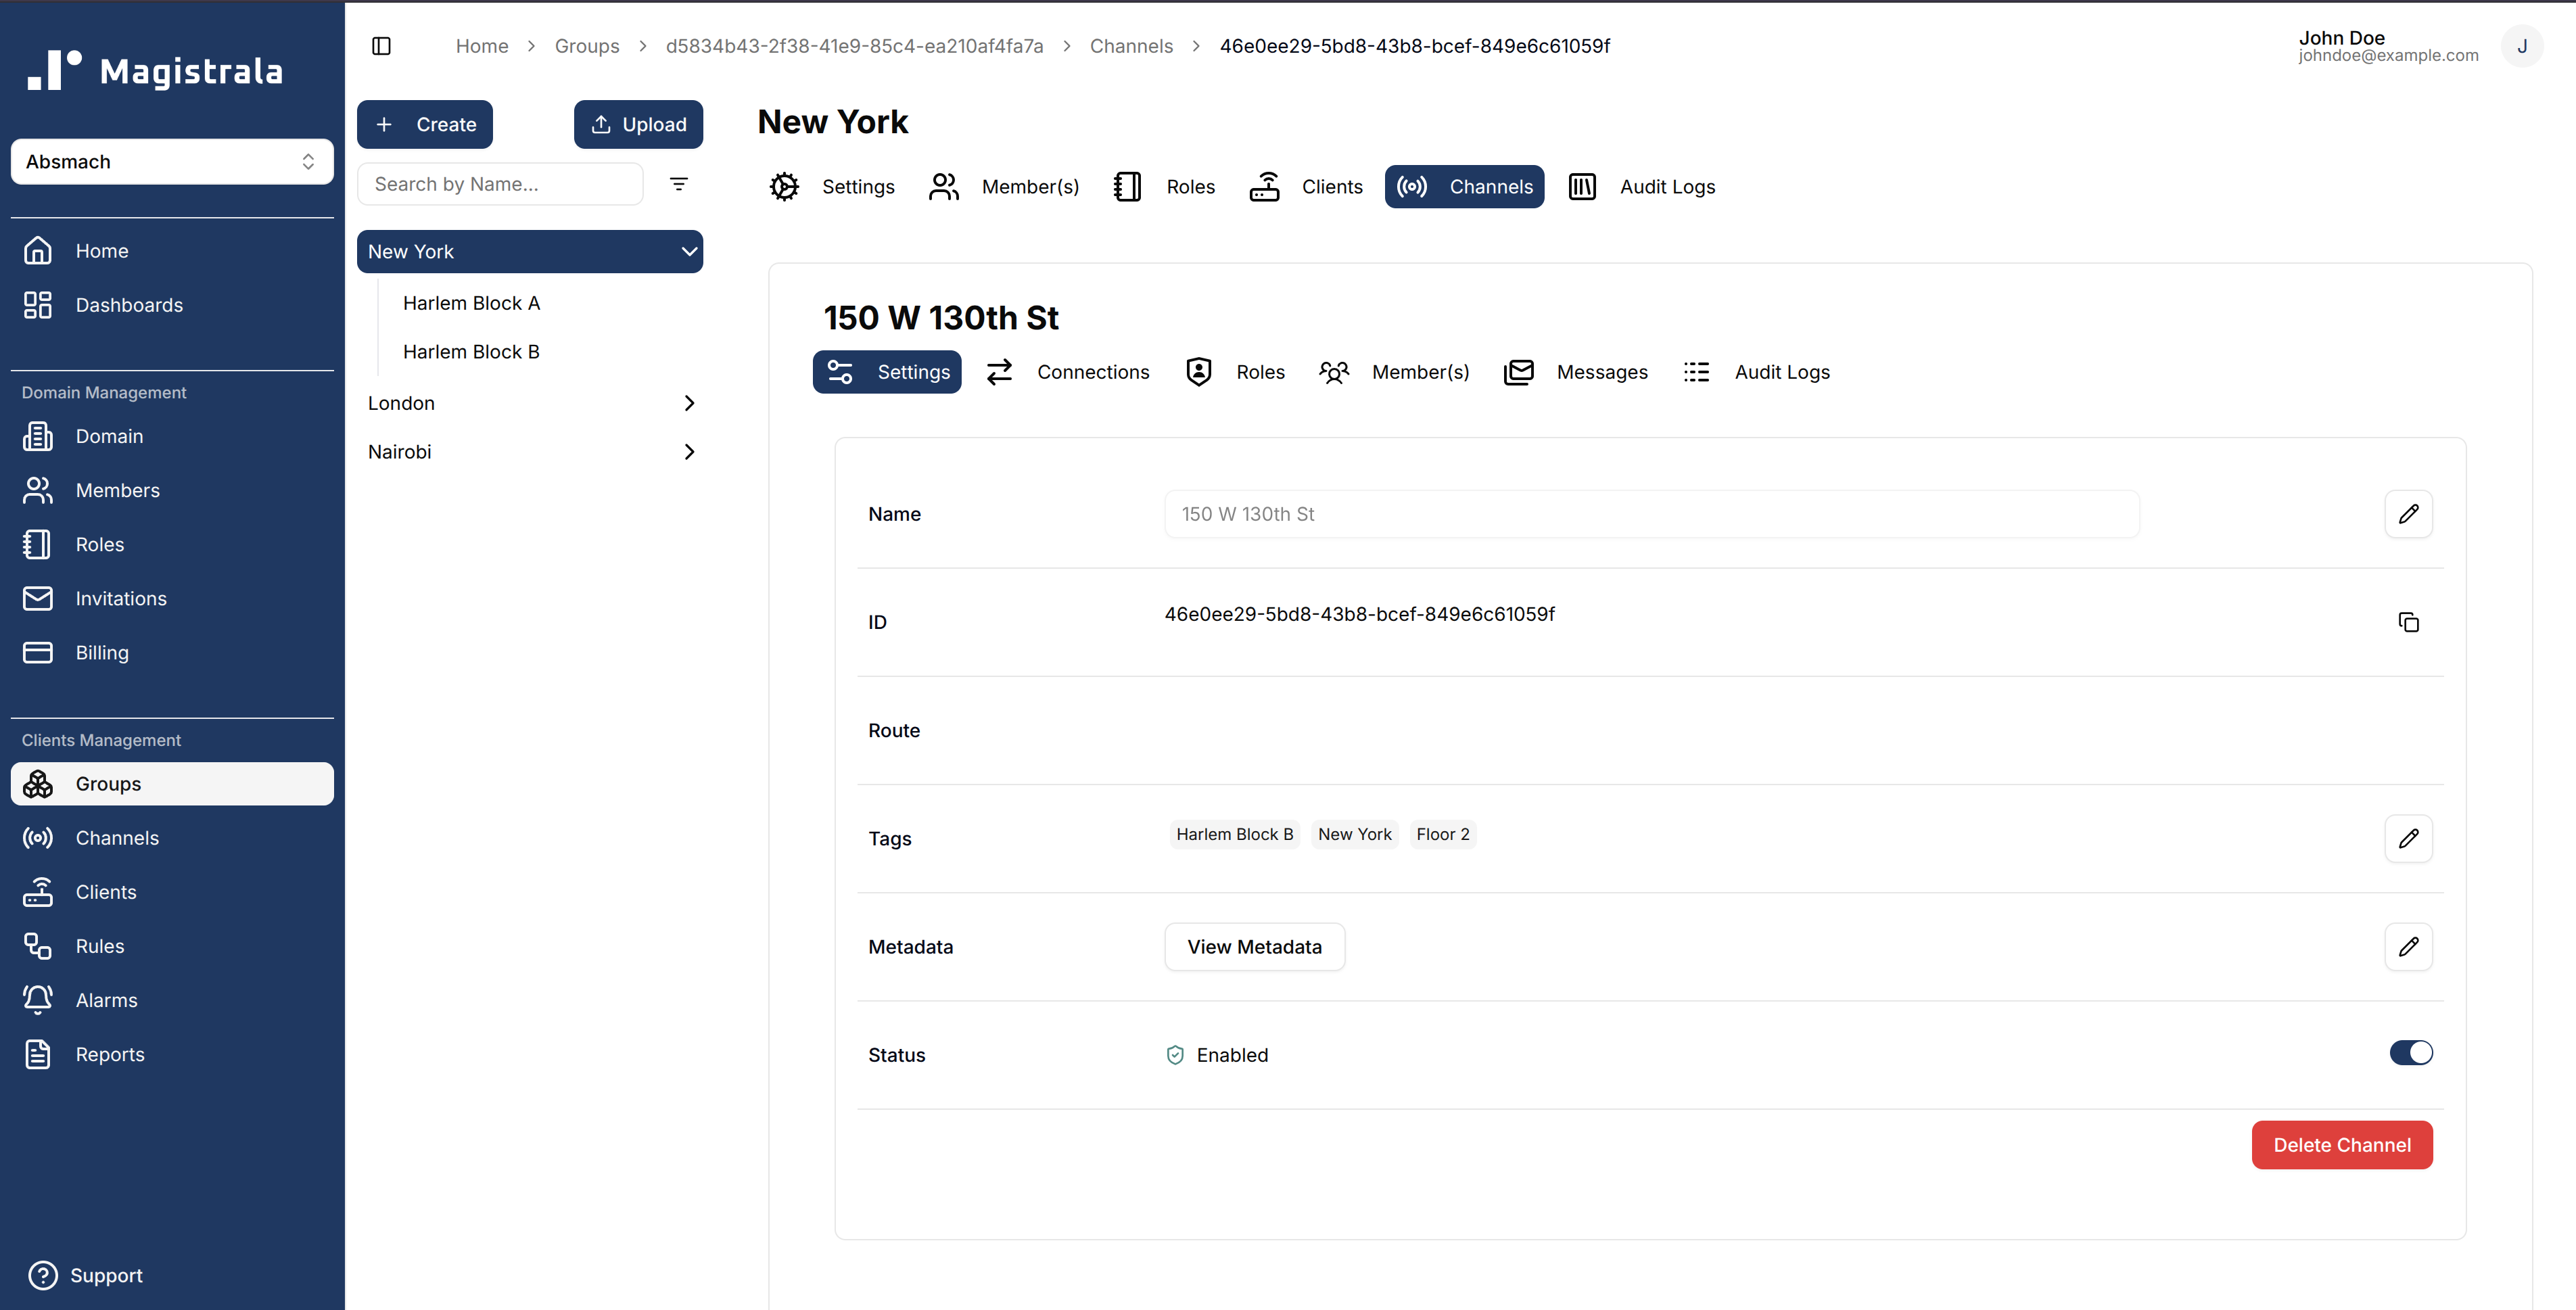
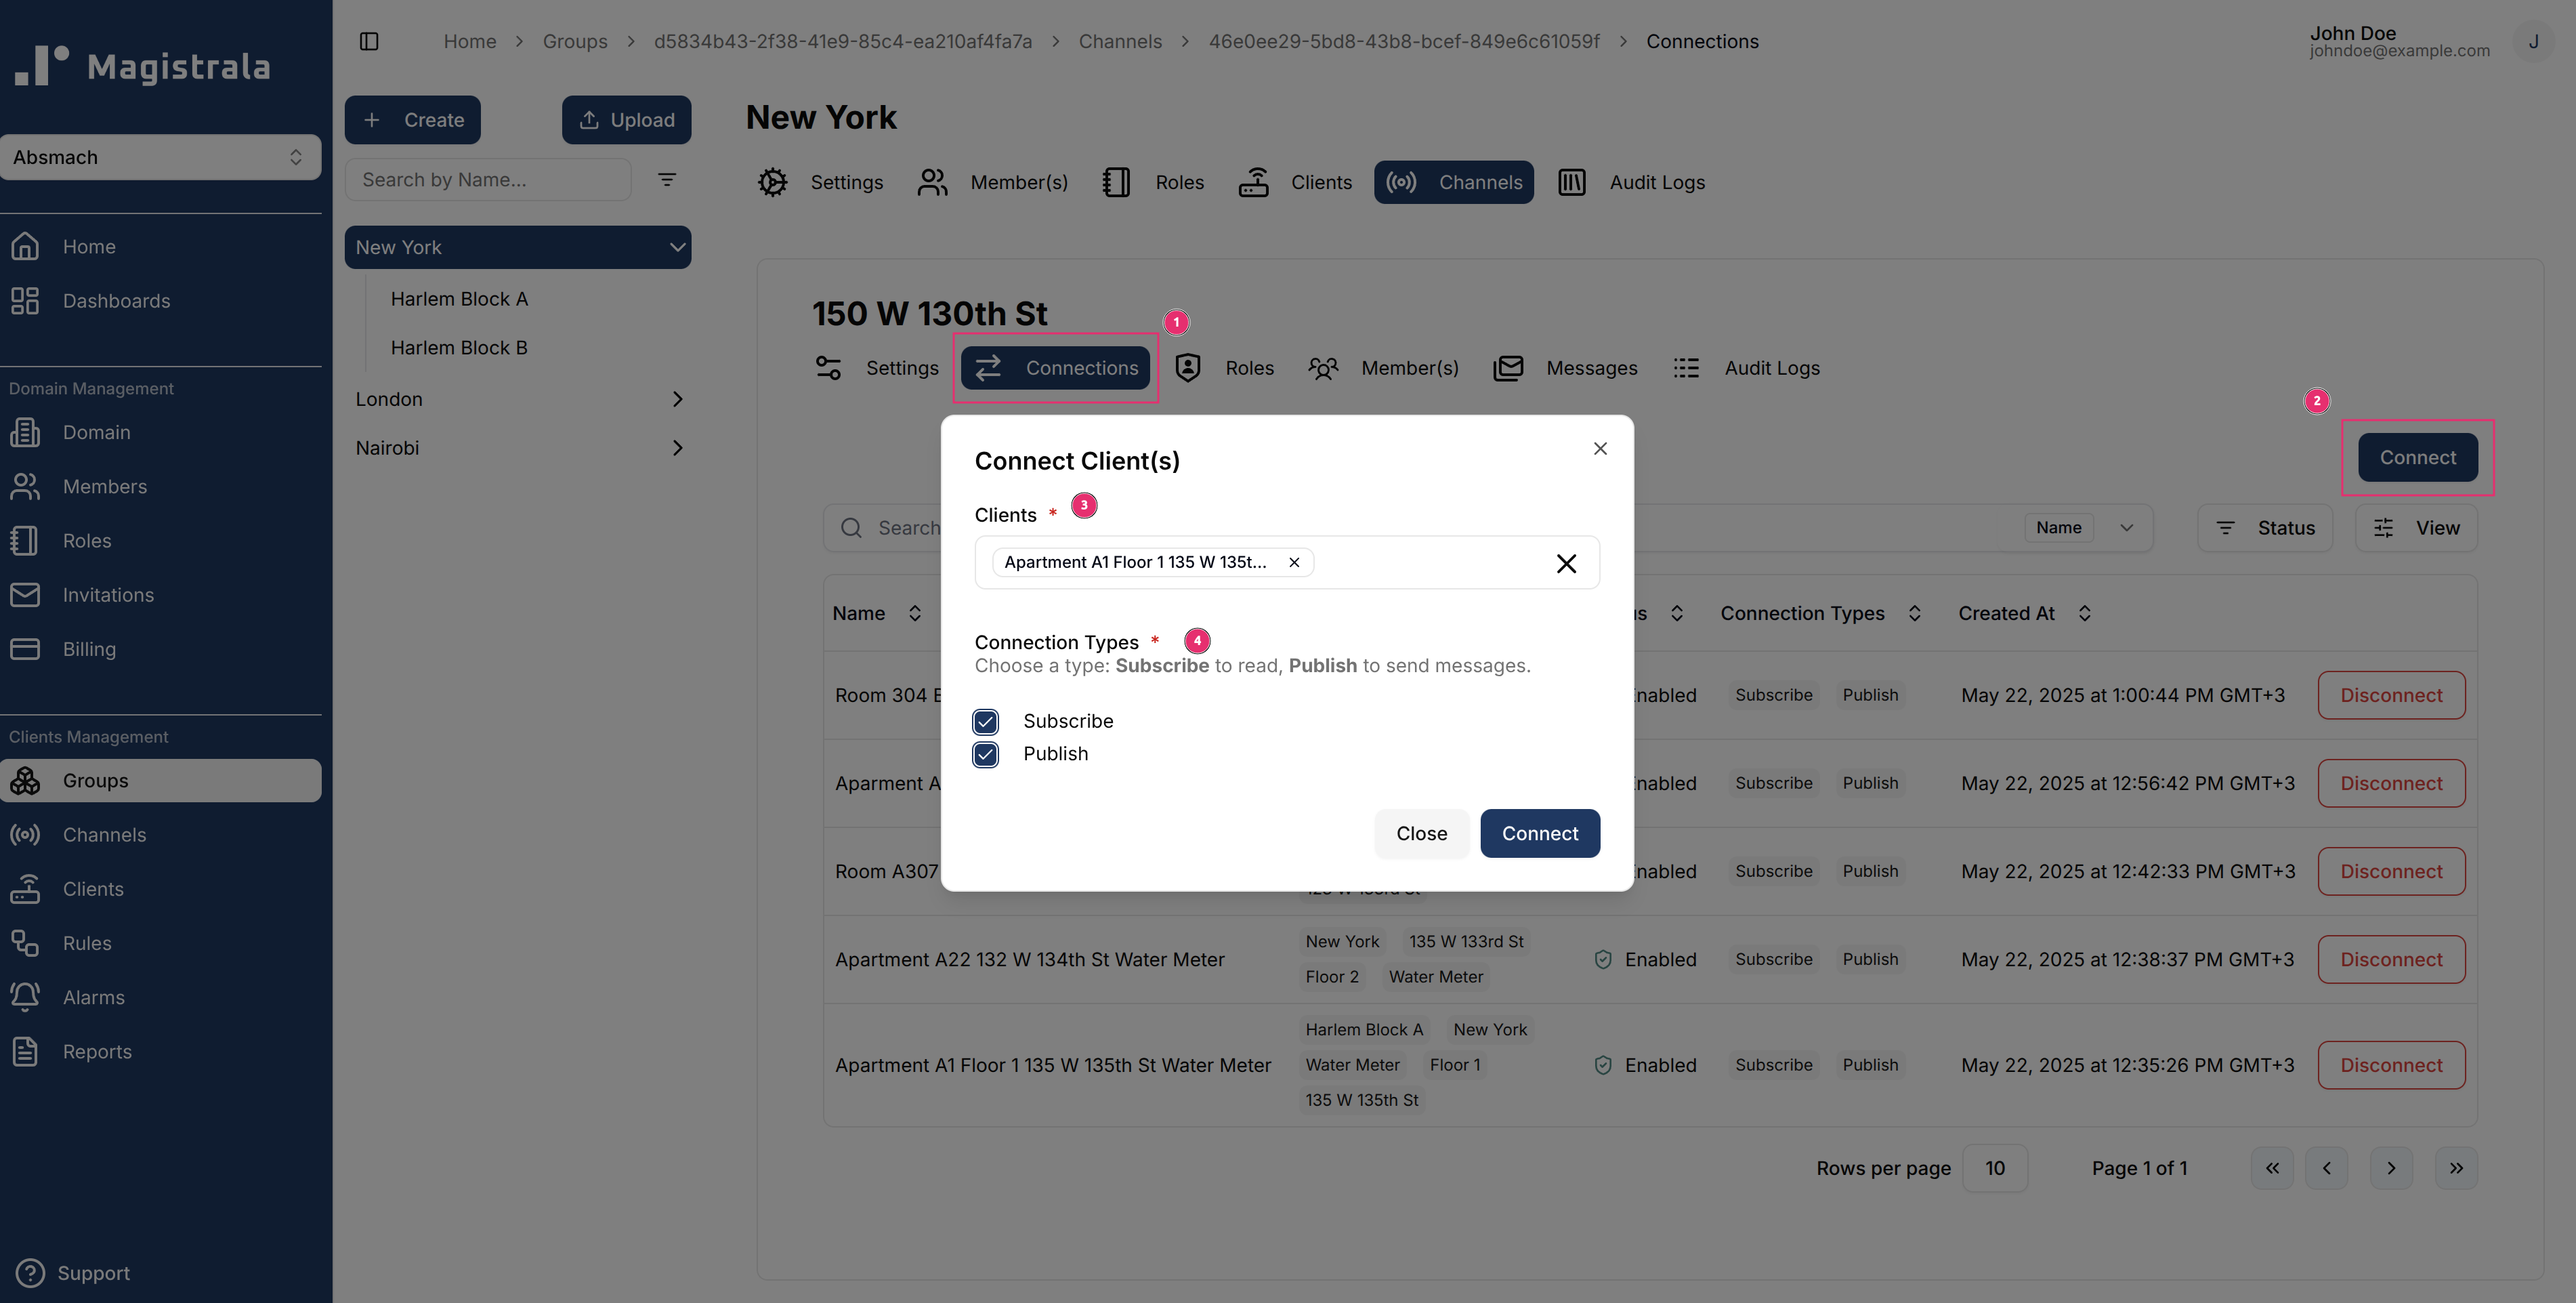
The Connections tab in the group-device page is where a User can connect a Device to a Channel.
Channels act as message conduits, enabling communication between devices.
They serve as topics that multiple devices can publish to or subscribe from, allowing seamless device-to-device messaging.
While subtopics are supported for more granular message routing, they are optional for basic interactions.
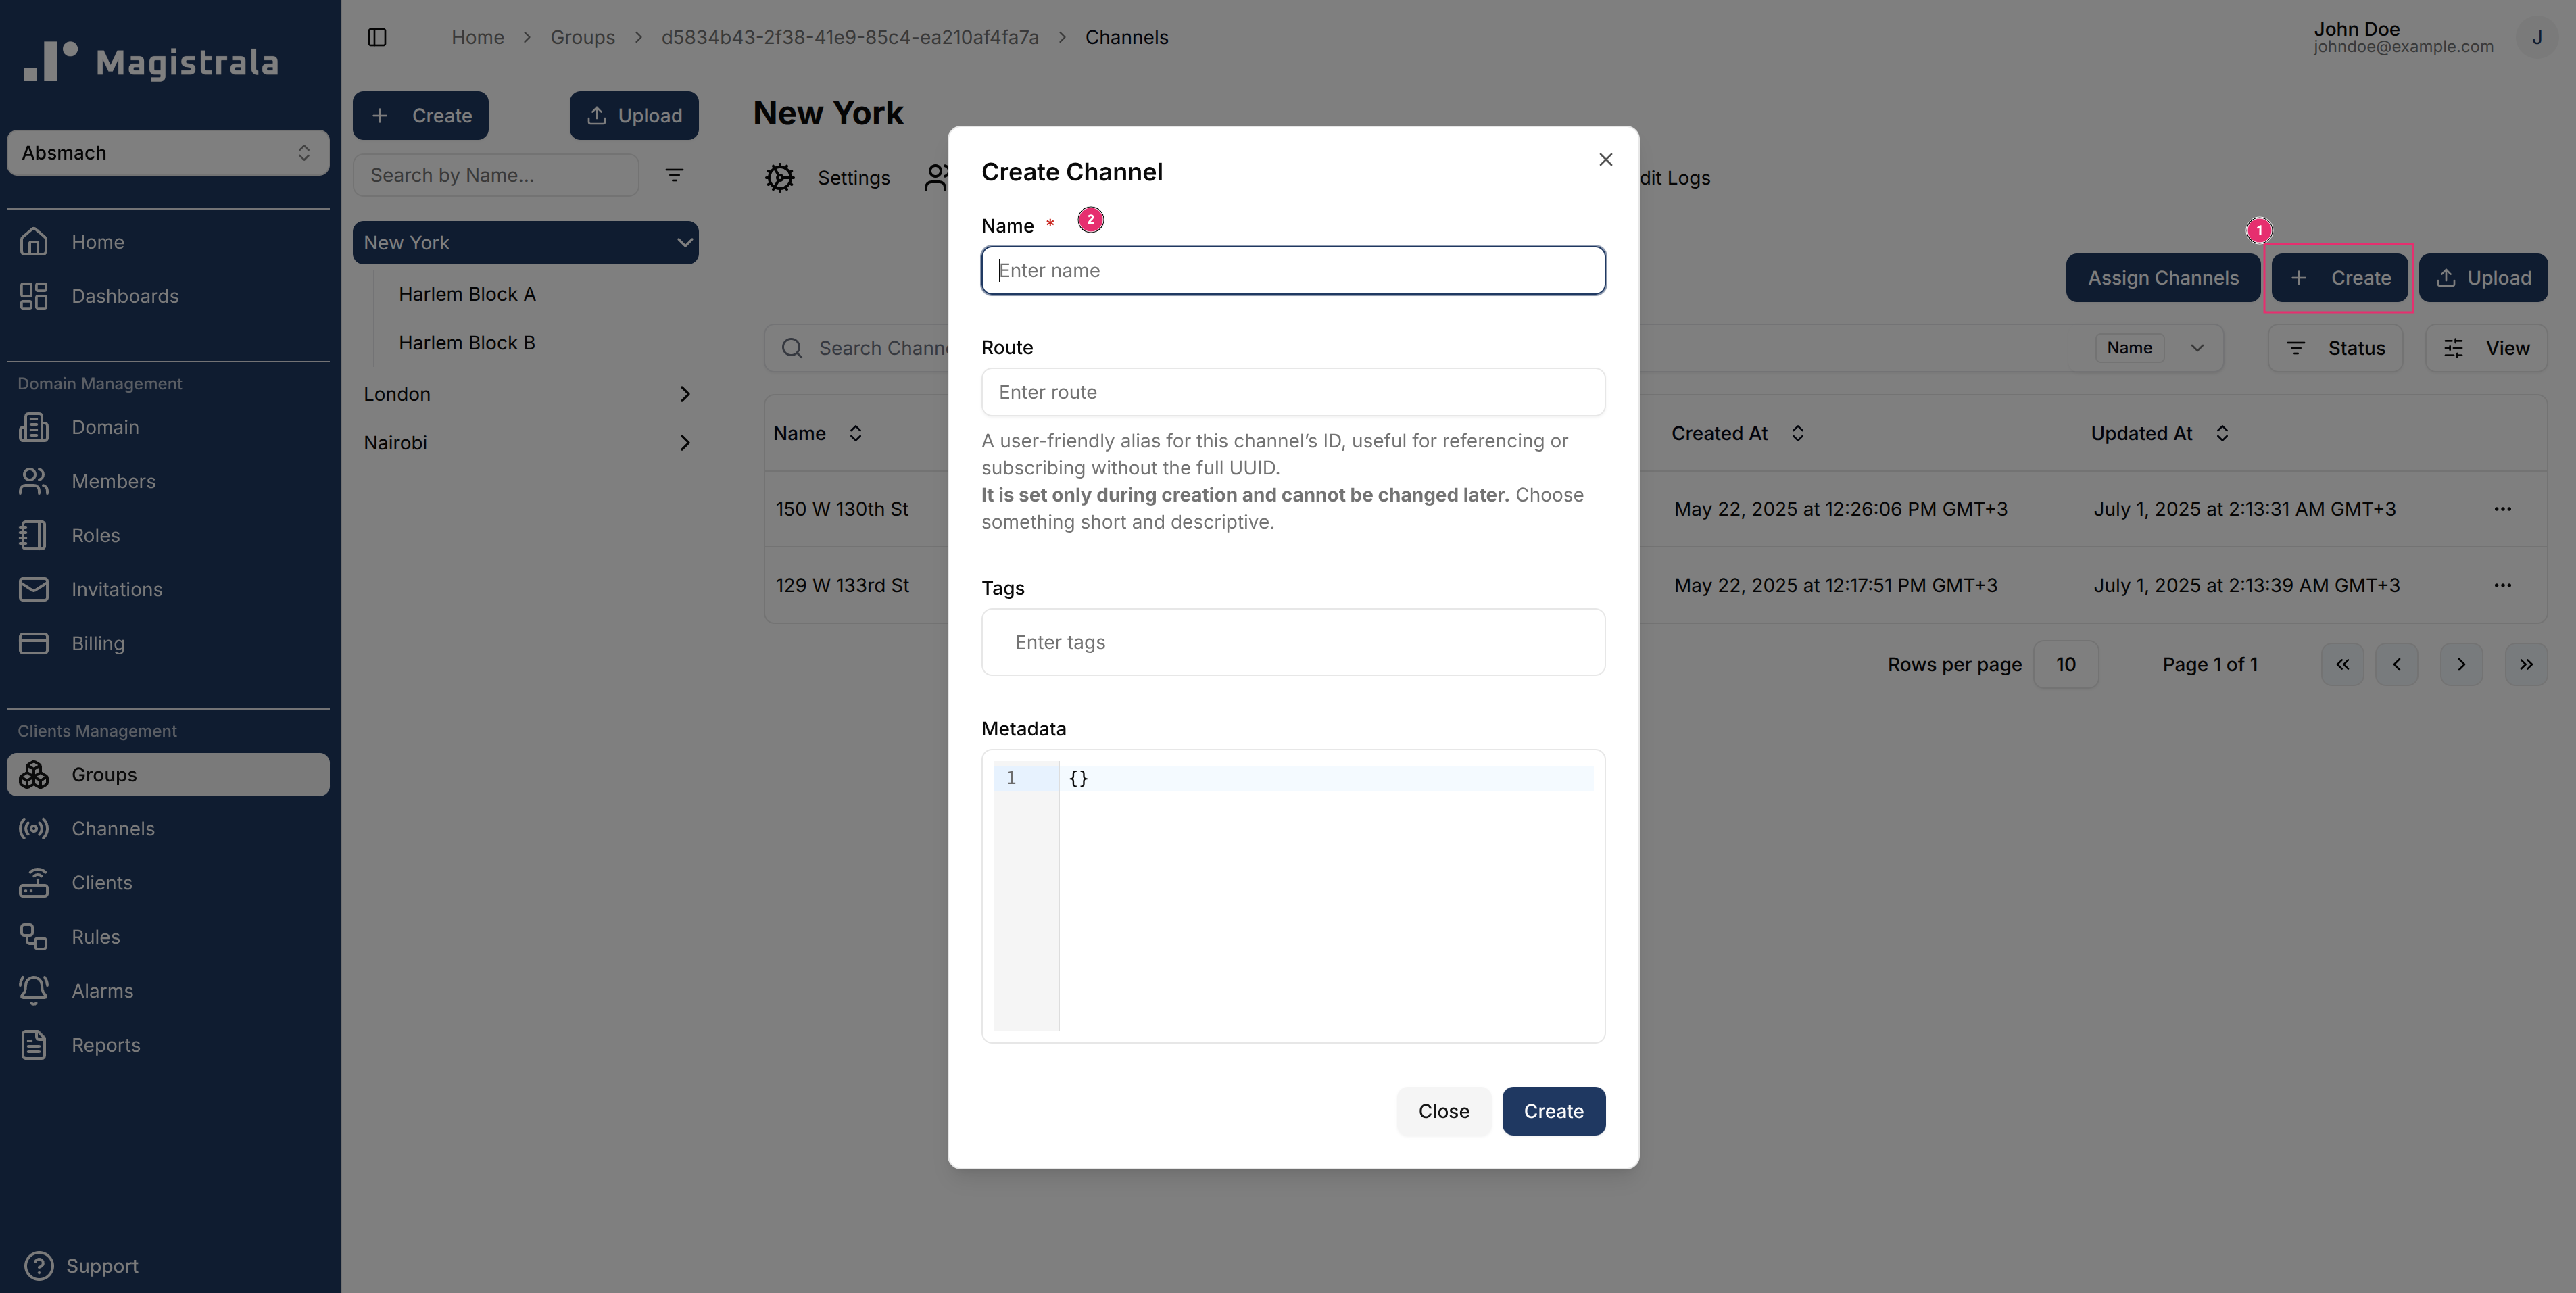
Each channel has a route, which is a user-friendly alias for the channel’s ID.
The route makes it easier to reference or subscribe to the channel without needing the full UUID.
It is defined only during creation and cannot be changed later, so choose something short, clear, and descriptive.
To create a channel, navigate to the fourth tab under the groups and click on + Create. This will open a dialog box which will take in a unique Channel name. Much like the Devices, clicking on Upload will allow a user to upload a .CSV file with multiple channels.
Rules Engine is part of Magistrala Enterprise Edition (EE). This step requires EE to be
deployed — see the Rules Engine documentation for details.
To store any messages in the Magistrala database, you must first create and save a Rule using Rules Engine.
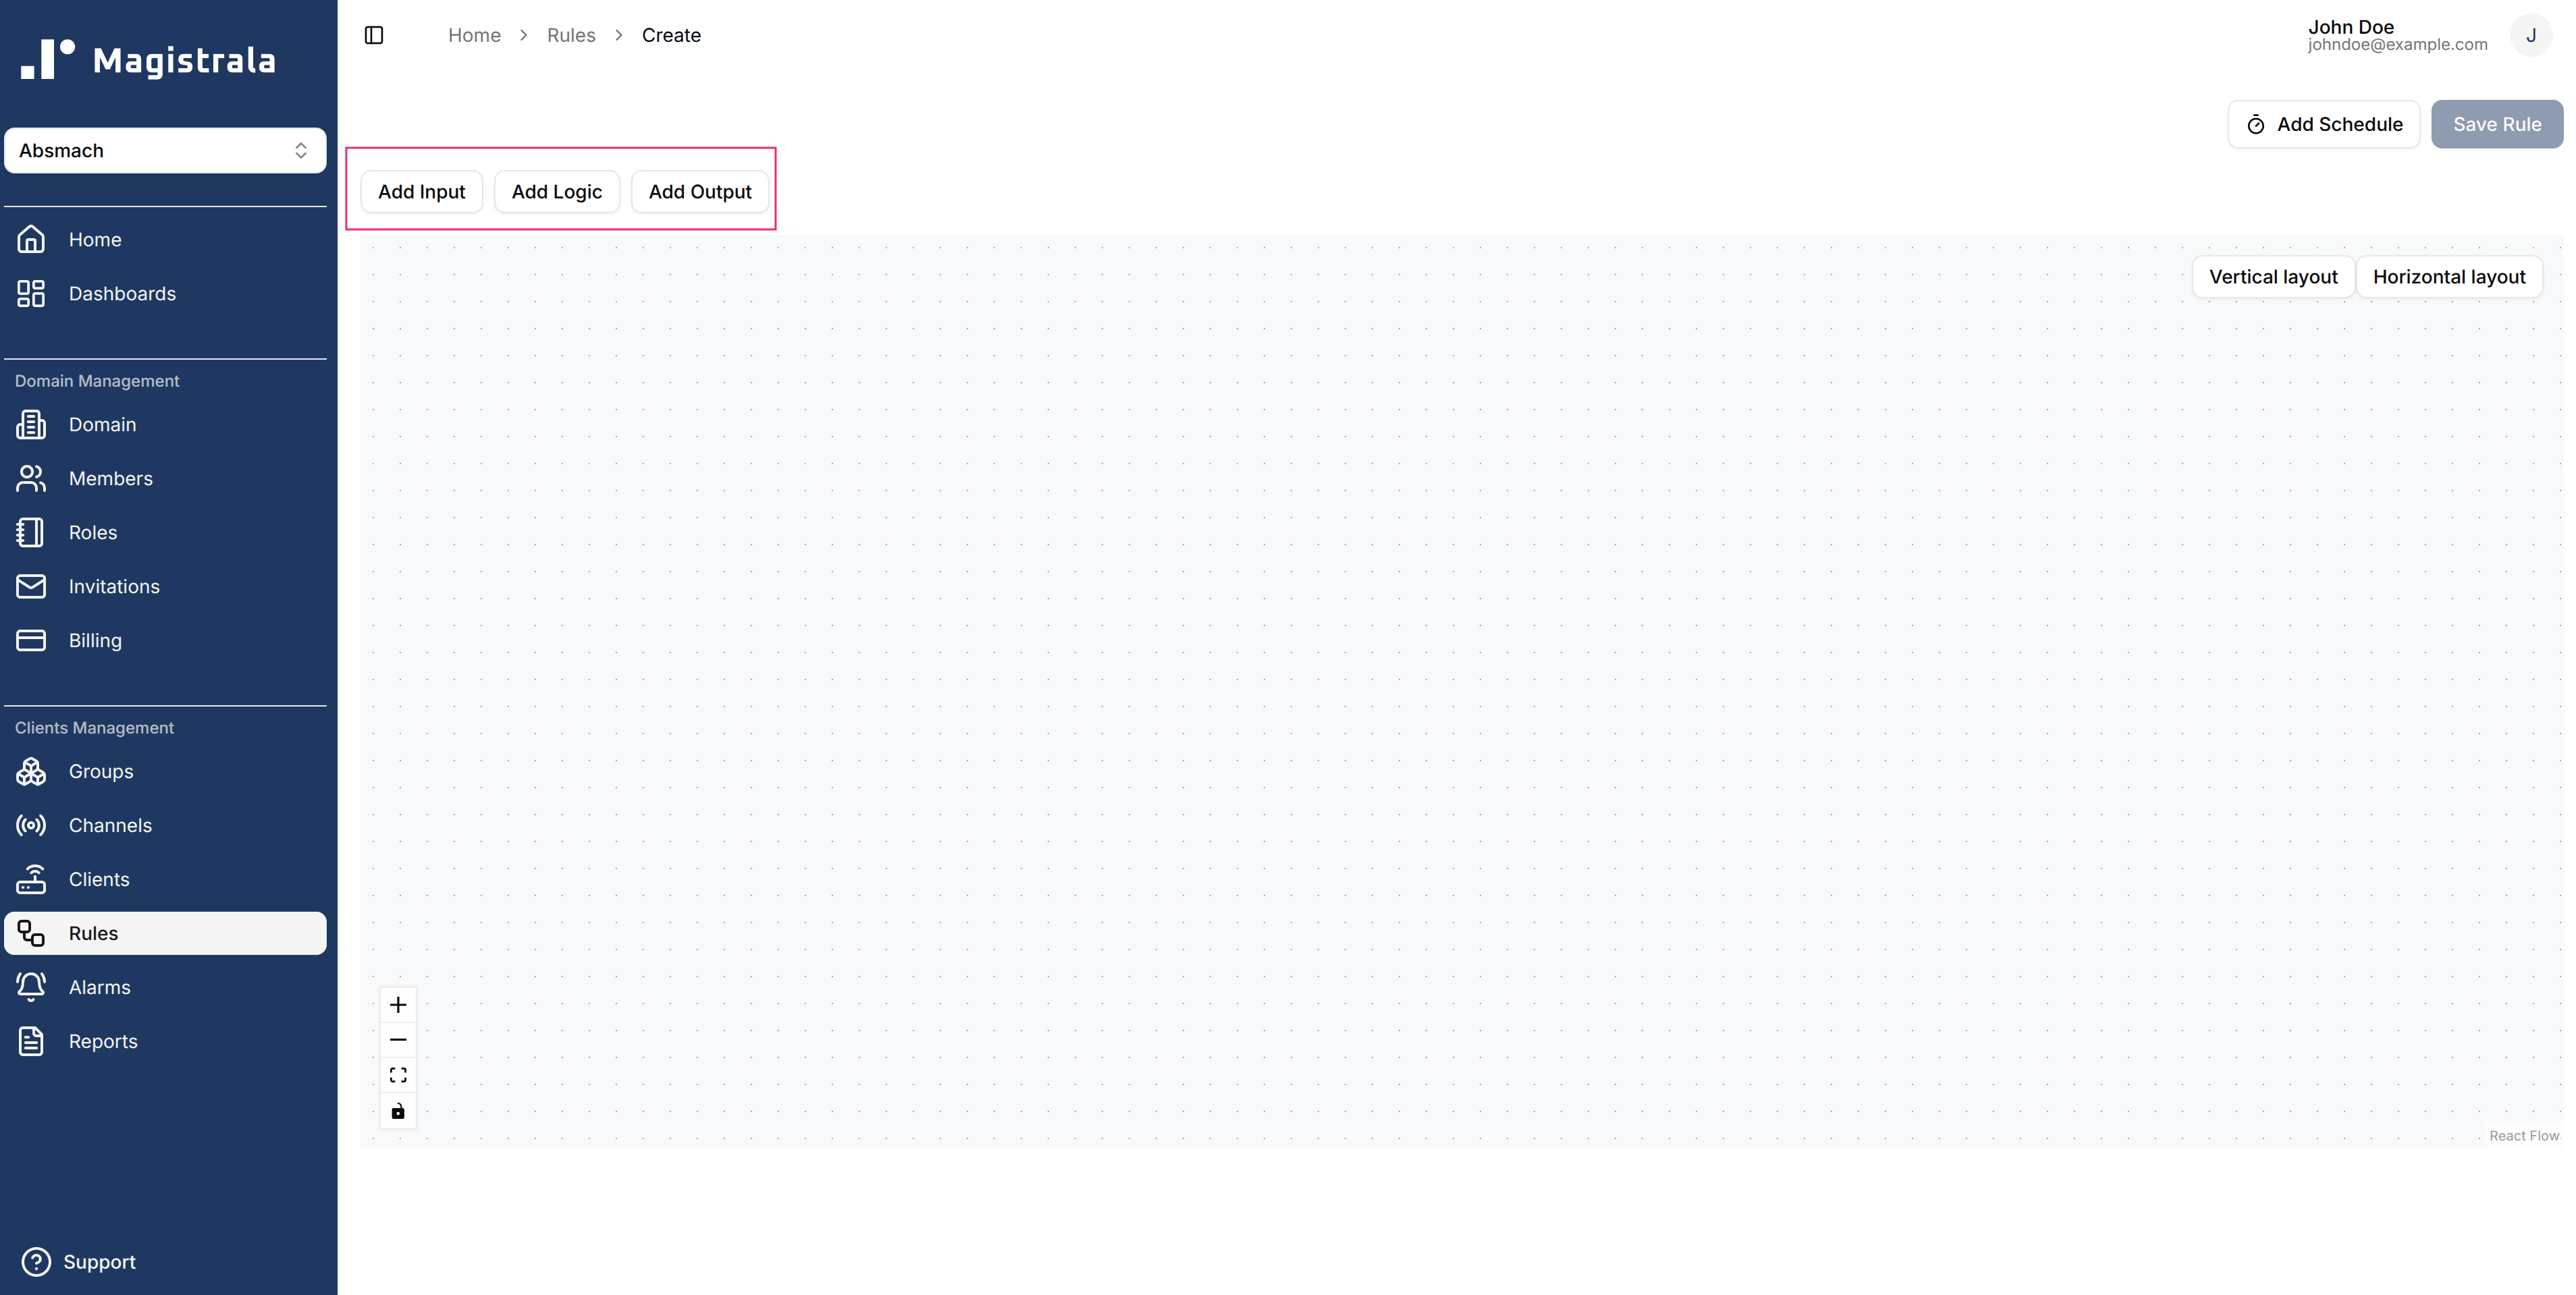
Navigate to the Rules Engine section on the navigation bar and click on + Create.
You will be taken directly to the Rule Creation page, where you can start building your rule by adding the required nodes.
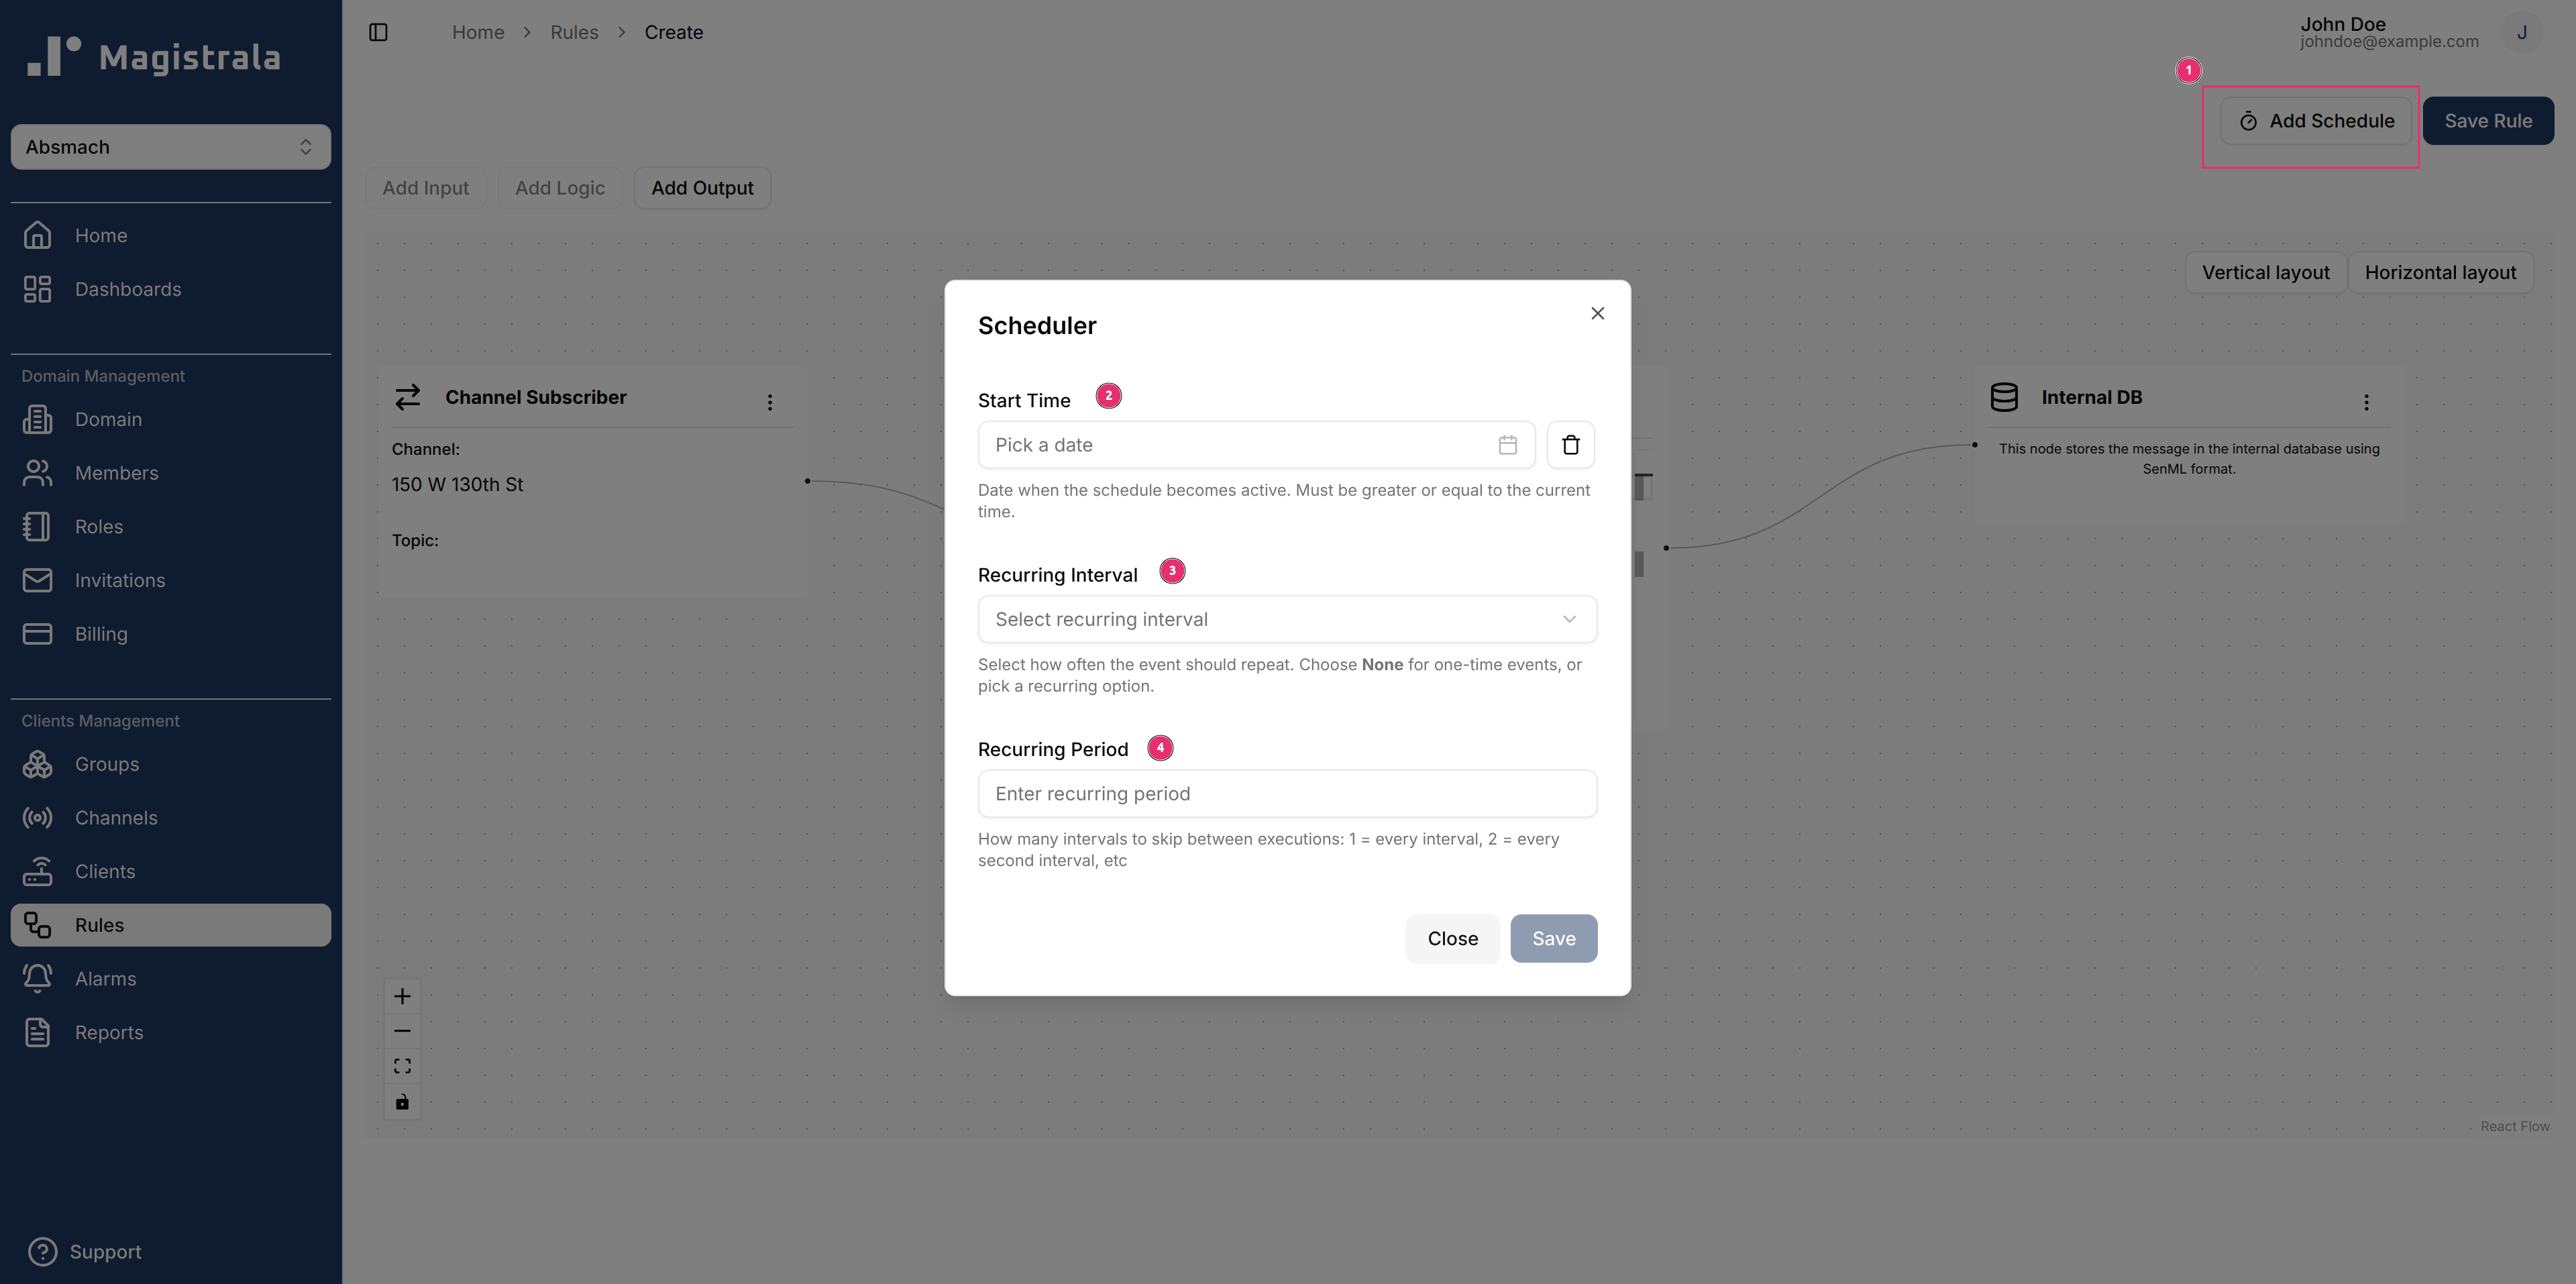
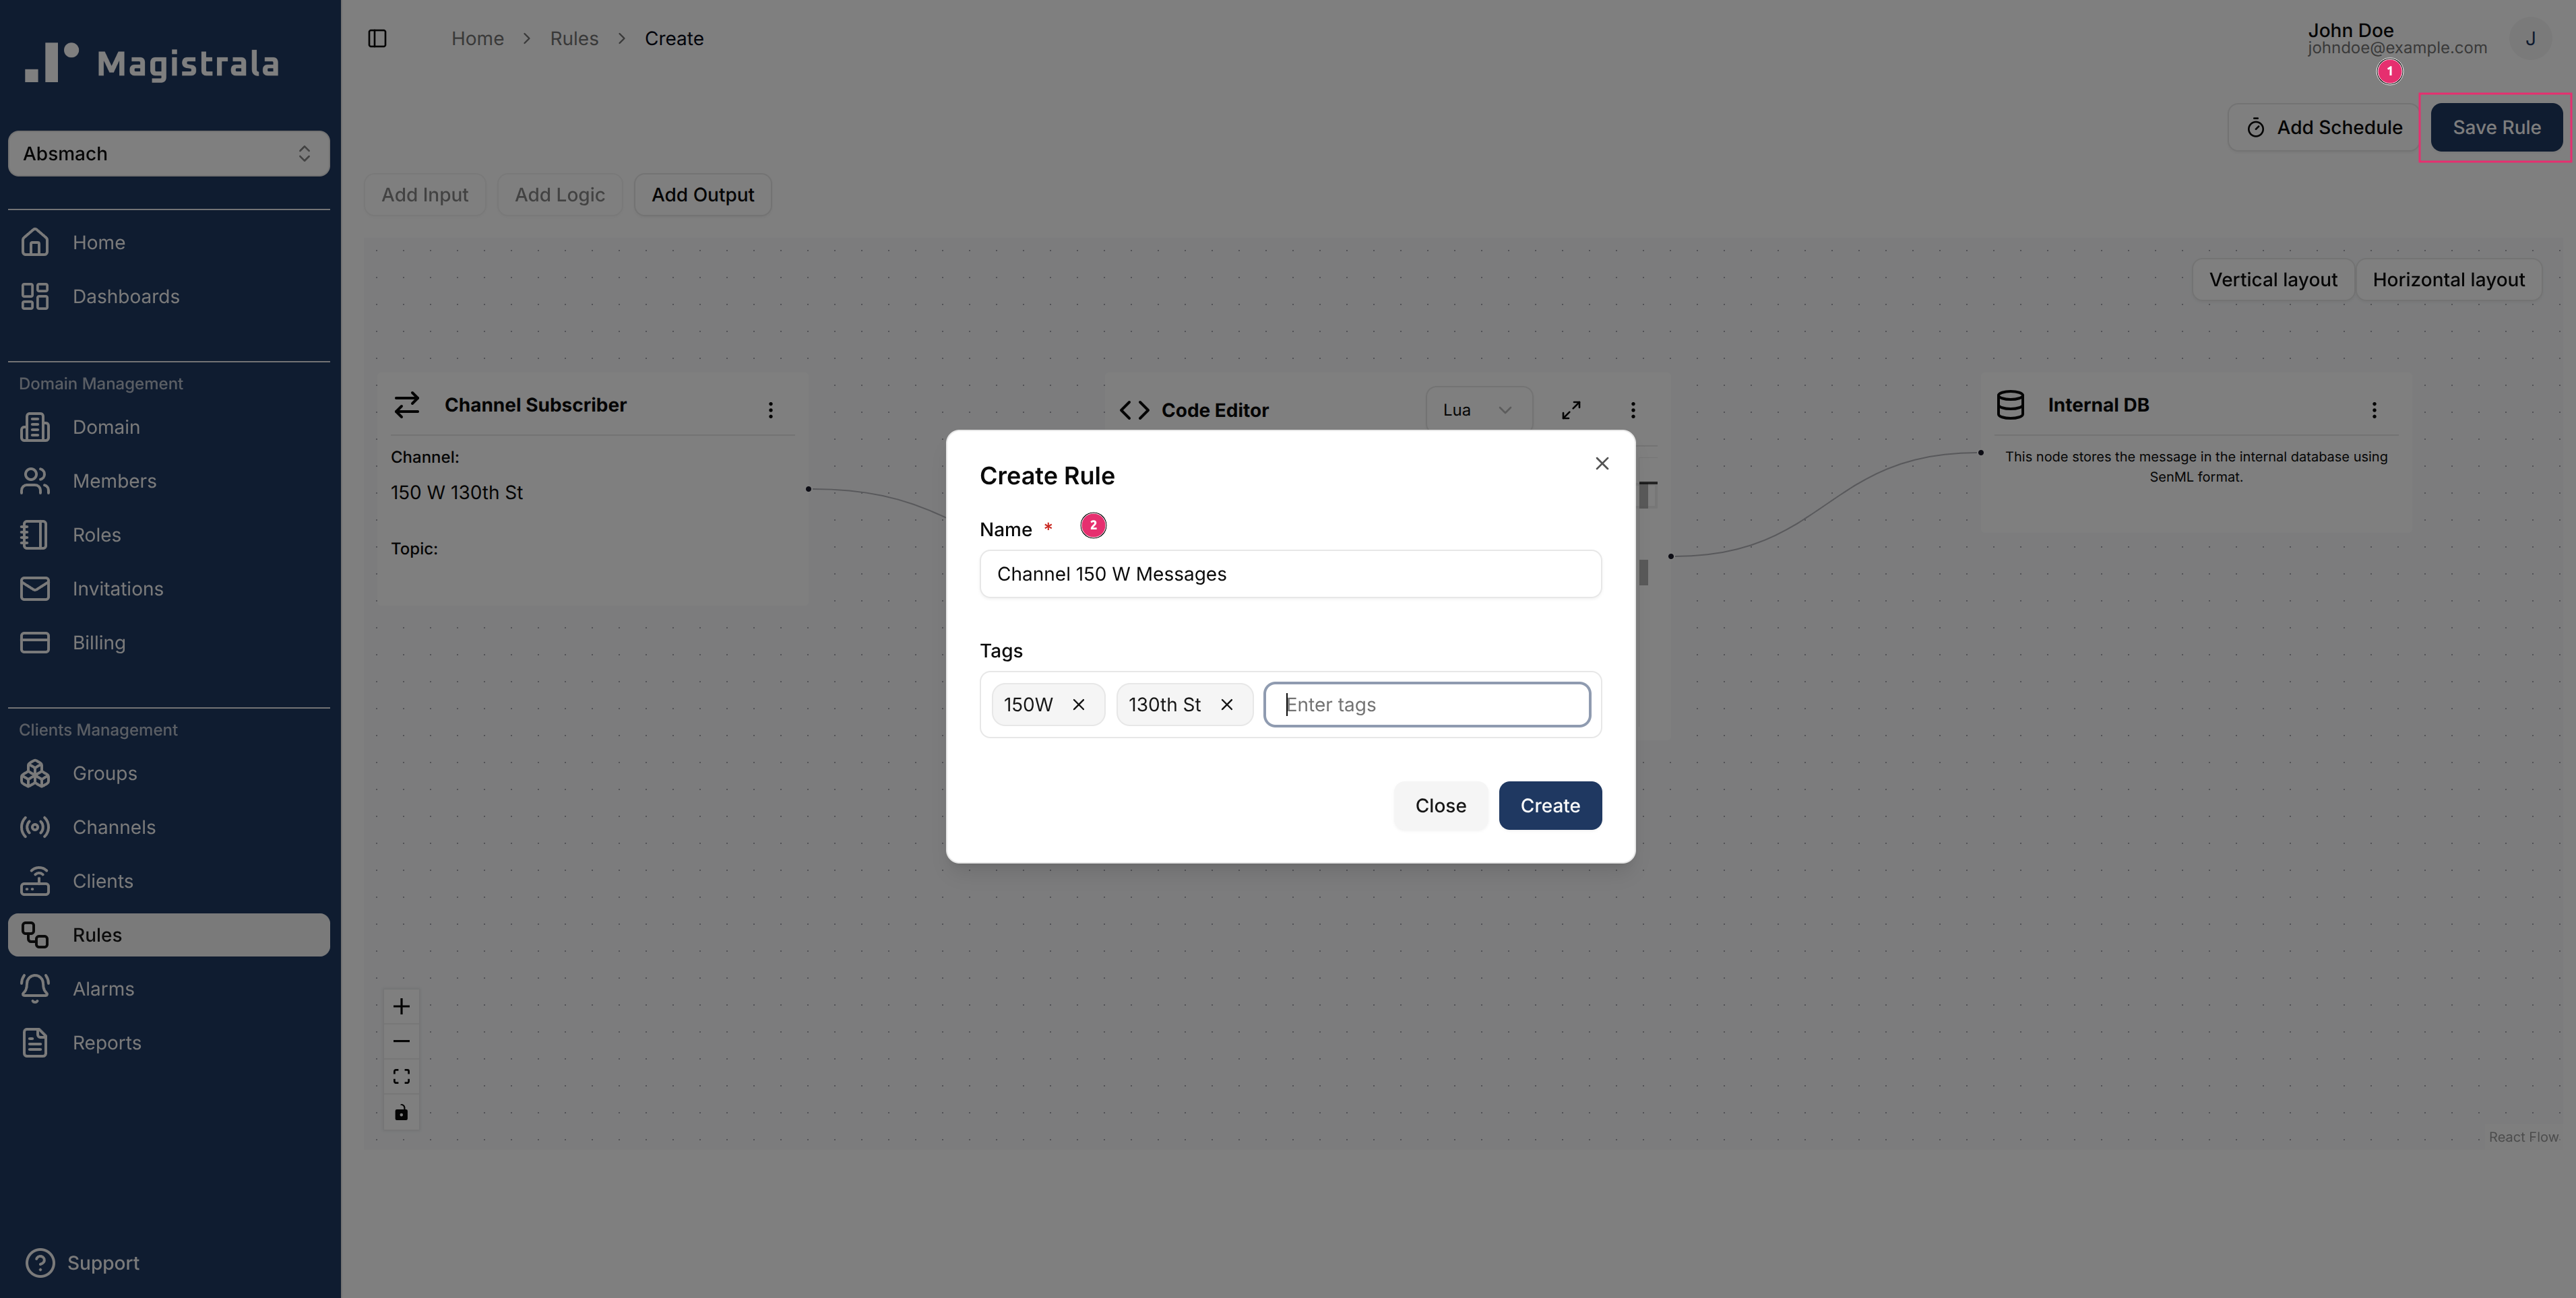
Once you have added all required nodes (Input, Logic, and Output), click Save Rule.
A dialog will appear where you can enter the Rule Name and optional Tags.
Click Create to save the rule.
Your new rule will now appear in the Rules table, ready to process incoming messages.
More information about Rules Creation and Updating can be found in the Rules Engine Section
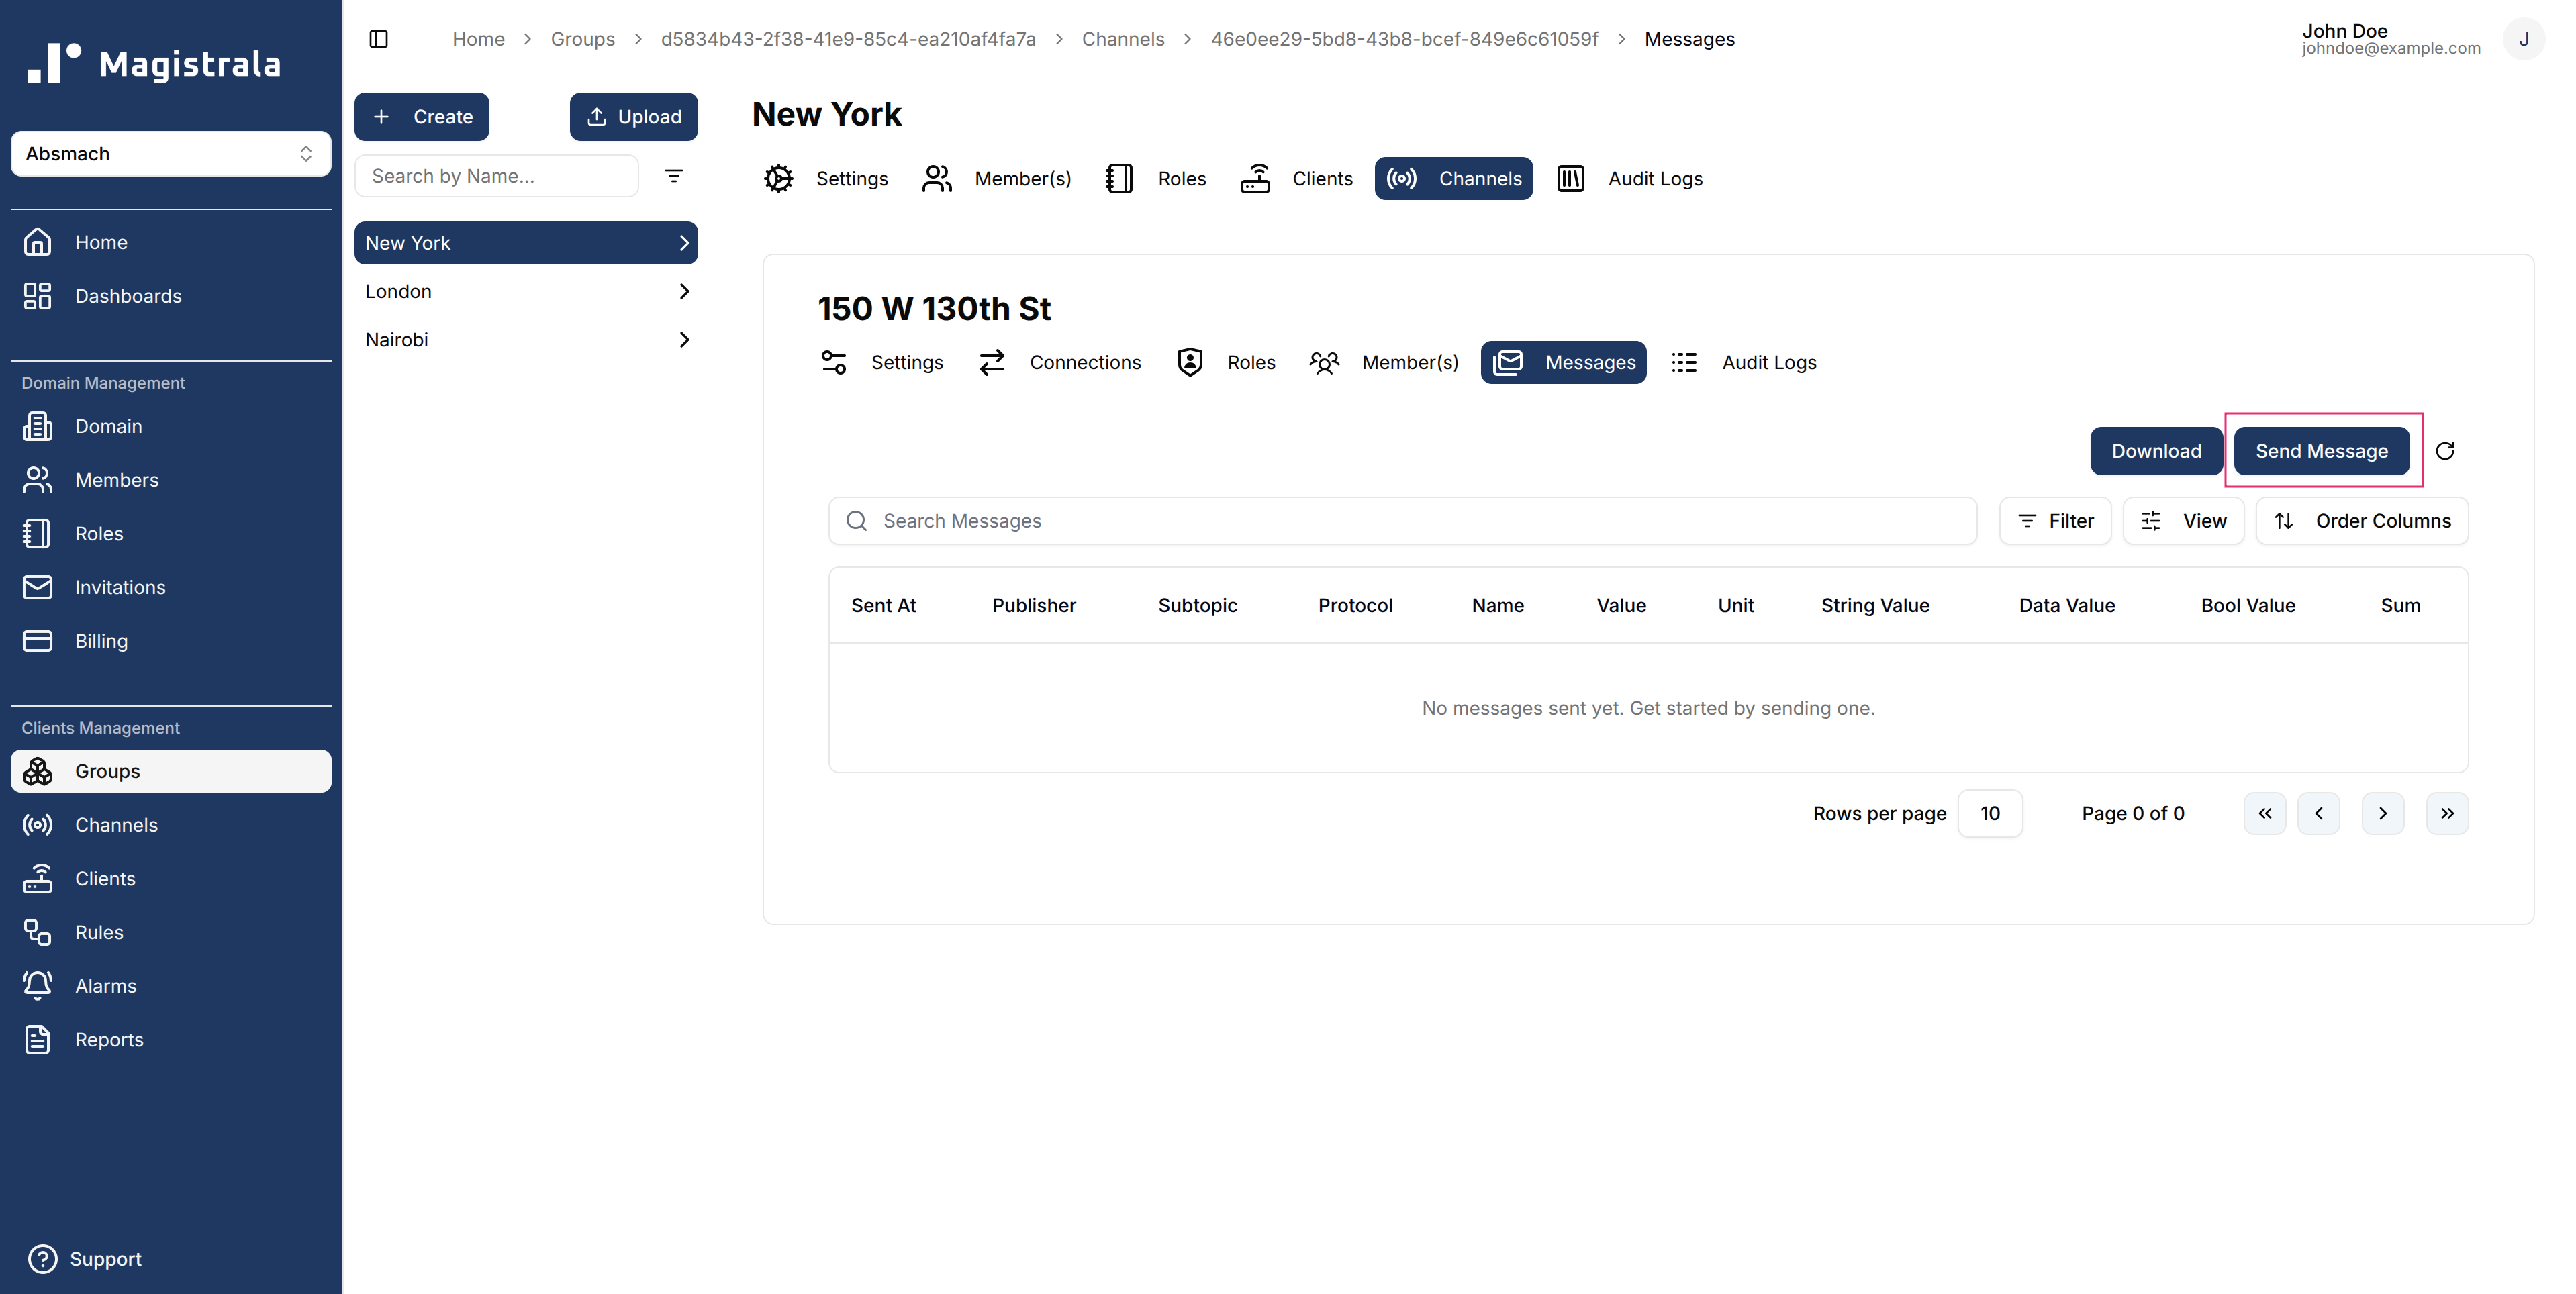
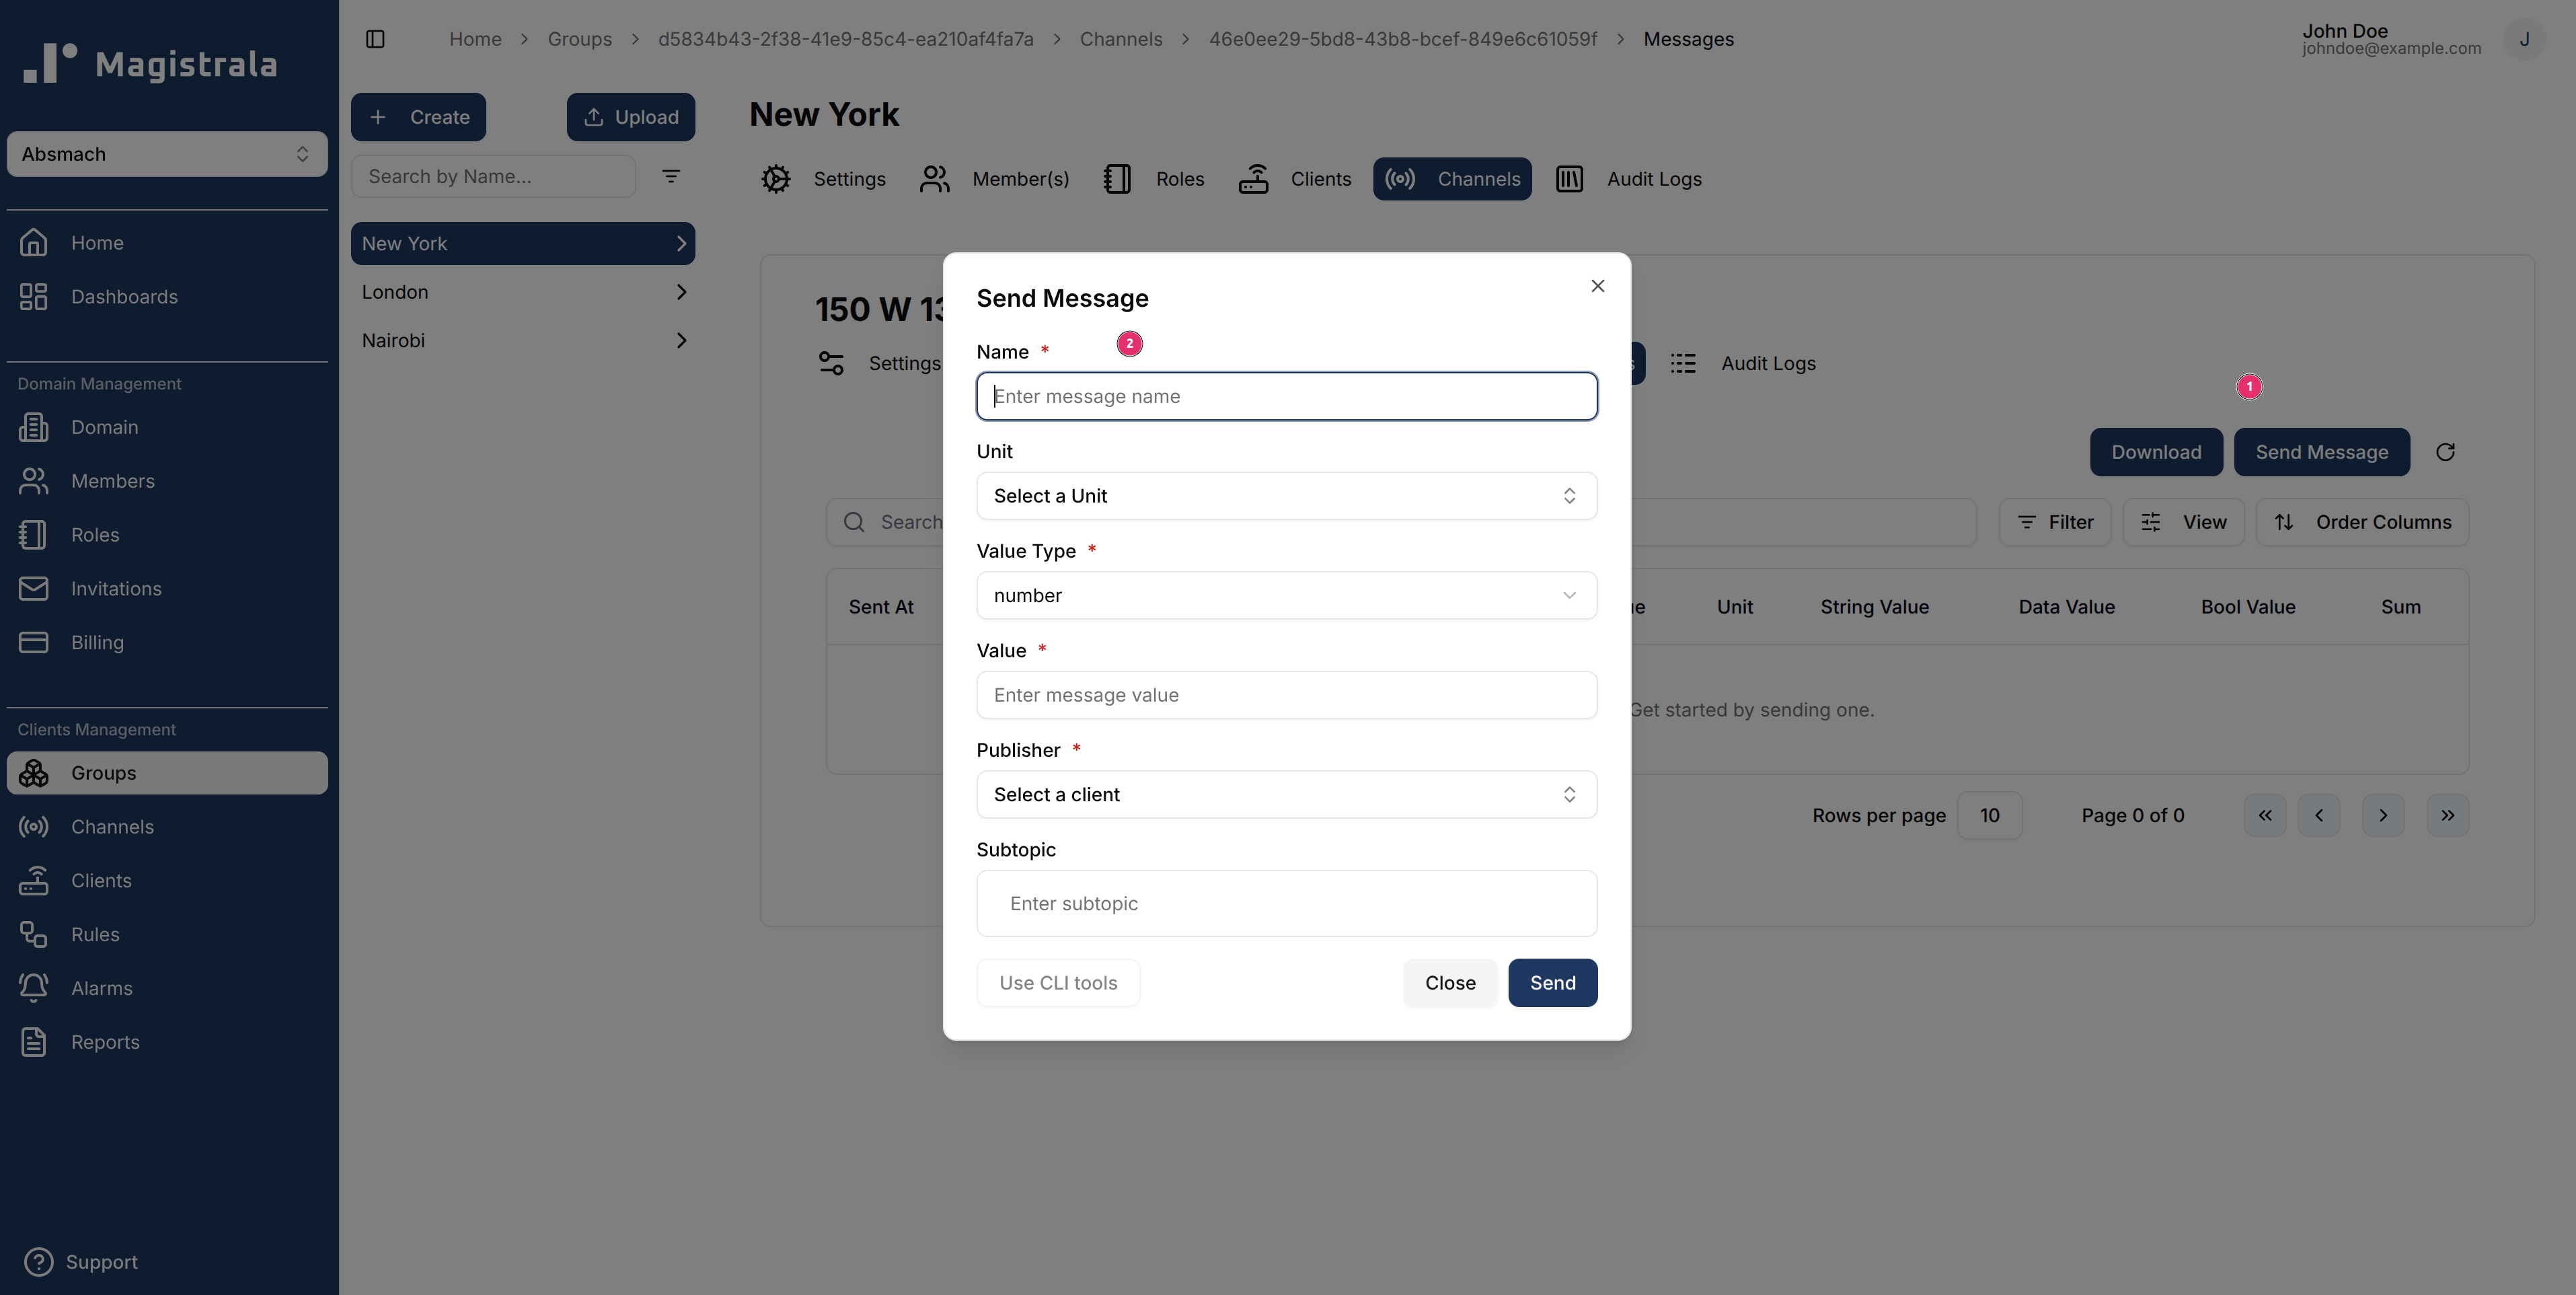
Once a Channel and Device are connected as well as Rule created, a user is able to send messages. Navigate to the Messages tab of the Group-Channel and click on Send Messages.
This will open a dialog box where all the required fields bear an asterisk. Messages are sent via HTTP protocol in the UI.
Users can also send messages using curl commands for HTTP or via MQTT.
Here are some examples:
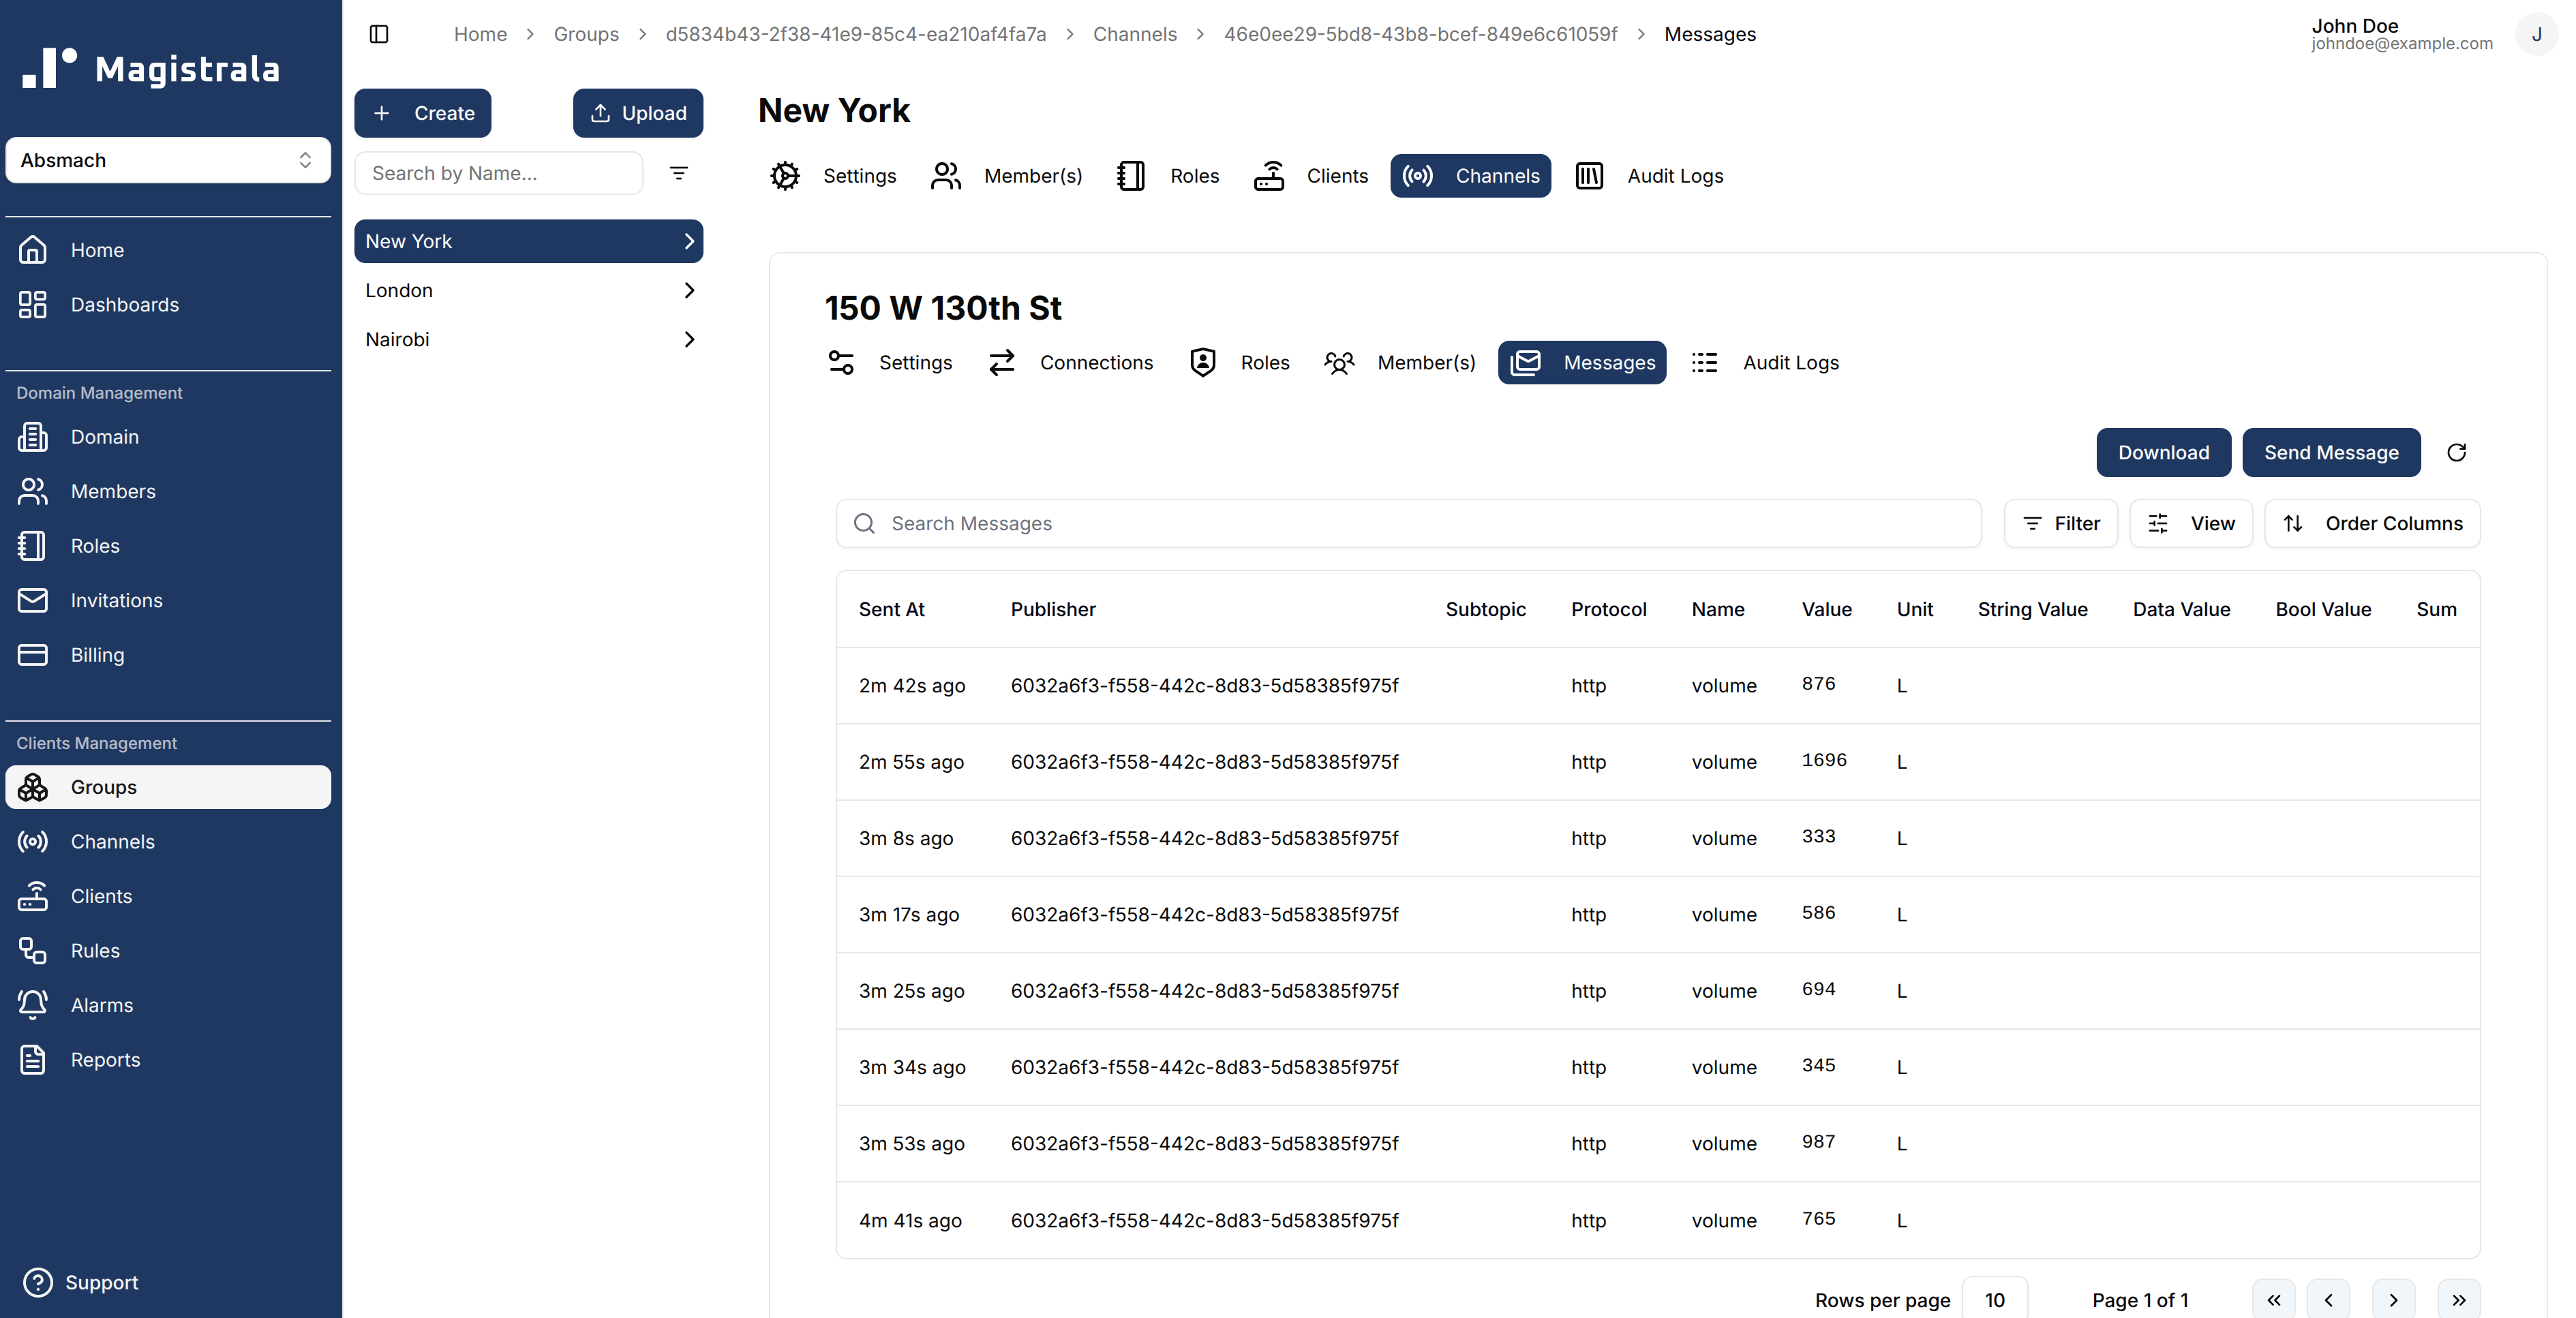
The messages table will then update to include the message sent with the latest message appearing first.
Using the filter options, you can filter through a wide range of messages based on the protocol, publisher or even value.
Some advanced filters allow the user to filter based on the required value type, such as boolean or string values.
The time filter allows the user to select a date and define a specific time window using the date-time picker.
The user can also find aggregate values of messages provided they add an interval as well as a From and To time.
With these values you can get the Maximum, Minimum, Average and Count value of messages within a certain time period.
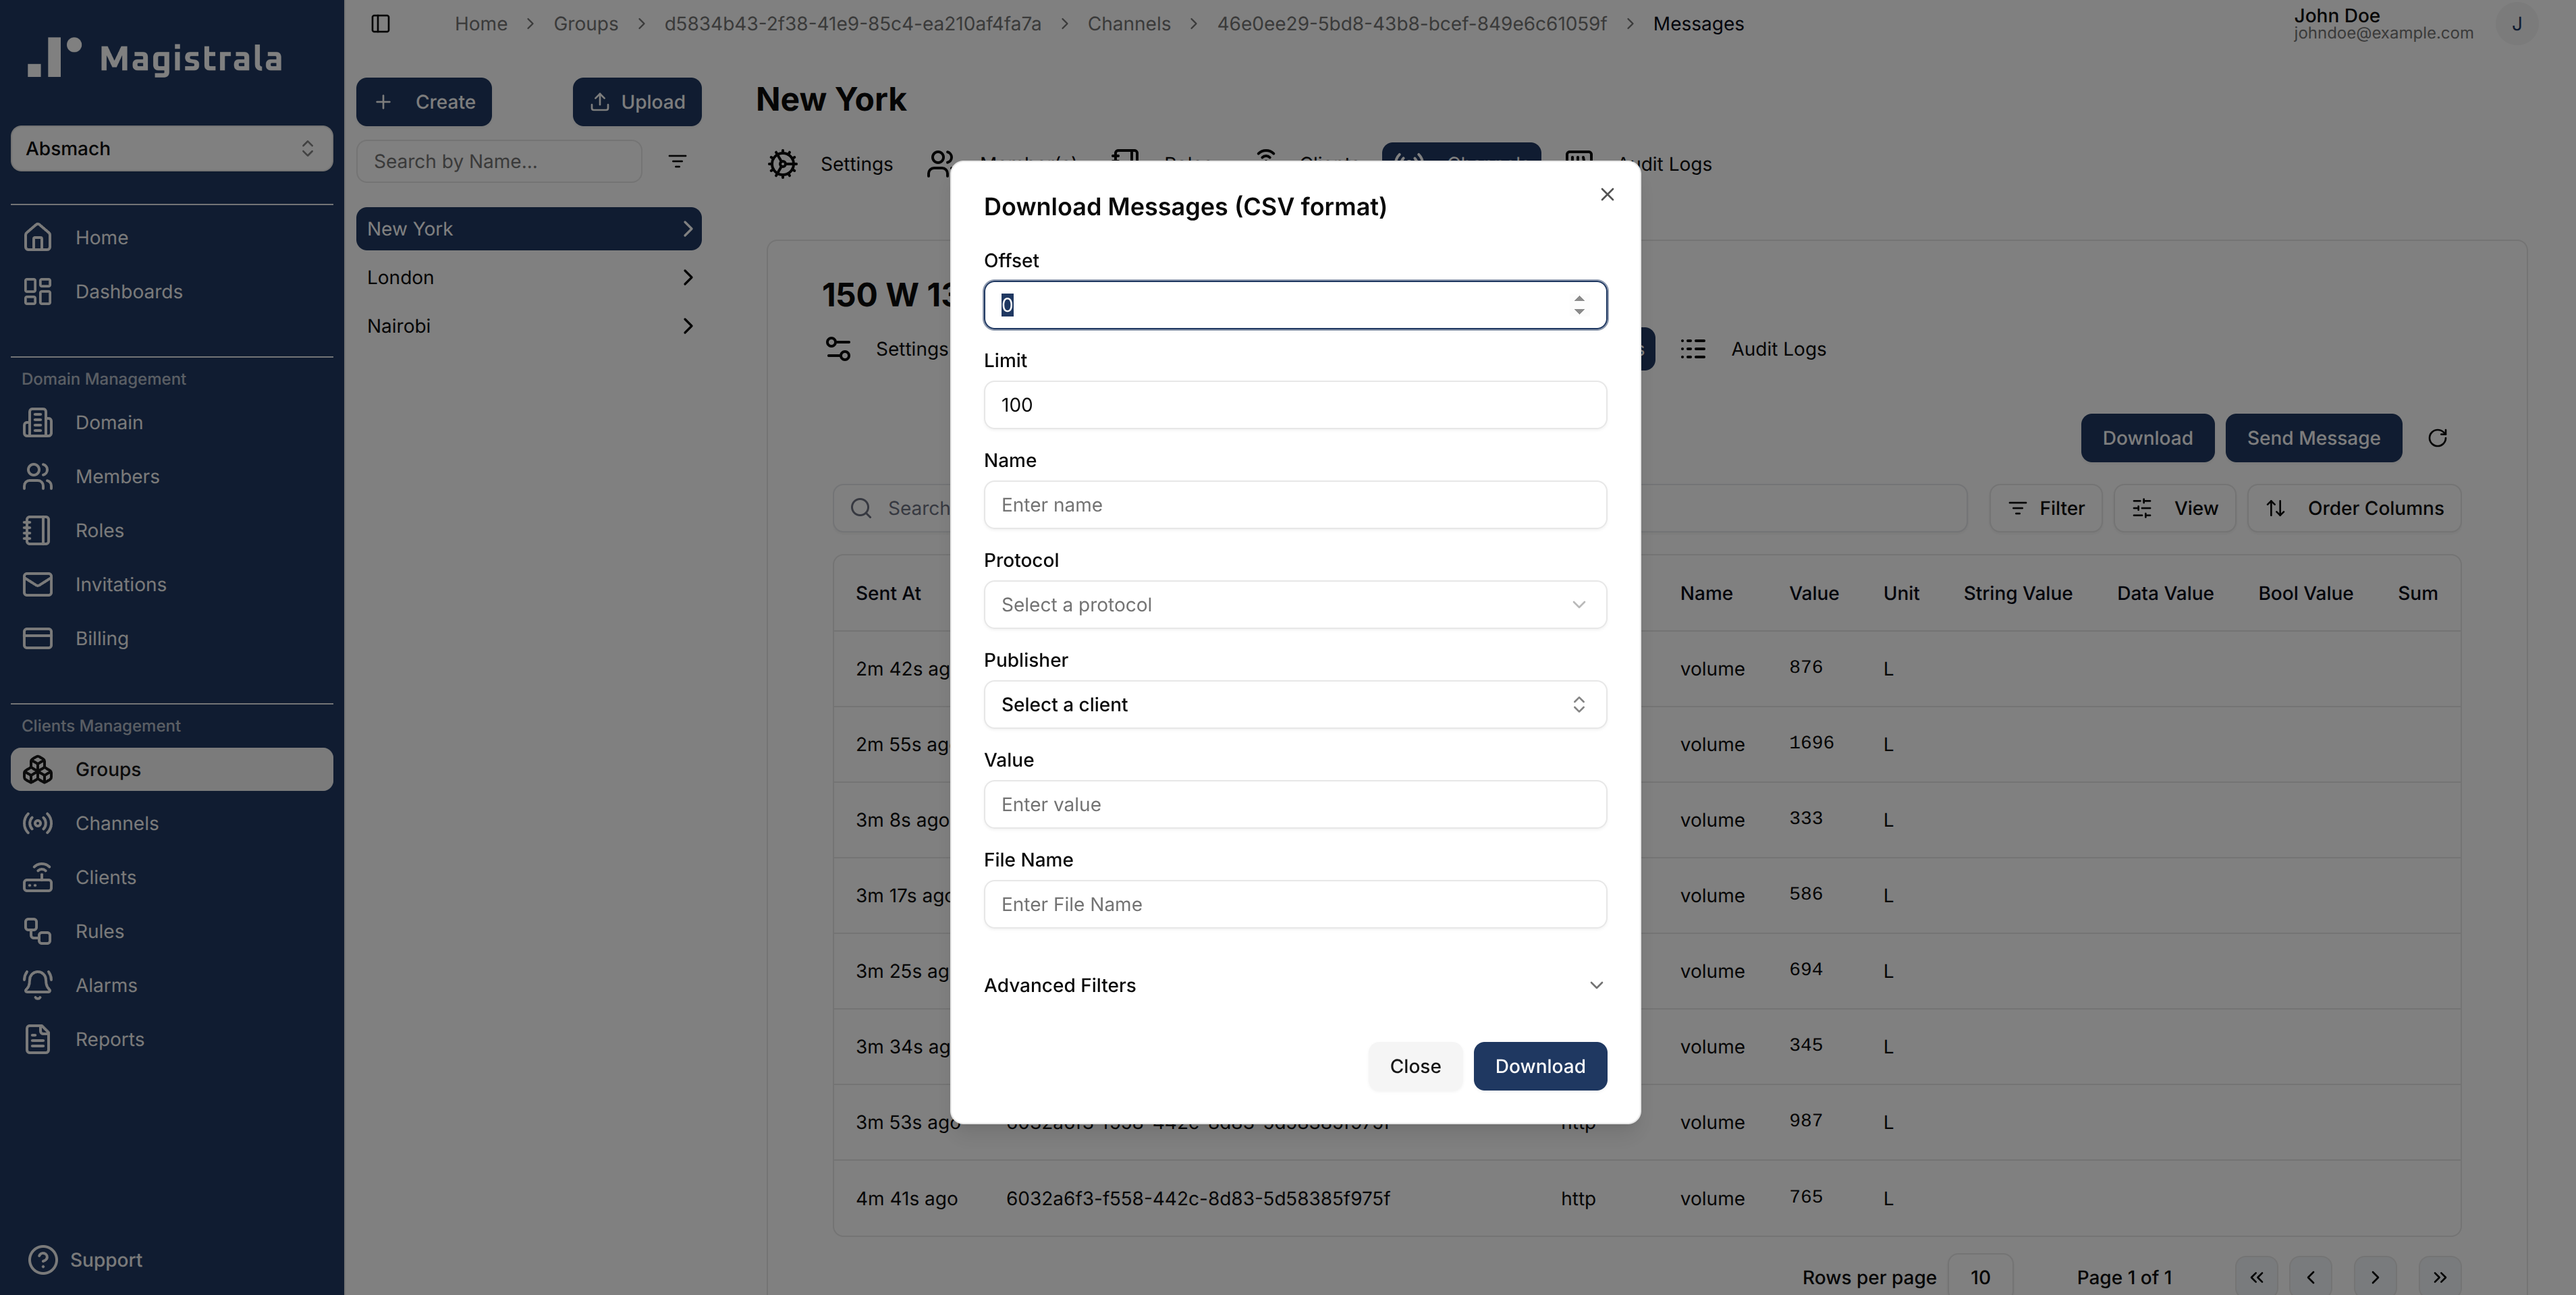
The user can also download a list of messages based on selected filters and view them in a .csv file by clicking the Download Messages button at the top right of the messages table.
Messages provide a core service for our IoT platform especially when it comes to the Dashboards service.