Custom Nodes
Create and manage reusable custom logic nodes for the Rules Engine
Overview
Custom Nodes let you define reusable logic scripts that can be used as logic nodes across multiple rules in the same domain. Instead of writing the same Lua or Go script in every rule, you create a Custom Node once and select it whenever you need that logic.
Custom Nodes support versioning — every time you save changes to a node, its version number increments. Rules that already use the node are not automatically updated; you must explicitly sync them to adopt the new version.
Create a Custom Node
Navigate to Custom Nodes in the sidebar and click + Create.
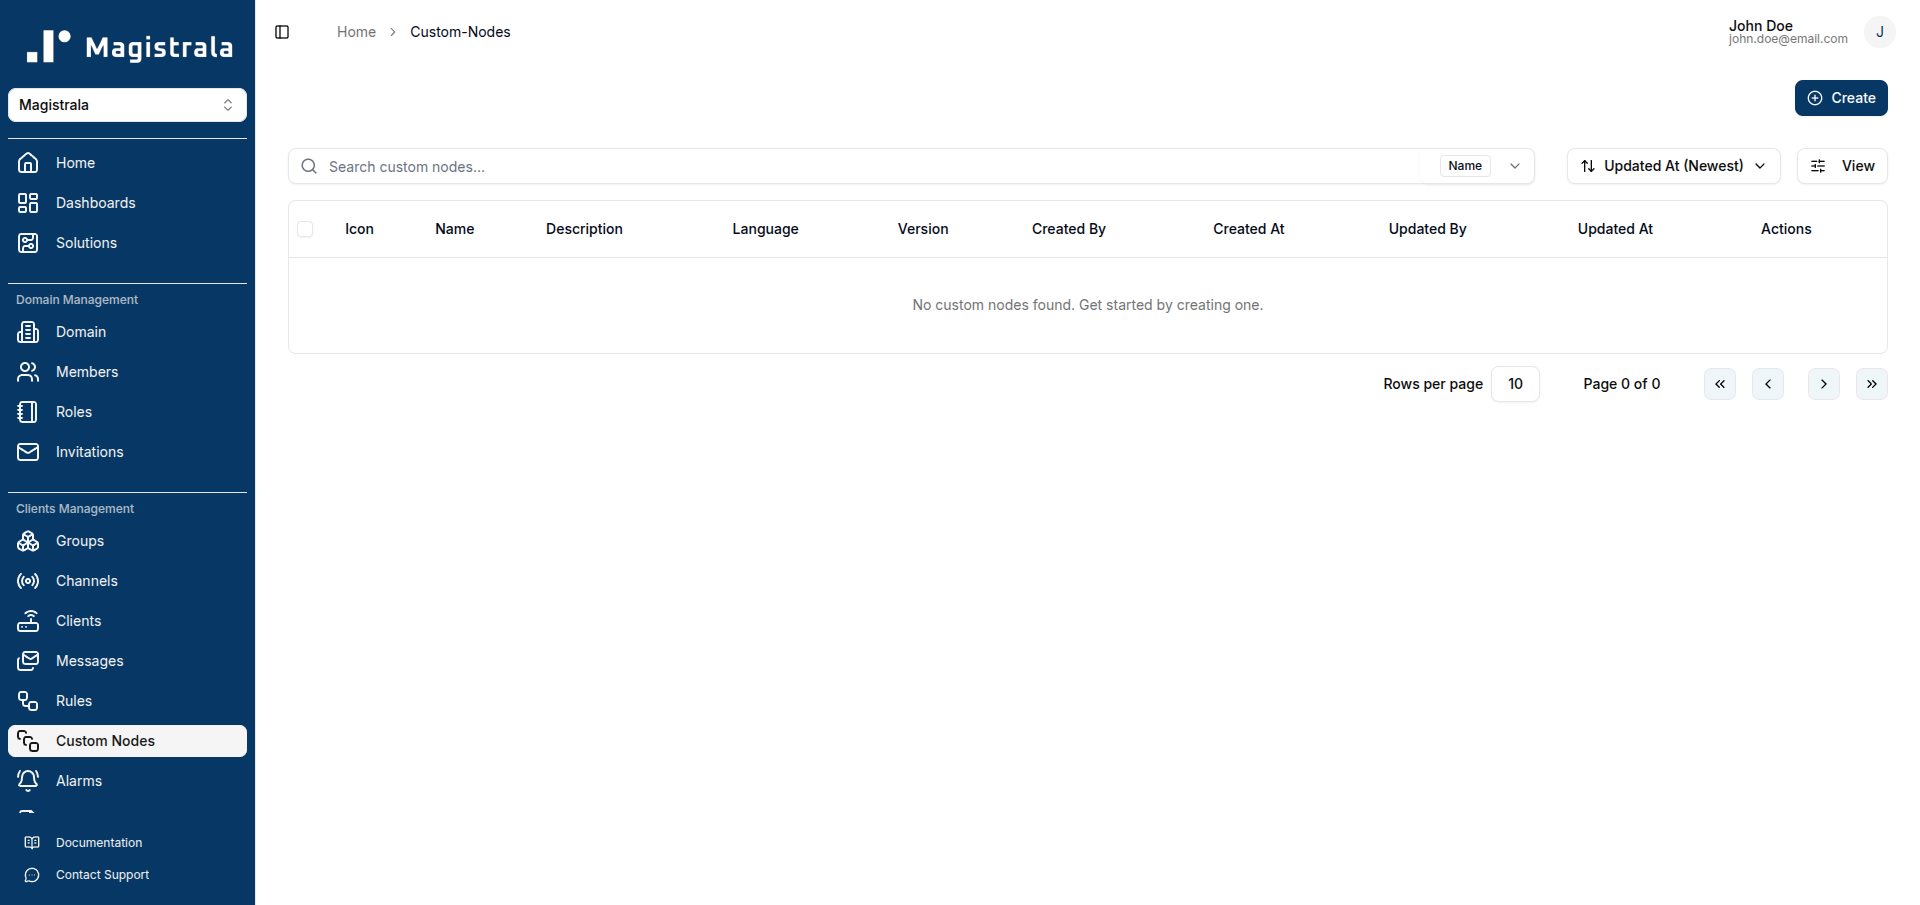
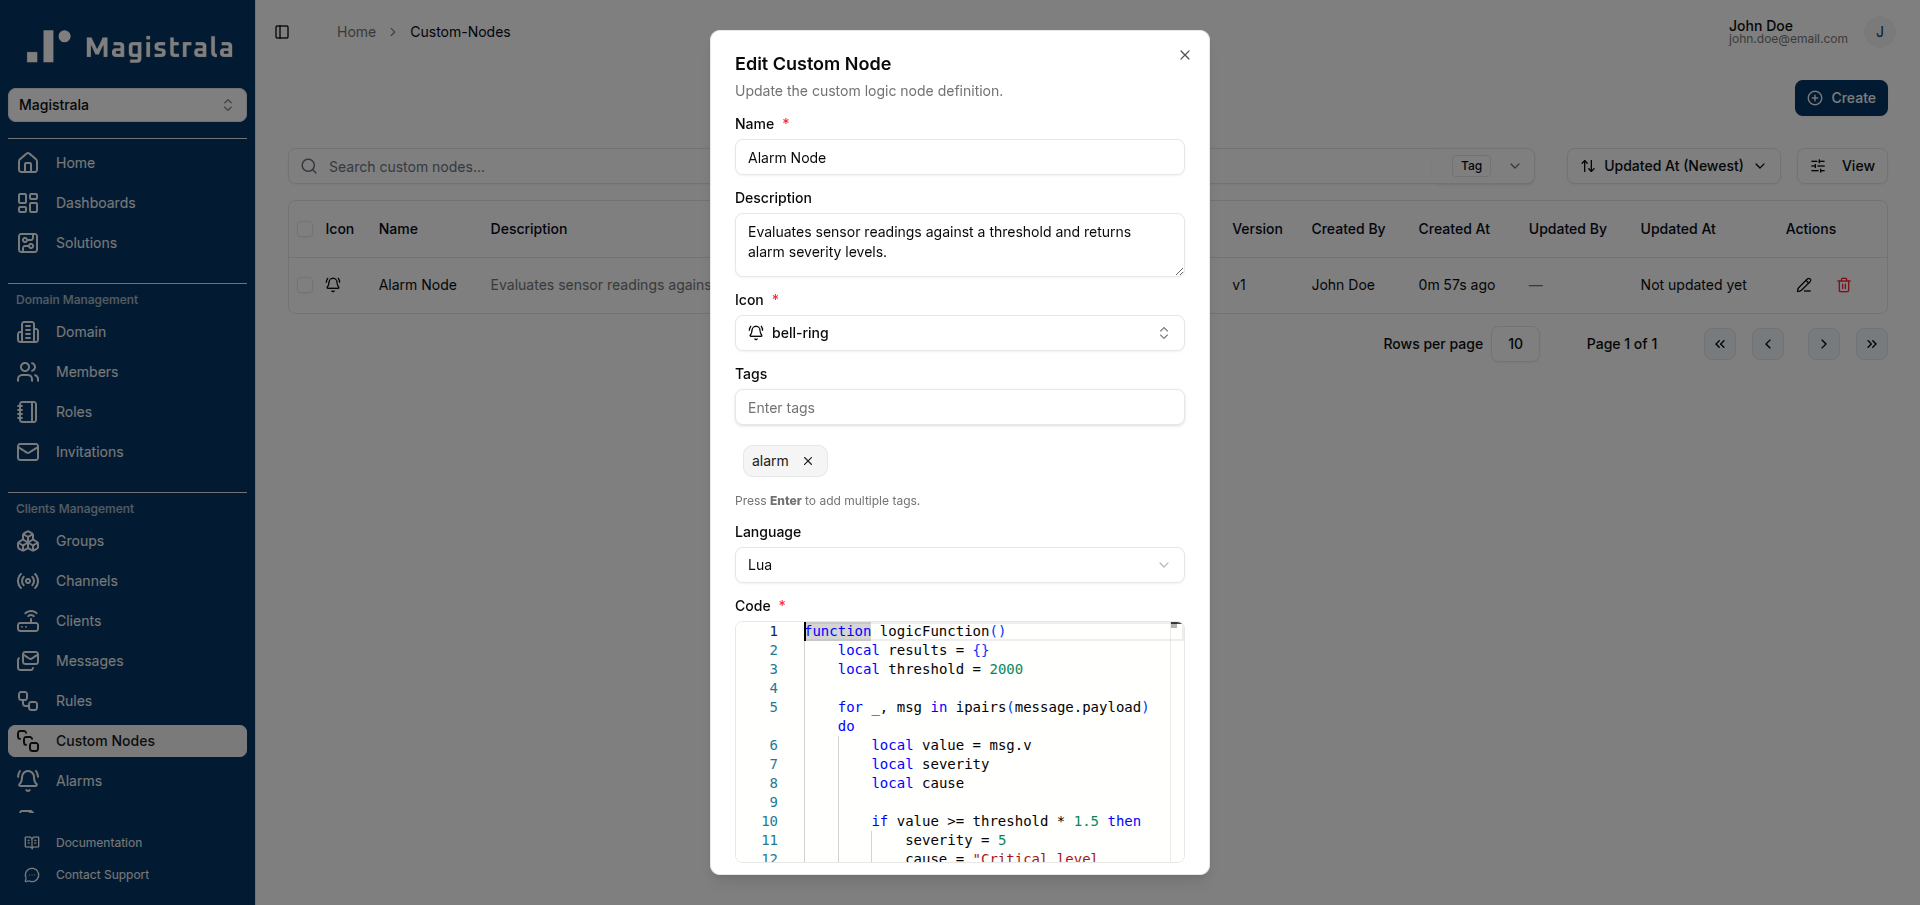
The Create Custom Node dialog opens.
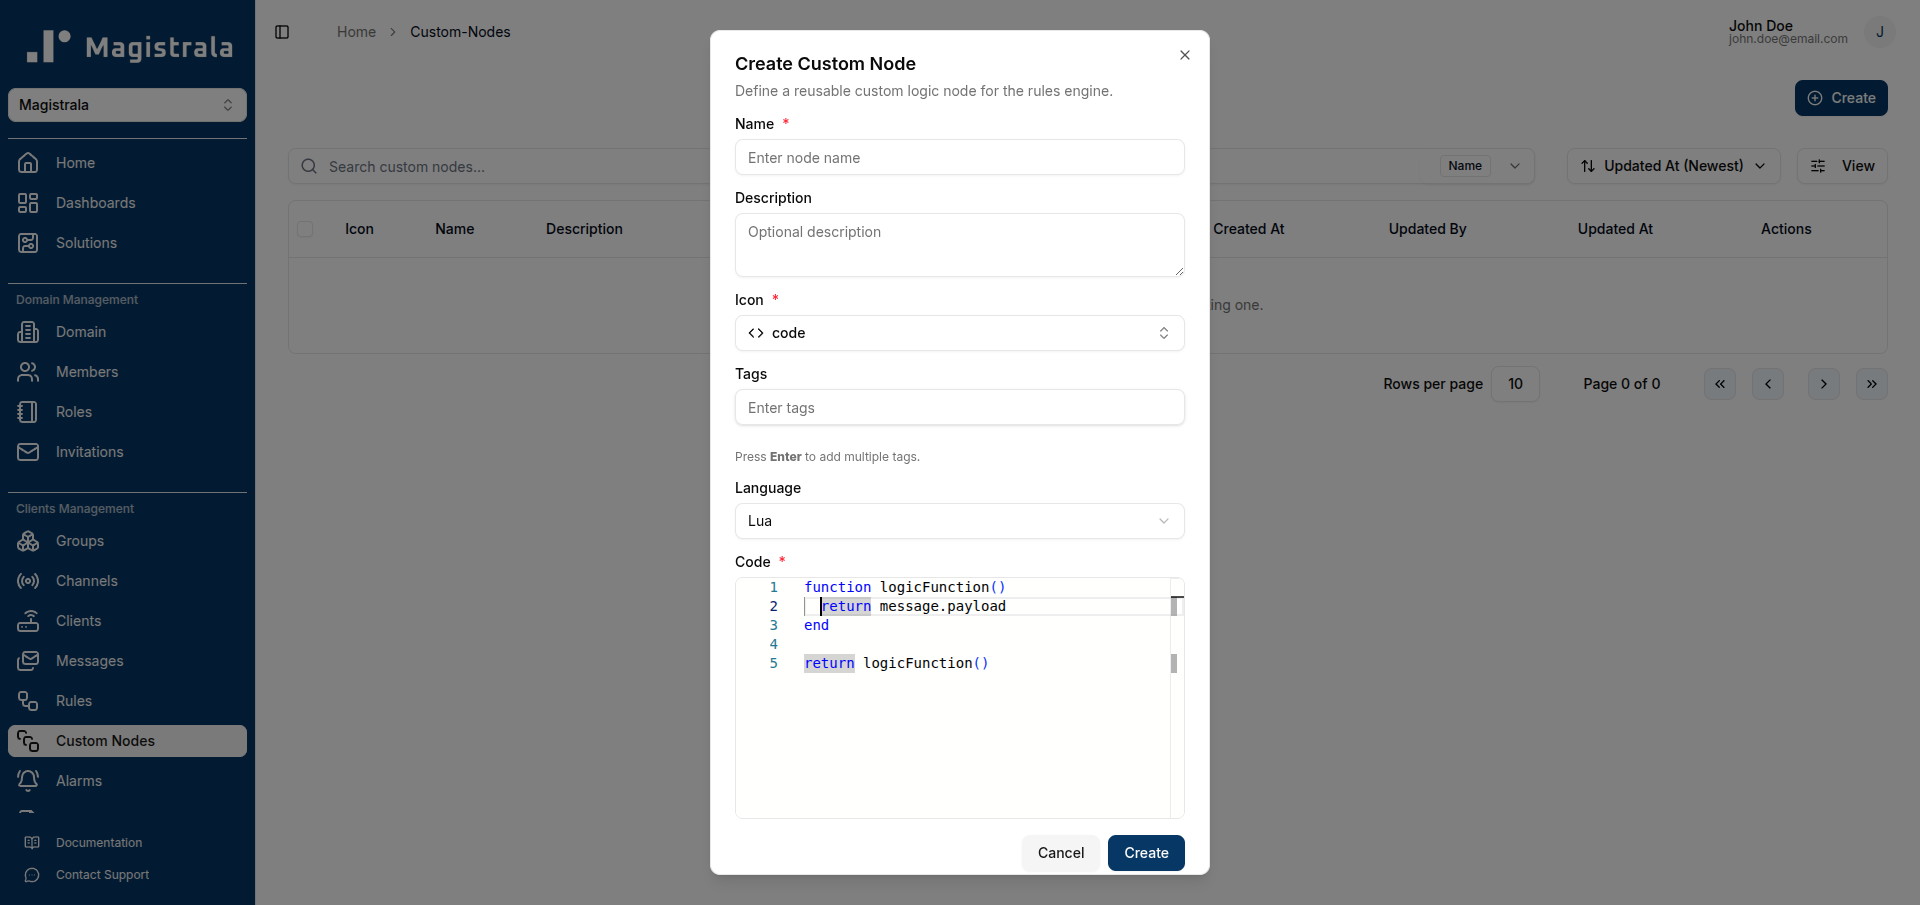
Fill in the following fields:
| Field | Required | Description |
|---|---|---|
| Name | Yes | A unique, descriptive name for the node. |
| Description | No | A short summary of what the node does. |
| Icon | Yes | An icon that appears on the node card in the rule canvas. |
| Tags | No | Comma-separated labels for filtering the node list. Press Enter after each tag. |
| Language | Yes | Lua (default) or Go. |
| Code | Yes | The script logic. Must define function logicFunction() for Lua. |
Selecting an Icon
Click the icon field to open the icon picker. Type a keyword to filter available icons and click one to select it.
![]()
Writing the Script
The code editor below the Language selector accepts either a Lua or Go script depending on the language you chose. For Lua, the script must implement function logicFunction() and end with return logicFunction().
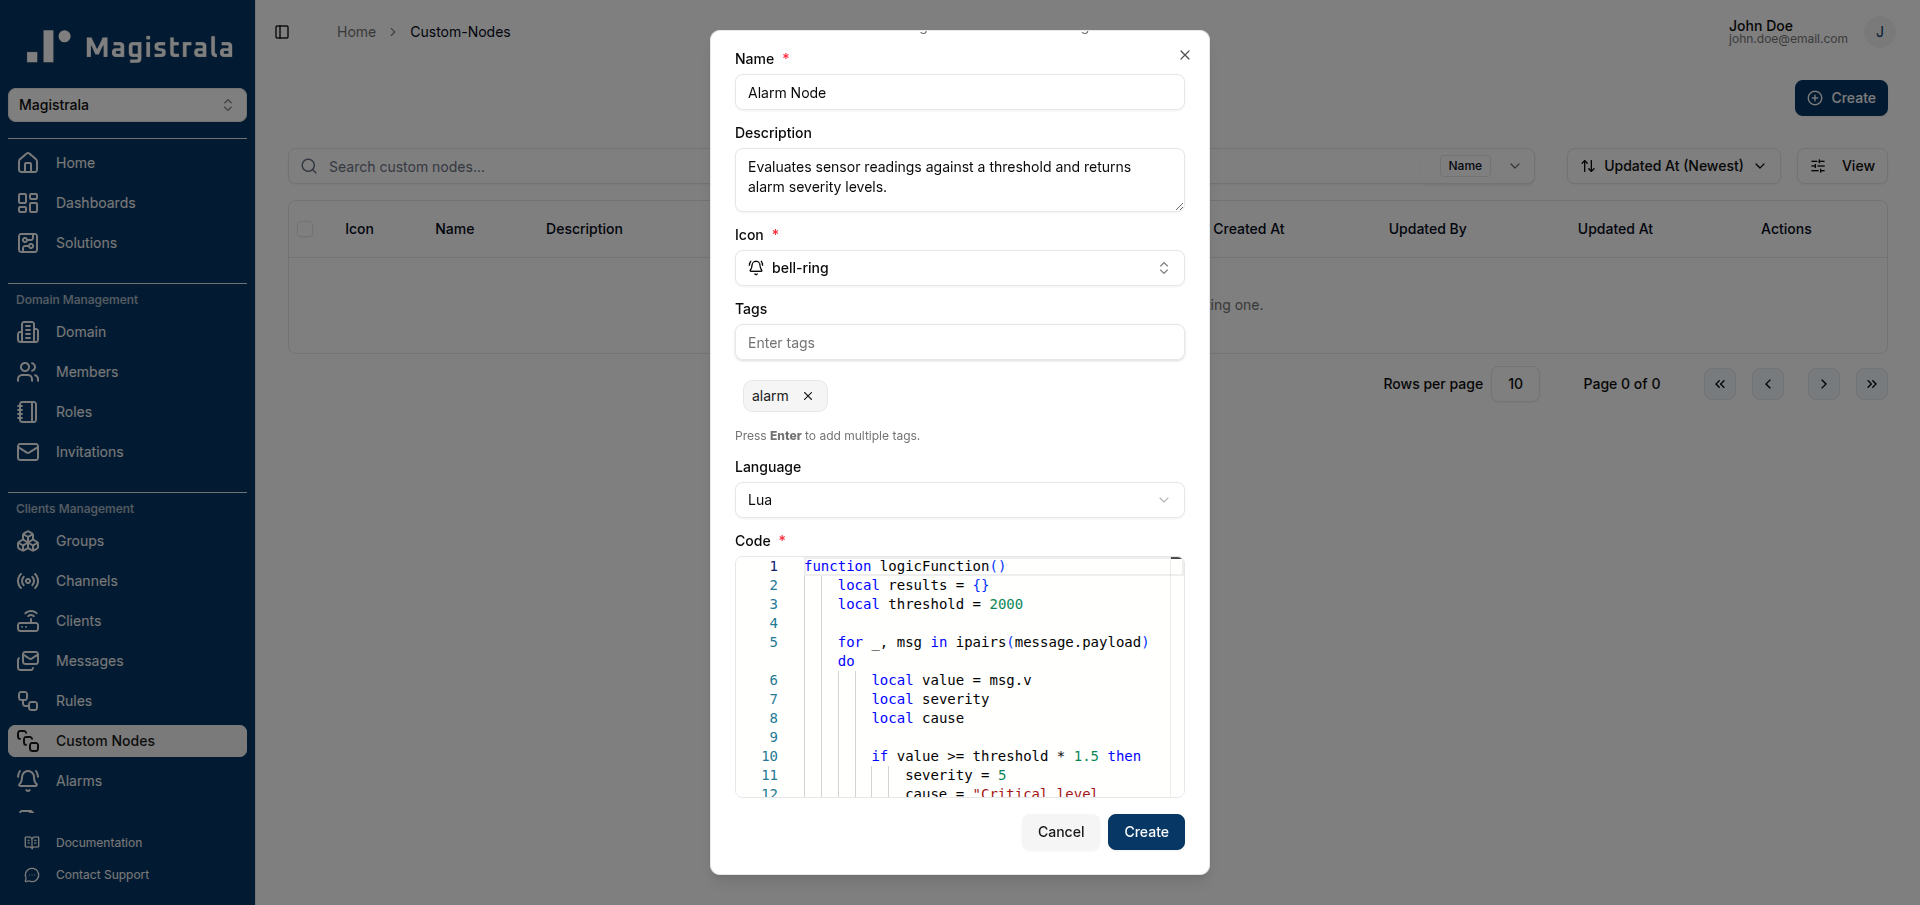
Example — alarm severity node:
function logicFunction()
    local results = {}
    local threshold = 2000

    for _, msg in ipairs(message.payload) do
        local value = msg.v
        local severity
        local cause

        if value >= threshold * 1.5 then
            severity = 5
            cause = "Critical level exceeded"
        elseif value >= threshold * 1.2 then
            severity = 4
            cause = "High level detected"
        elseif value >= threshold then
            severity = 3
            cause = "Threshold reached"
        end

        table.insert(results, {
            measurement = msg.n,
            value = tostring(value),
            threshold = tostring(threshold),
            cause = cause,
            unit = msg.unit,
            severity = severity,
        })
    end

    return results
end
return logicFunction()
Once all fields are filled, click Create.
The node is added to the table and a success toast confirms the creation.

Manage Custom Nodes
The Custom Nodes table displays:
- Icon — visual identifier on the rule canvas
- Name — node name
- Description — short description
- Language — Lua or Go
- Version — current version (starts at
v1, increments on each update) - Created By / At and Updated By / At
- Actions — Edit and Delete buttons
Filter
Use the search box to filter nodes. Click the Name button beside the search box to switch the filter between Name and Tag.

Sort
Click the sort button (defaults to Updated At Newest) to change the ordering.
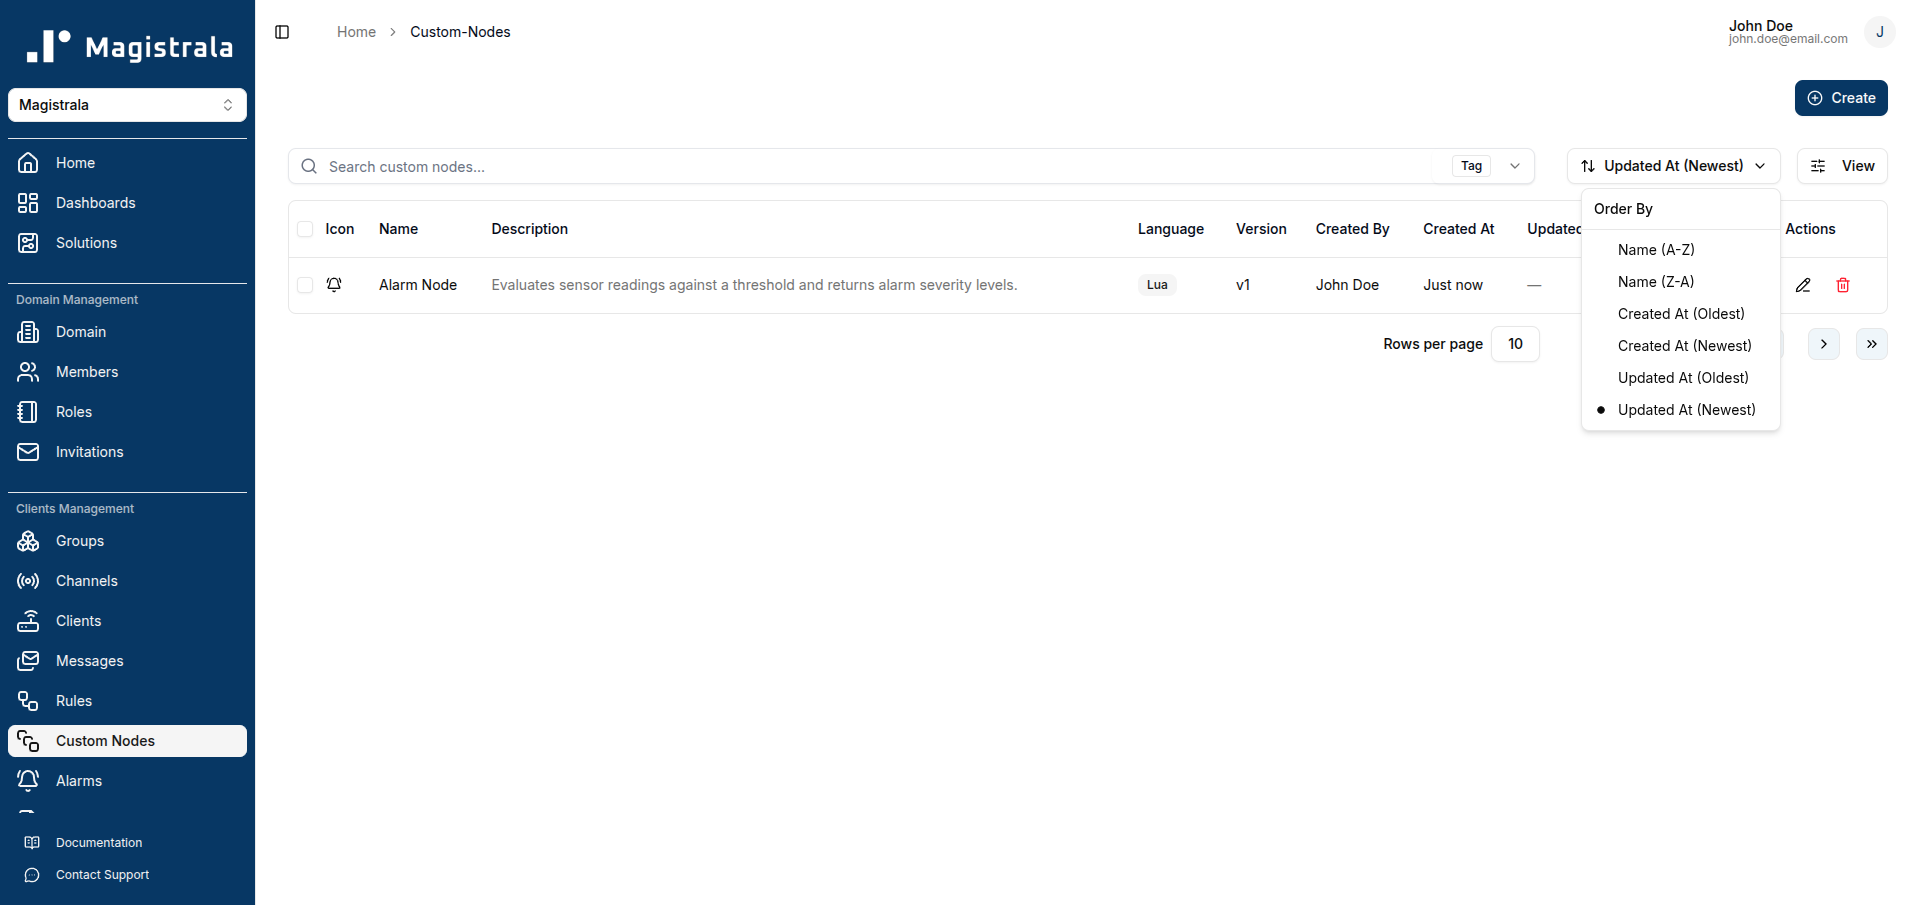
Available sort options: Name, Created At, Updated At — each with ascending or descending order.
Edit a Custom Node
Click the pencil (Edit) icon on a node's row to open the edit dialog. All fields are pre-populated with the current values.
Make your changes — for example, updating the script logic:

Click Save Changes. The node's version increments (e.g., from v1 to v2).

Saving changes to a Custom Node does not automatically update rules that already use it. Those rules will show an Outdated indicator on the node card. See Syncing an Outdated Node below.
Delete a Custom Node
Click the trash (Delete) icon on a node's row. A confirmation dialog appears.
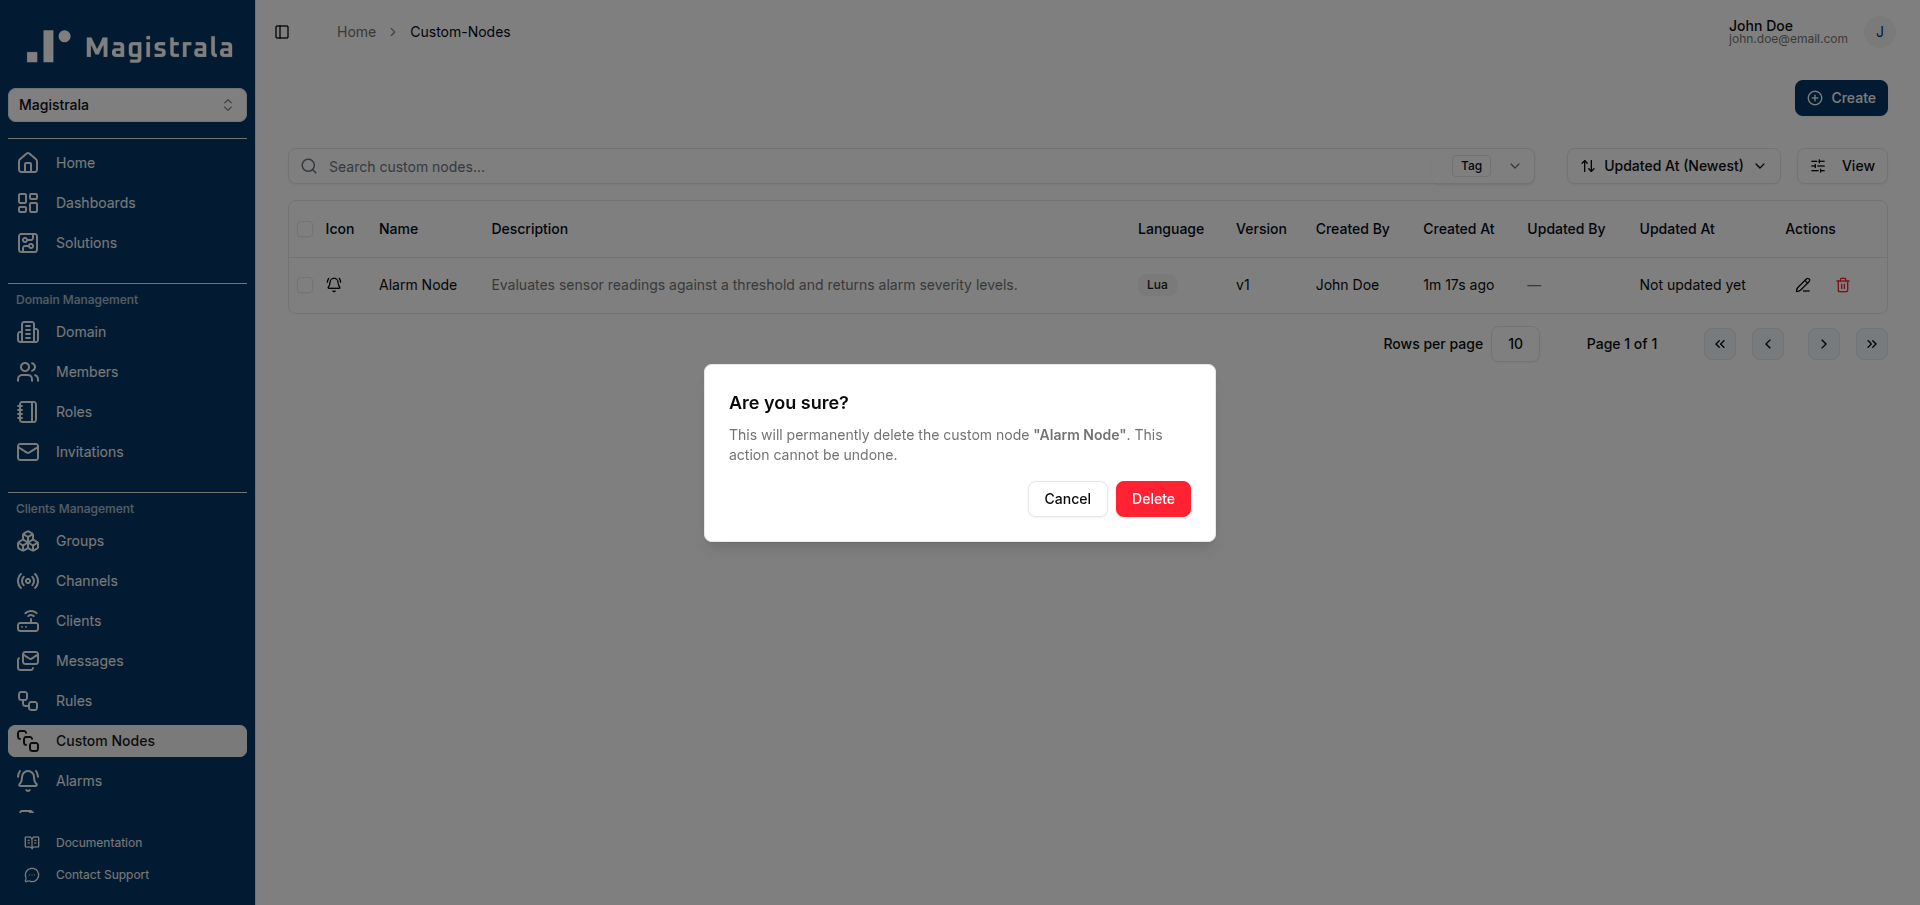
Click Delete to permanently remove the node.
Deleting a Custom Node does not affect rules that were already created using it. Those rules retain the snapshot of the node's code that was active at the time they were last saved.
Use a Custom Node in a Rule
Once a Custom Node exists, you can select it as the logic node when building a rule.
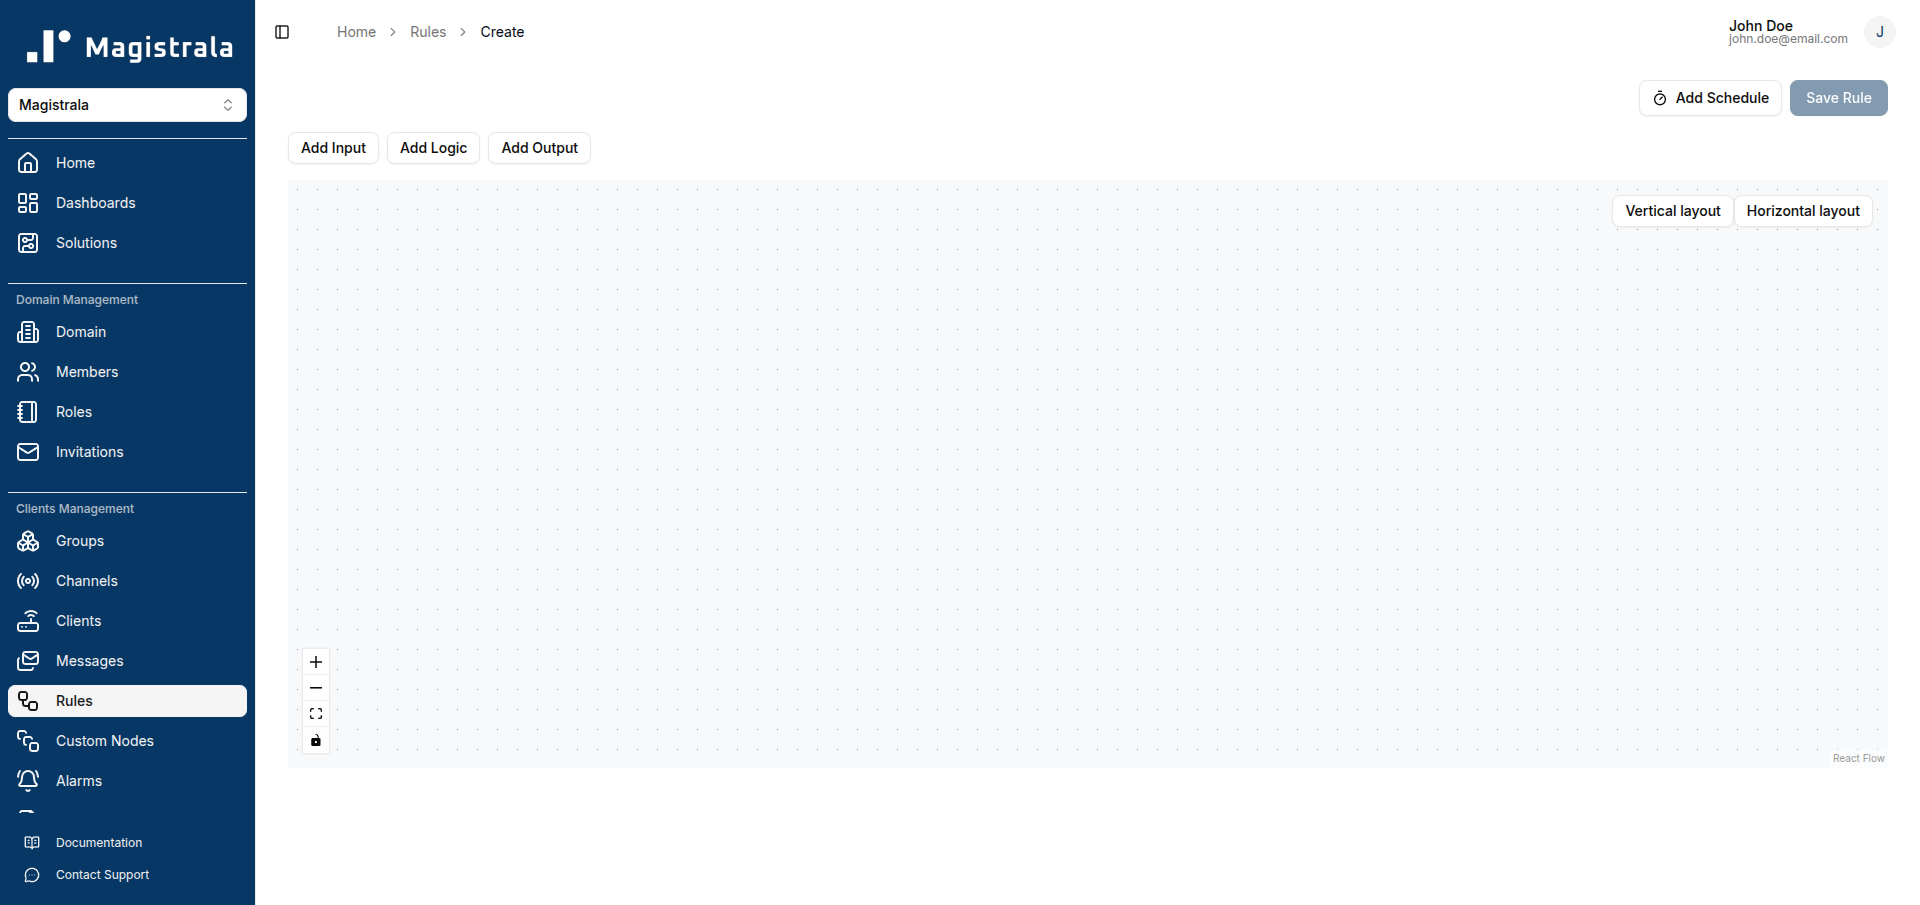
-
Navigate to Rules and click Create Rule.
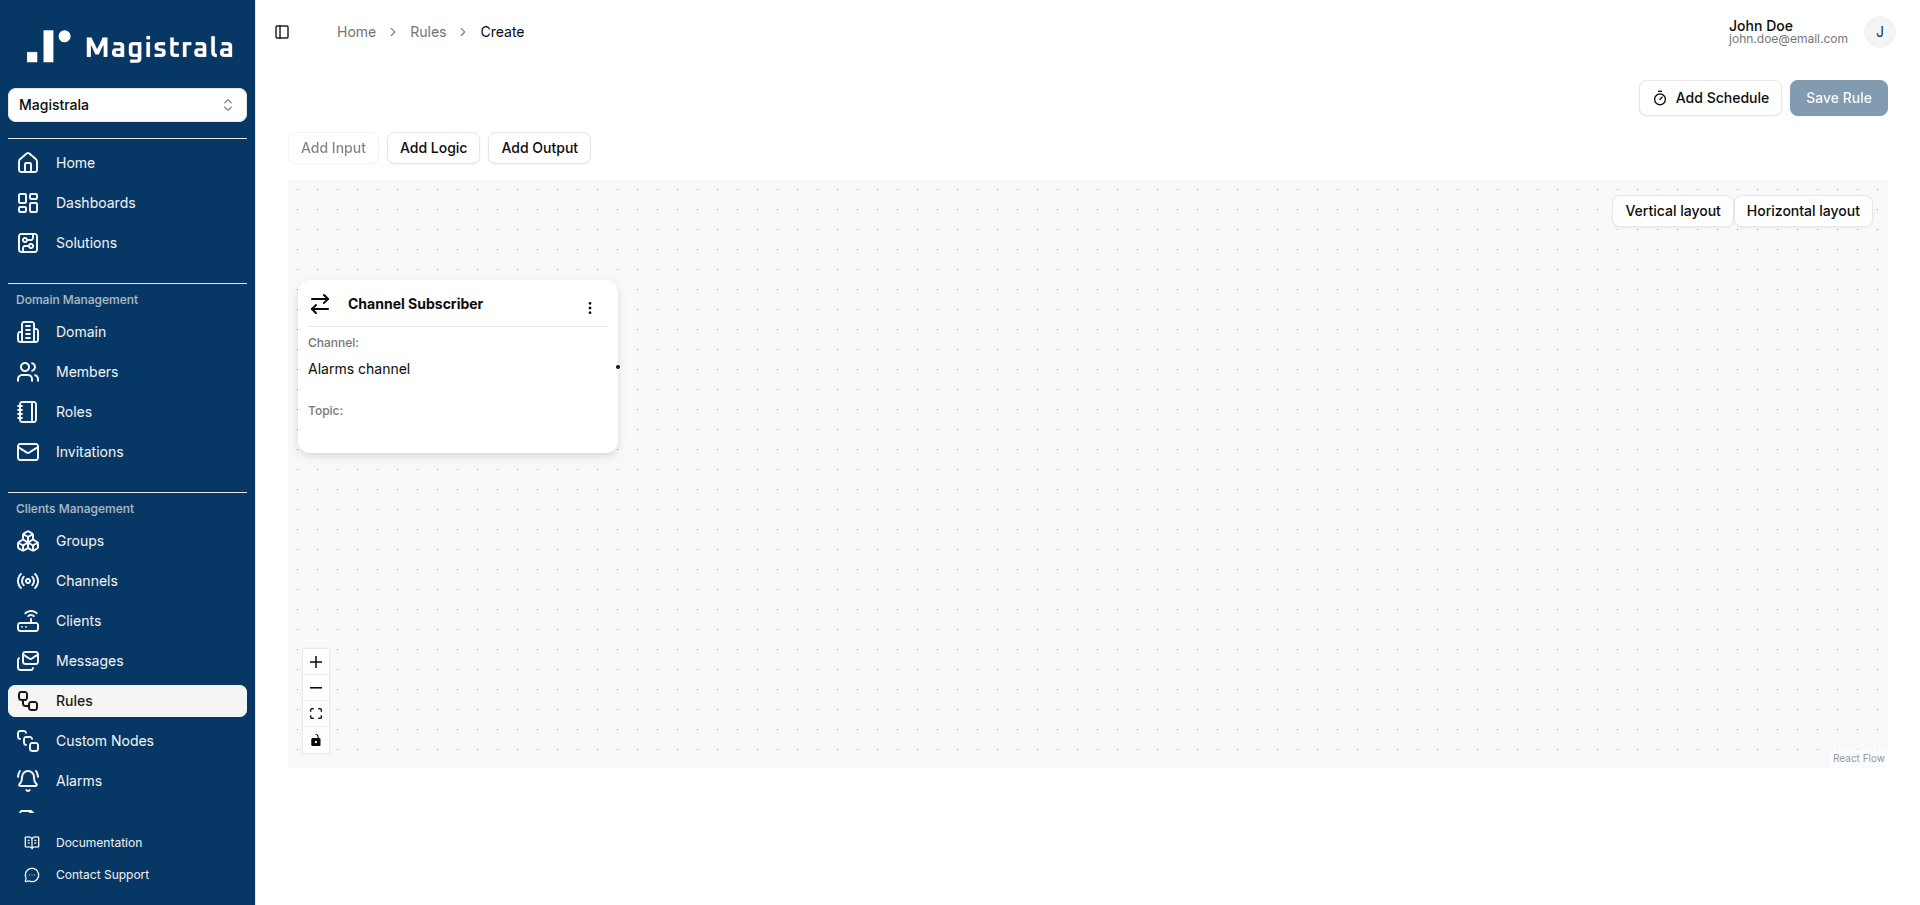
-
Click Add Input, choose Channel Subscriber, select your channel, and click Add.
-
Click Add Logic. The Select a logic type dialog lists built-in options (Comparison, Code Editor) as well as any Custom Nodes you have created.
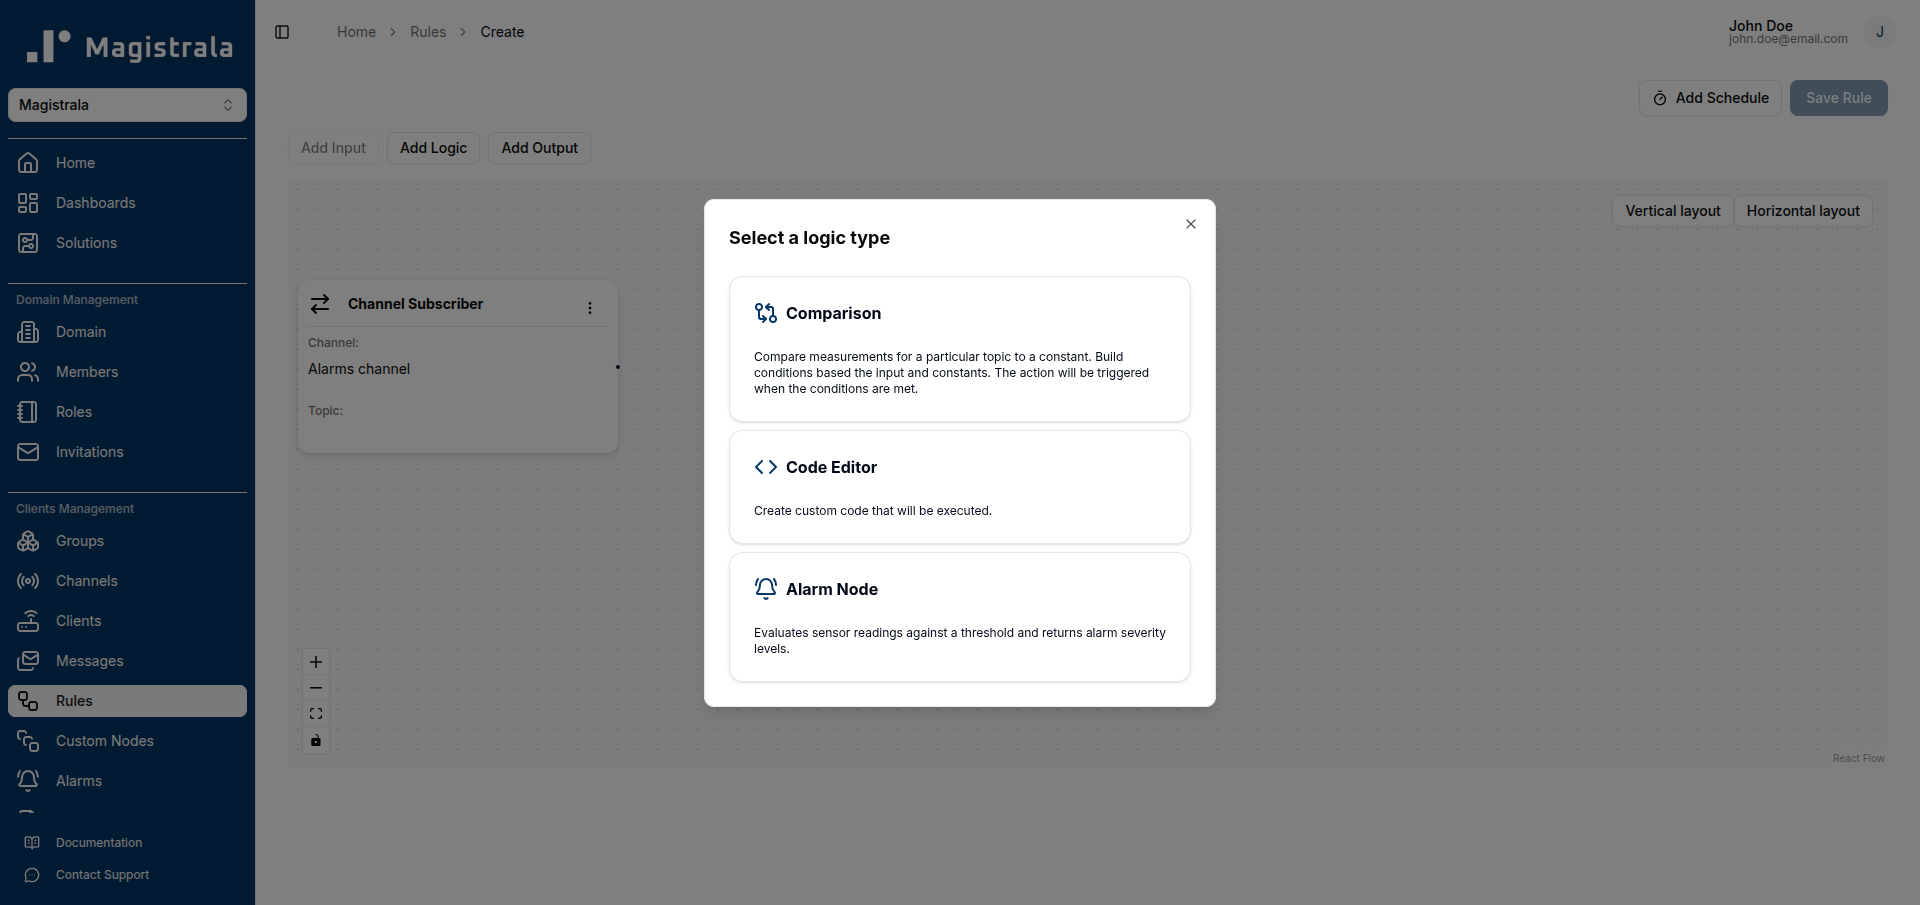
-
Click your Custom Node (e.g., Alarm Node) to add it to the canvas.
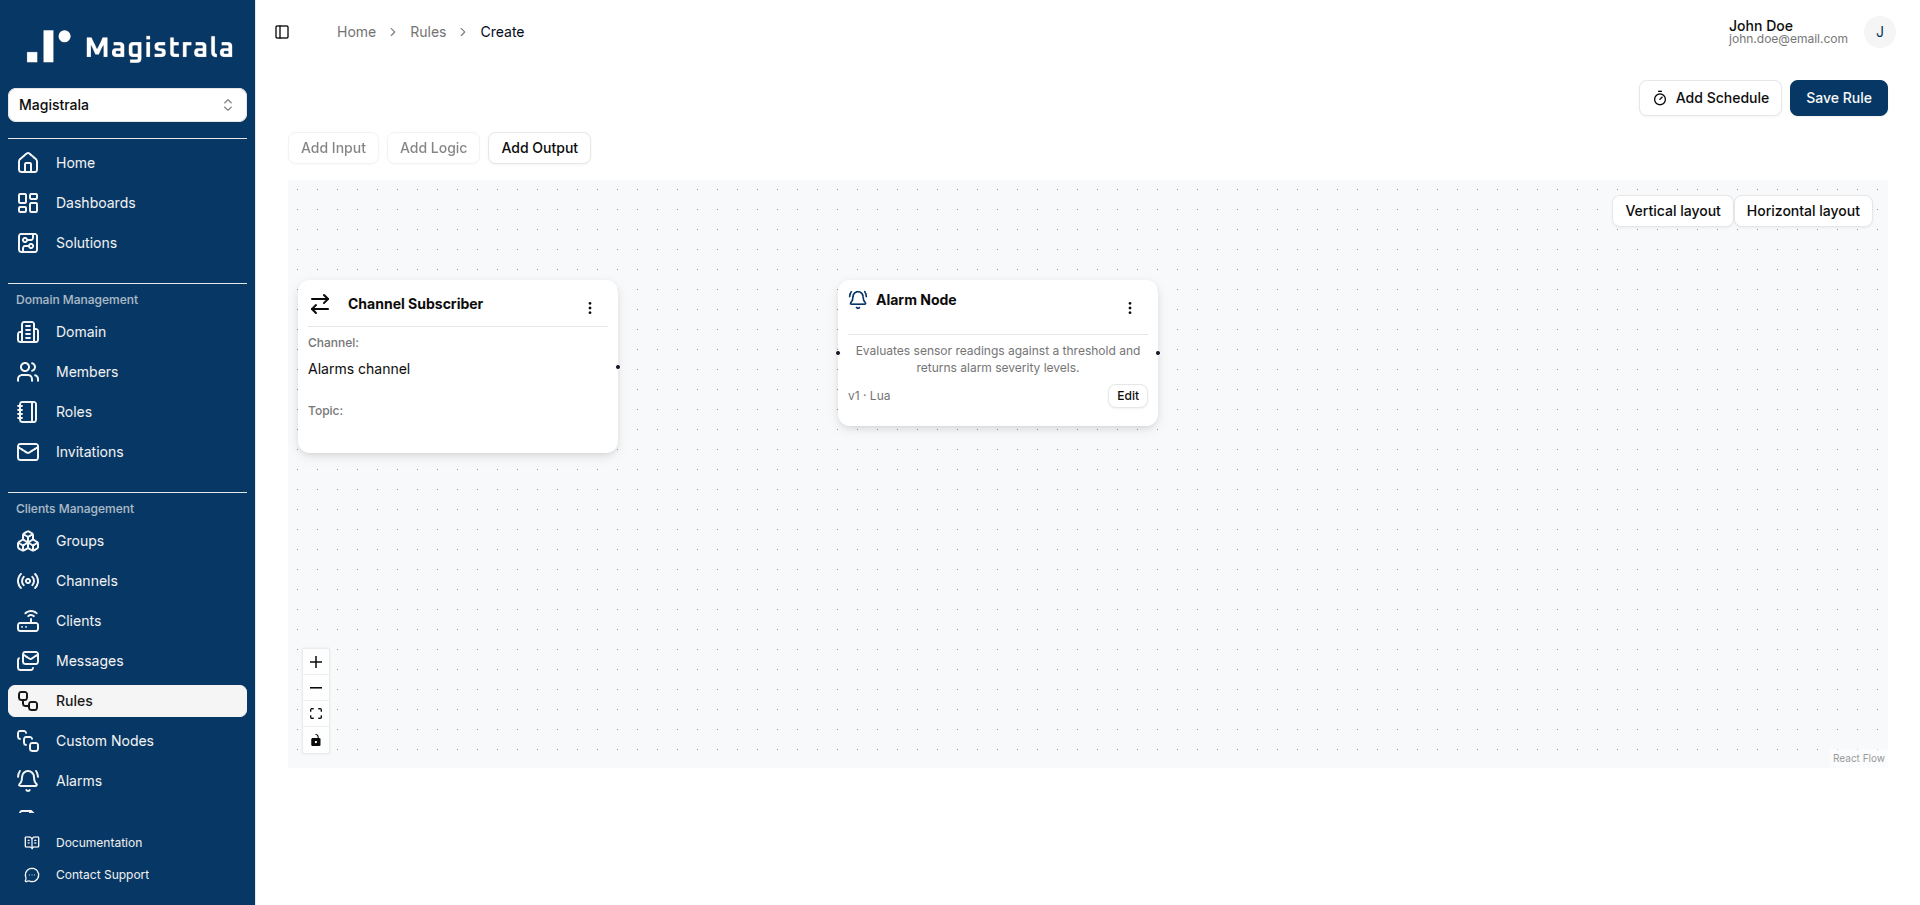
-
Click Add Output and configure an output node (e.g., Channel Publisher).
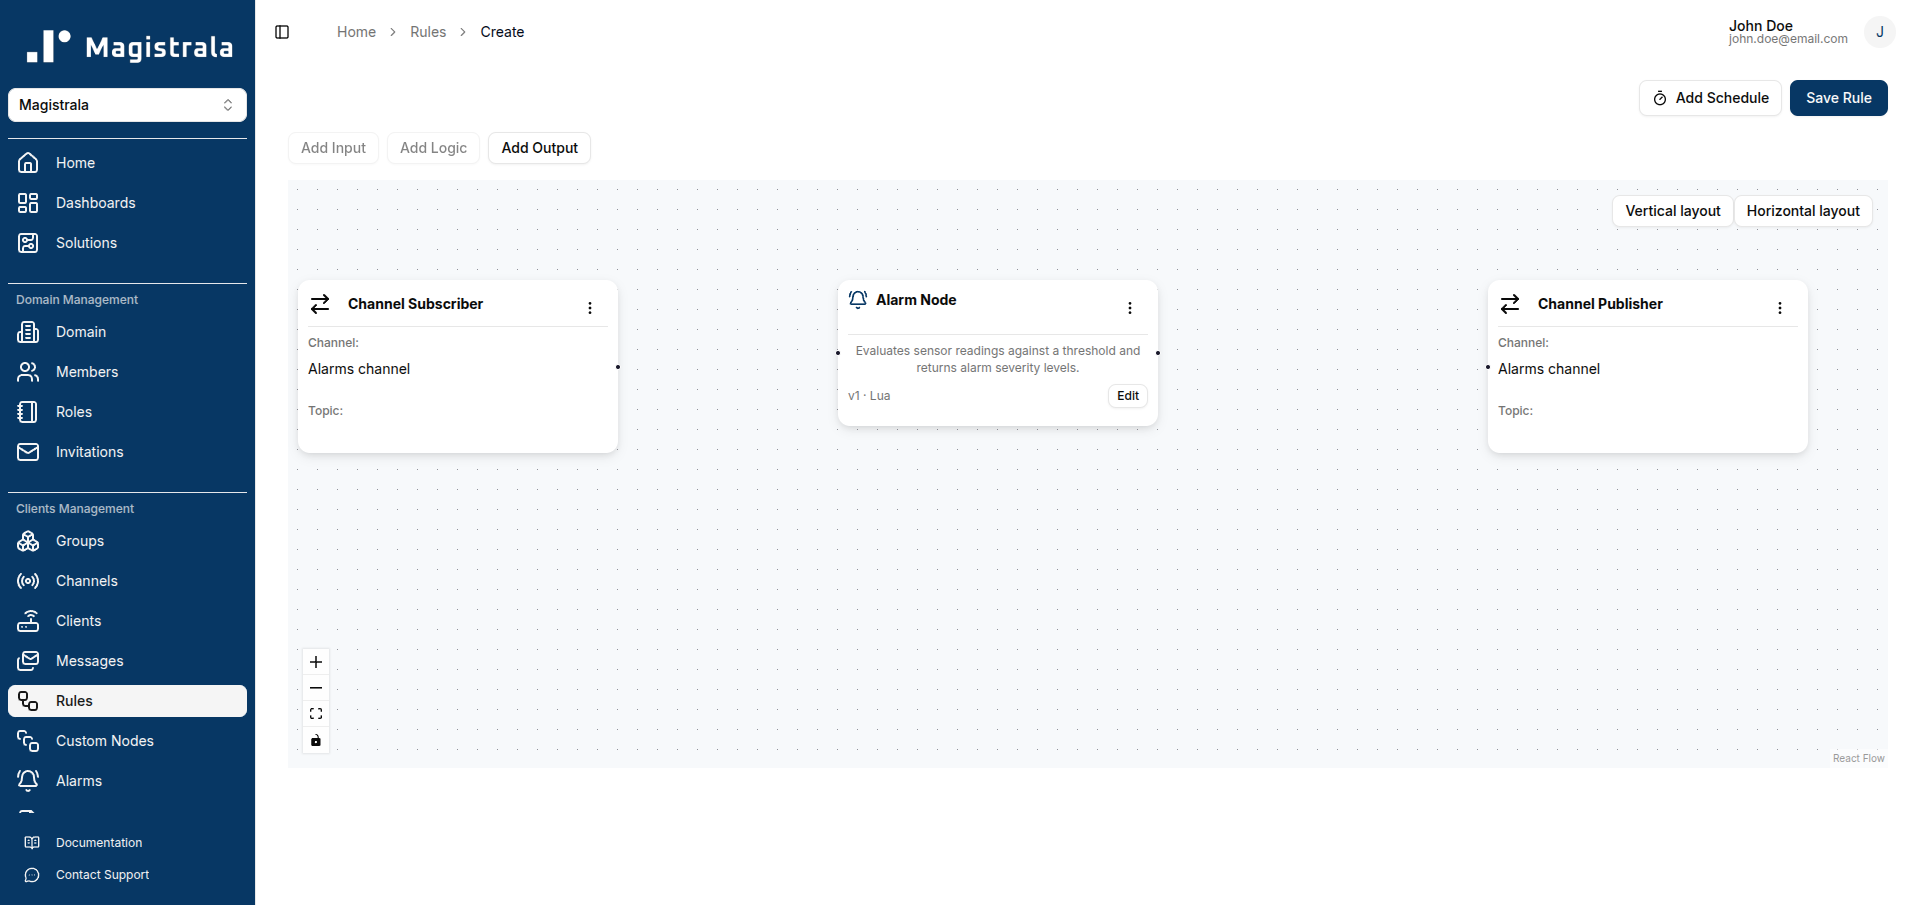
-
Click Save Rule, enter a name, and click Create.
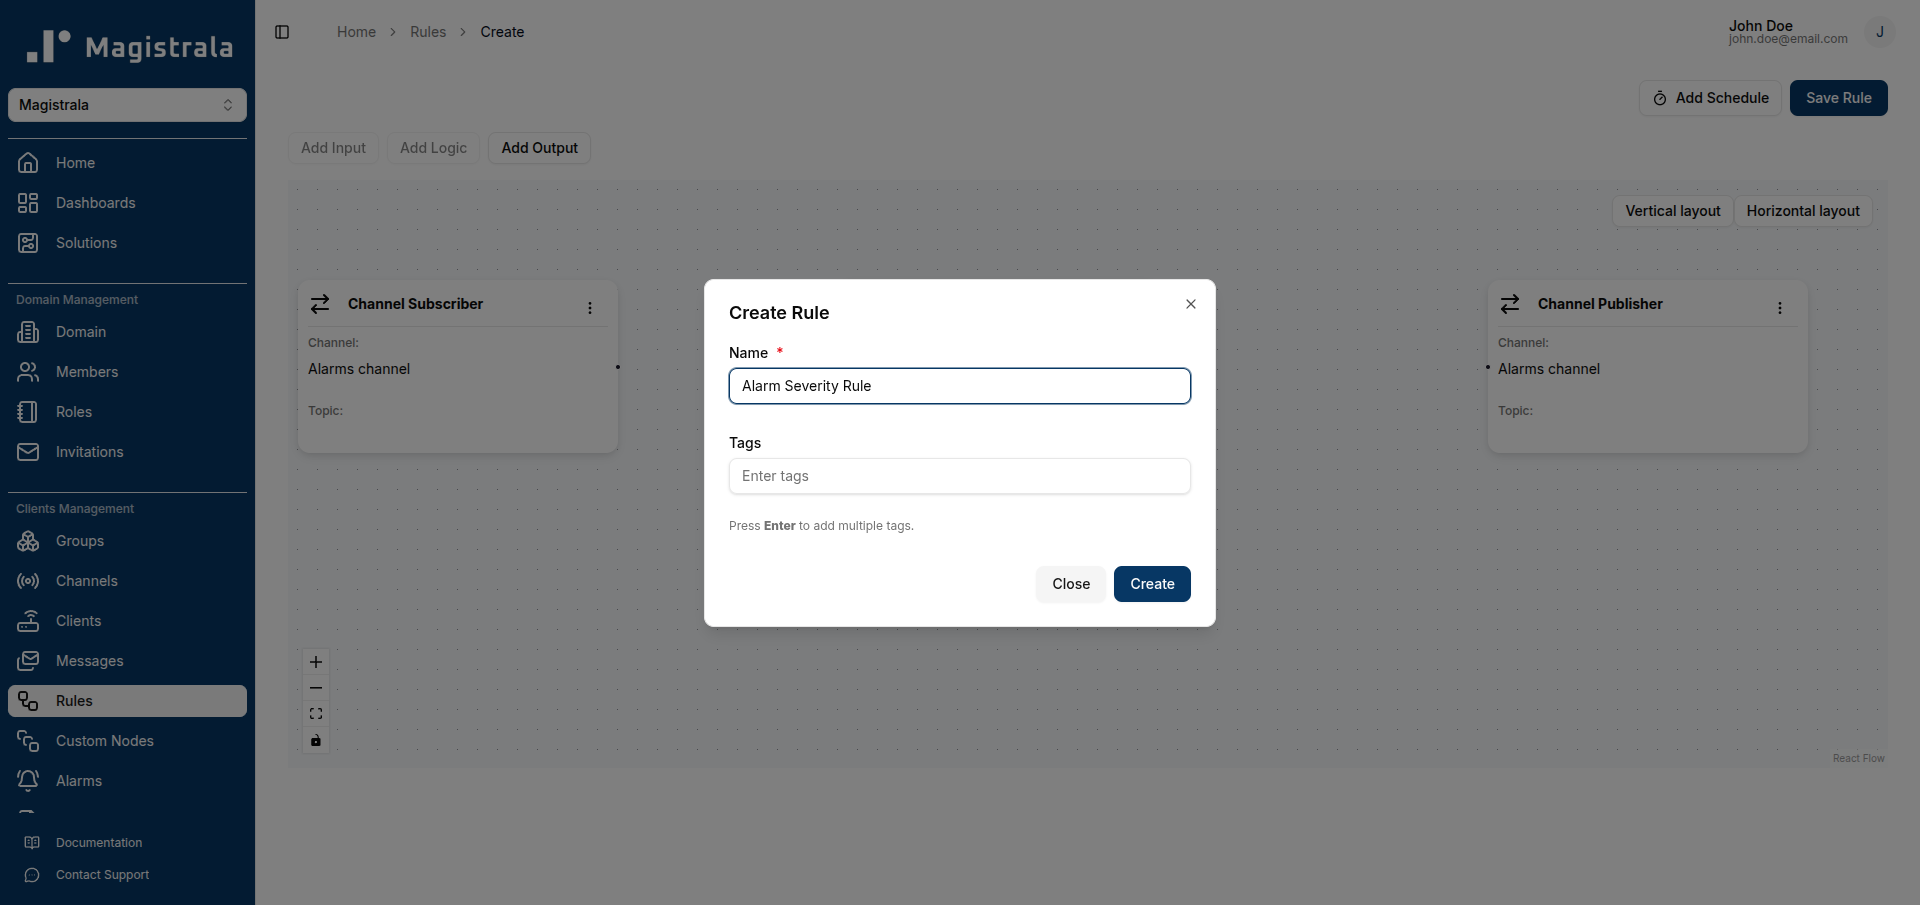
The rule is saved and the custom node logic is embedded as a versioned snapshot.
Syncing an Outdated Node
When you update a Custom Node, any rule that uses an older version of that node shows an Outdated badge on the node card.

To sync the node to the latest version:
-
Open the rule and locate the node marked Outdated.
-
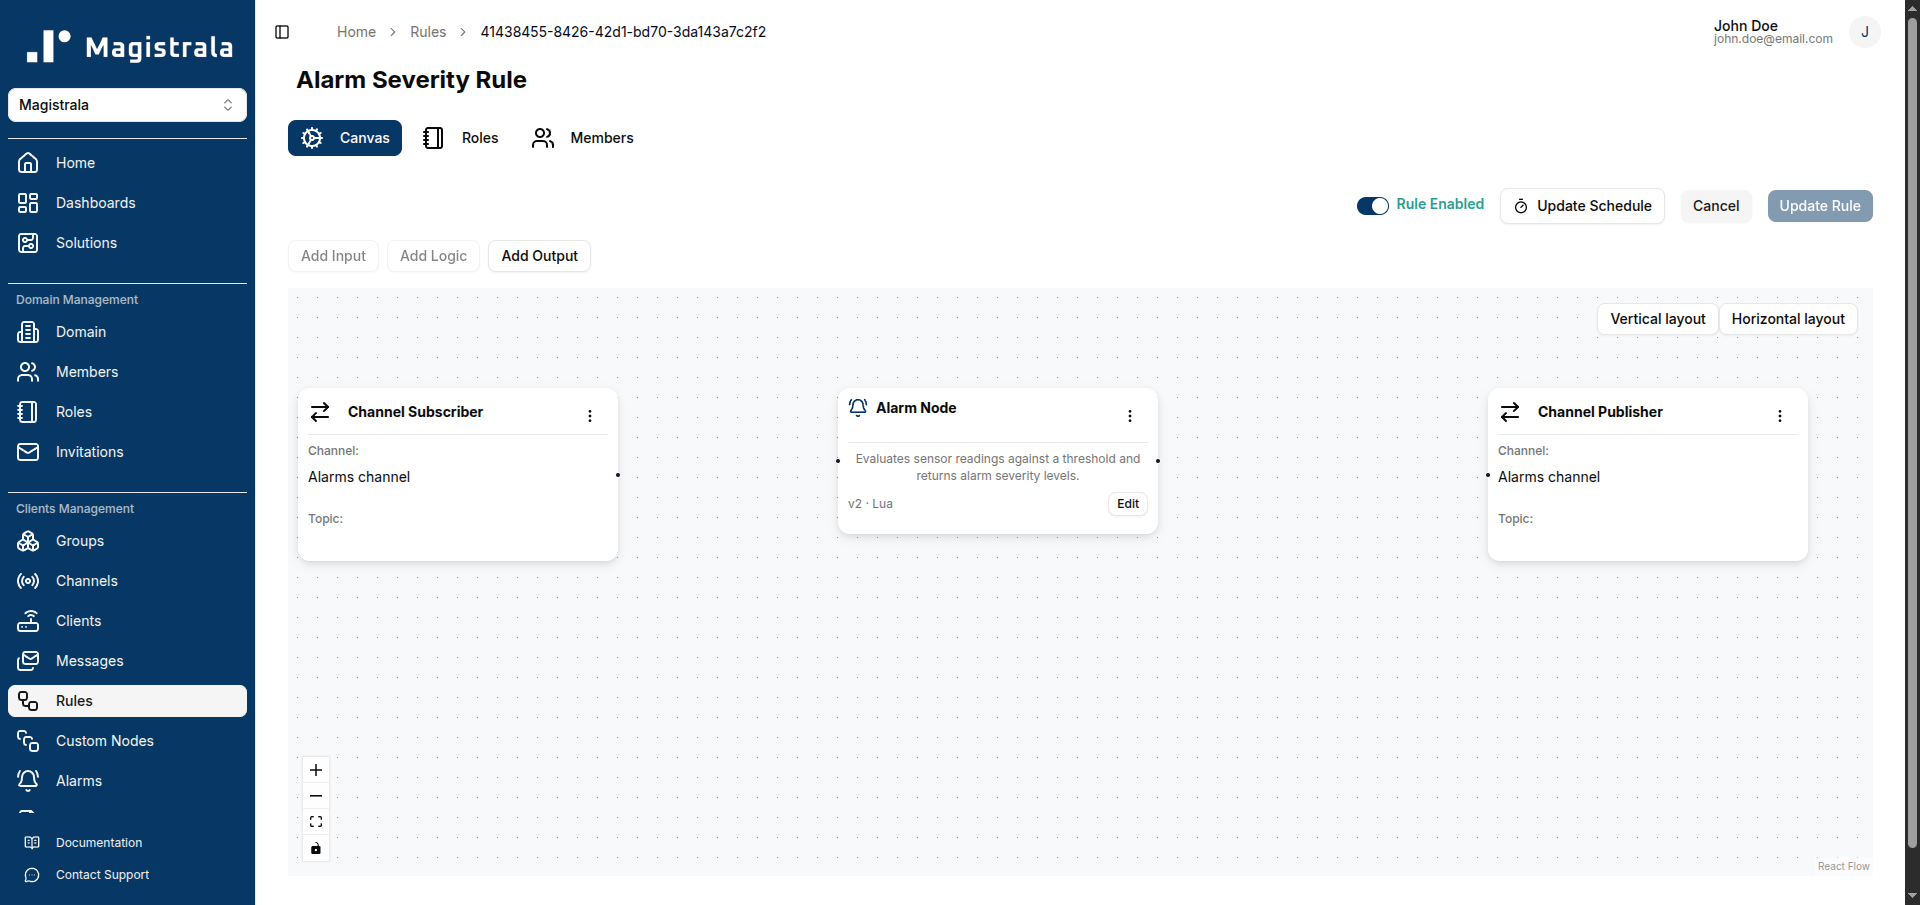
Click the Sync button on the node card.
The badge disappears and the node shows the new version (e.g.,
v2).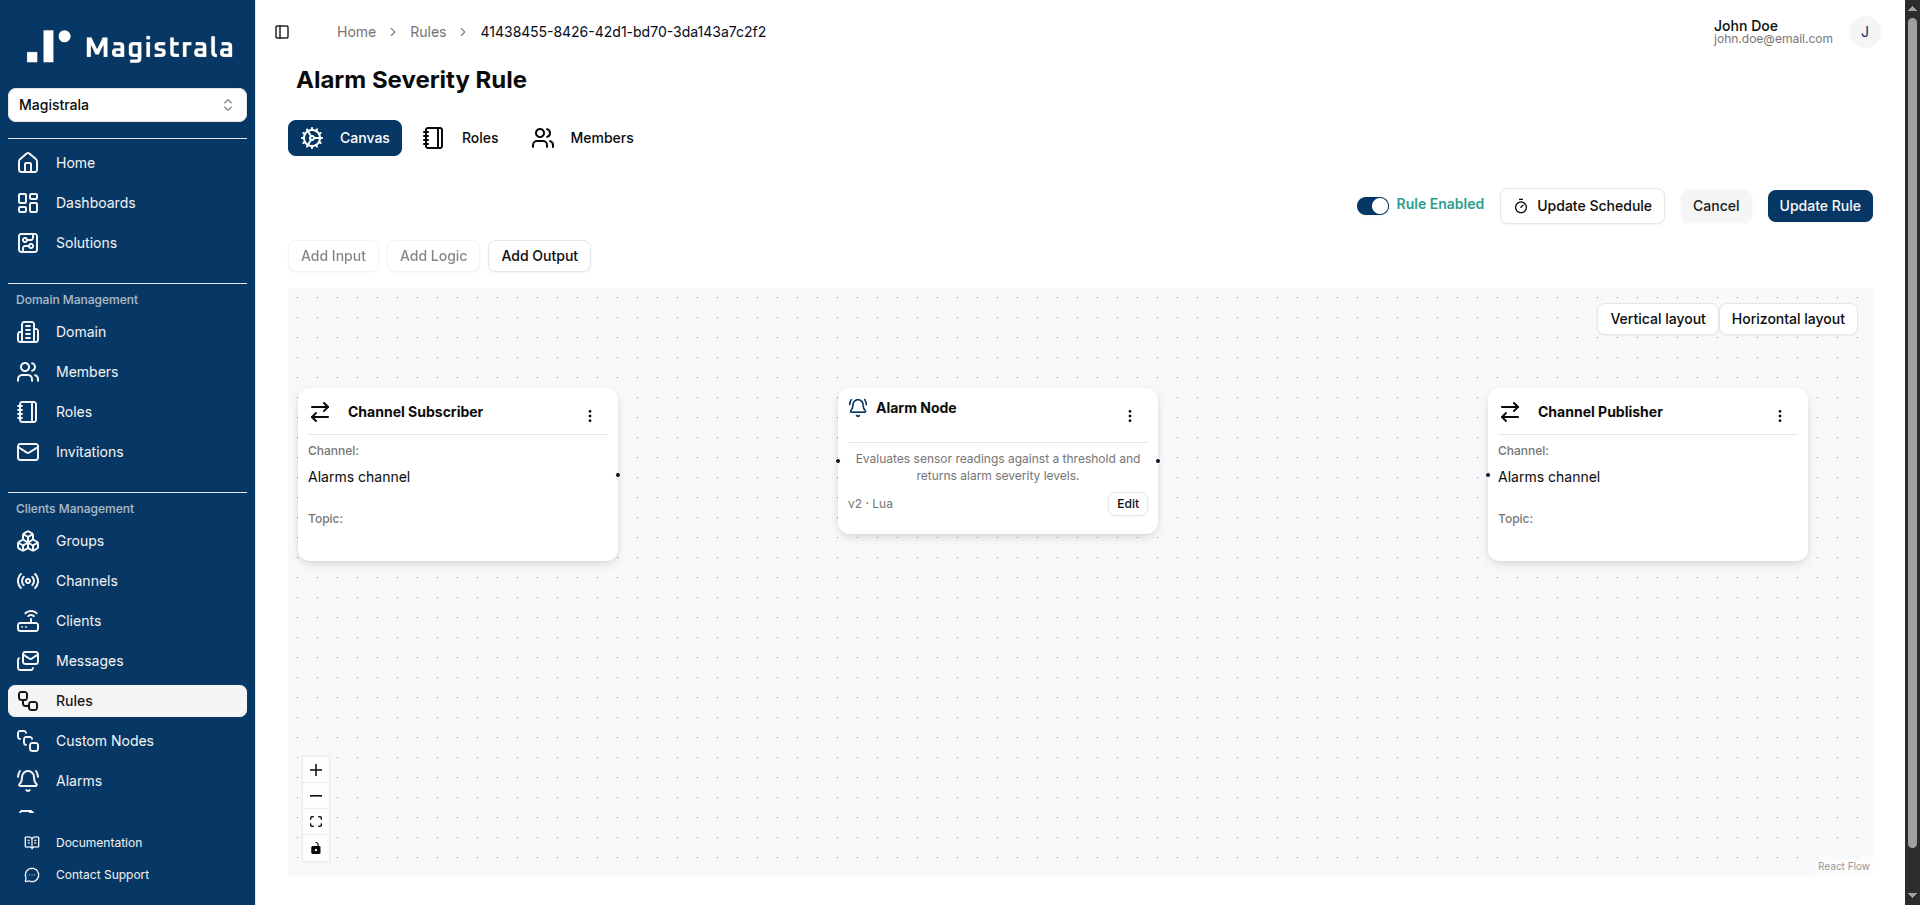
-
Click Update Rule to save the rule with the updated node.
Syncing replaces the rule's local snapshot with the latest version of the Custom Node. If you want to keep the old behaviour for this specific rule, skip syncing.
Editing a Custom Node Within a Rule
You can edit the code of a Custom Node directly inside a rule without modifying the shared Custom Node definition. This lets you fine-tune the logic for one specific rule.
On the node card in the rule canvas, click the Edit button.
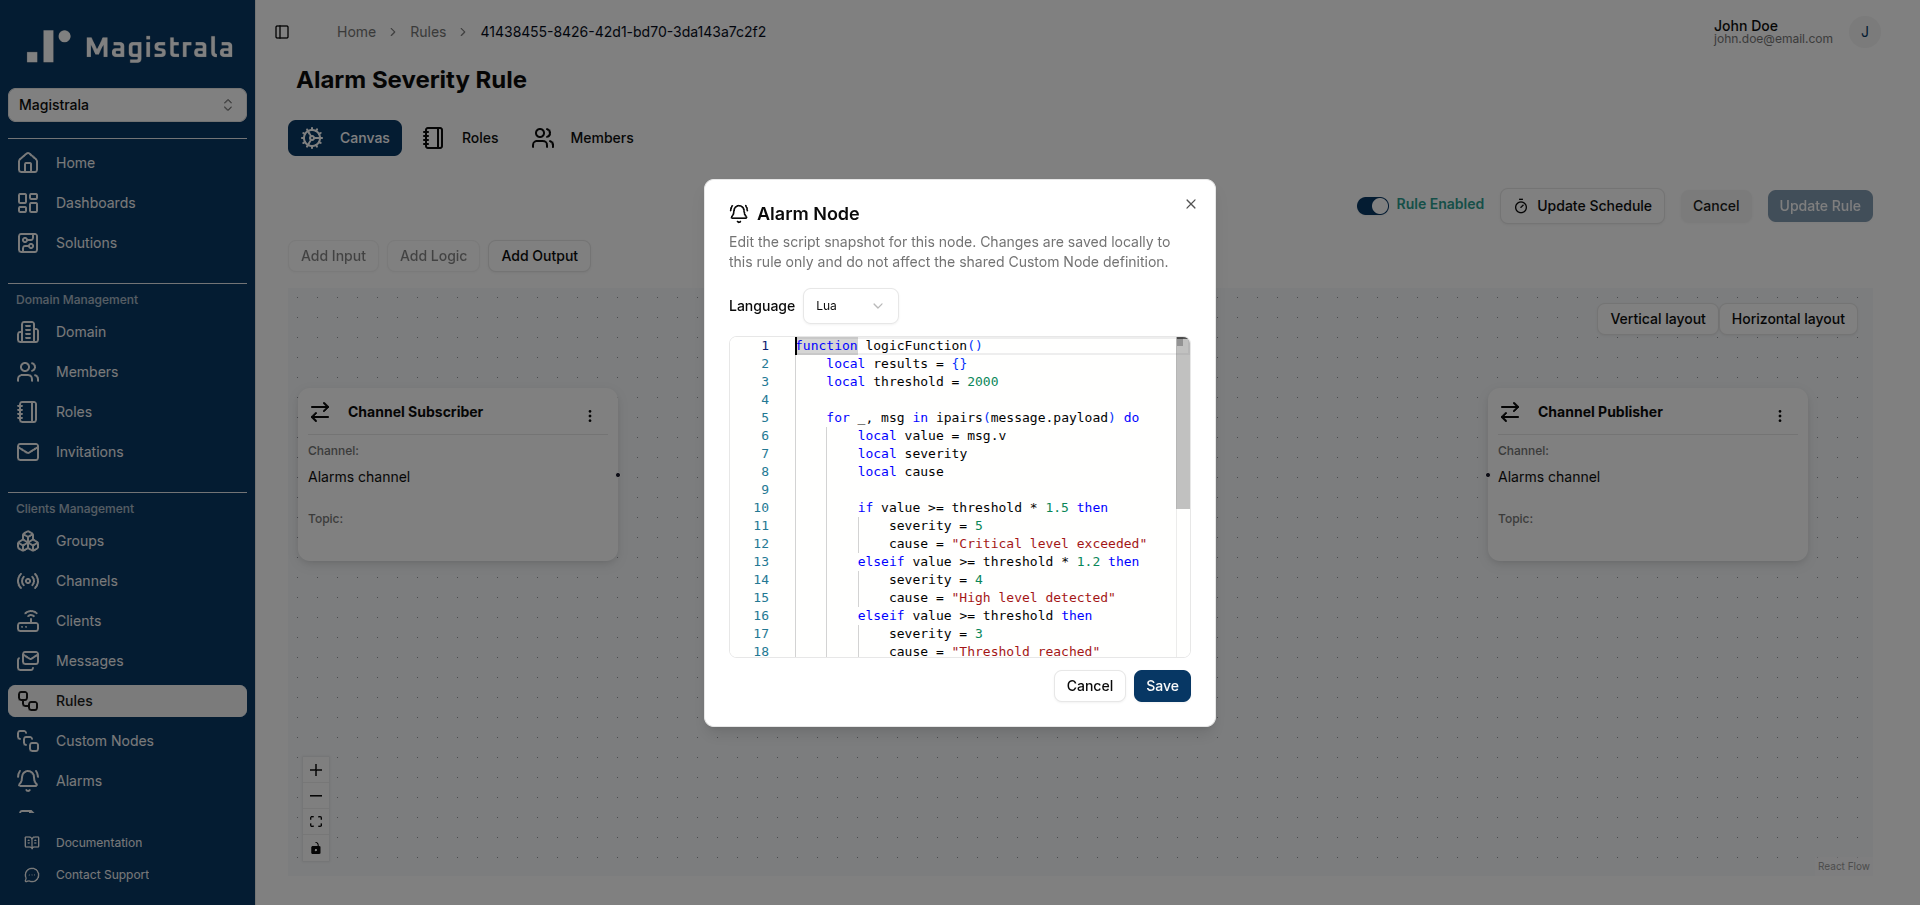
The dialog states: "Changes are saved locally to this rule only and do not affect the shared Custom Node definition."
Modify the script and click Save. The node card now reflects the local changes. Click Update Rule to persist them.
A locally edited node is considered in conflict with the main Custom Node definition — its code intentionally diverges from the shared version. If you later sync the node (via the Sync button), the local changes are replaced with the latest version of the shared Custom Node.