Clients
Manage clients and connections
A Client in Magistrala can be either a device or an application that publishes or subscribes to messages.
Create a Client
To create a client, click on the Create button.
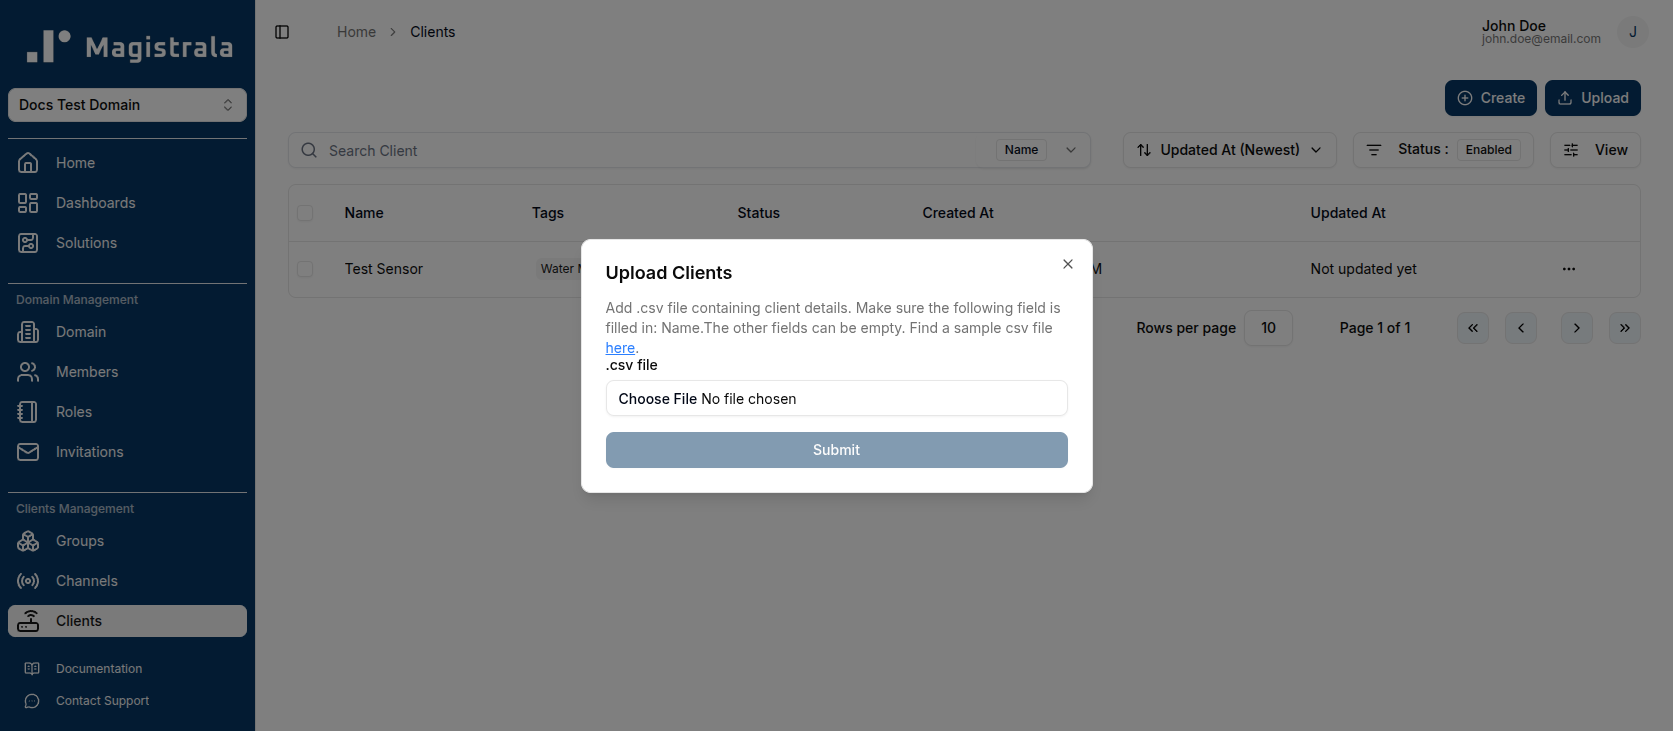
You can also create multiple clients at once by clicking on the Upload button and uploading a .csv file with client names and any other fields you would like to add.
Client Information
Each client requires a name.
You may also add an optional key (must be unique), tags, and metadata.
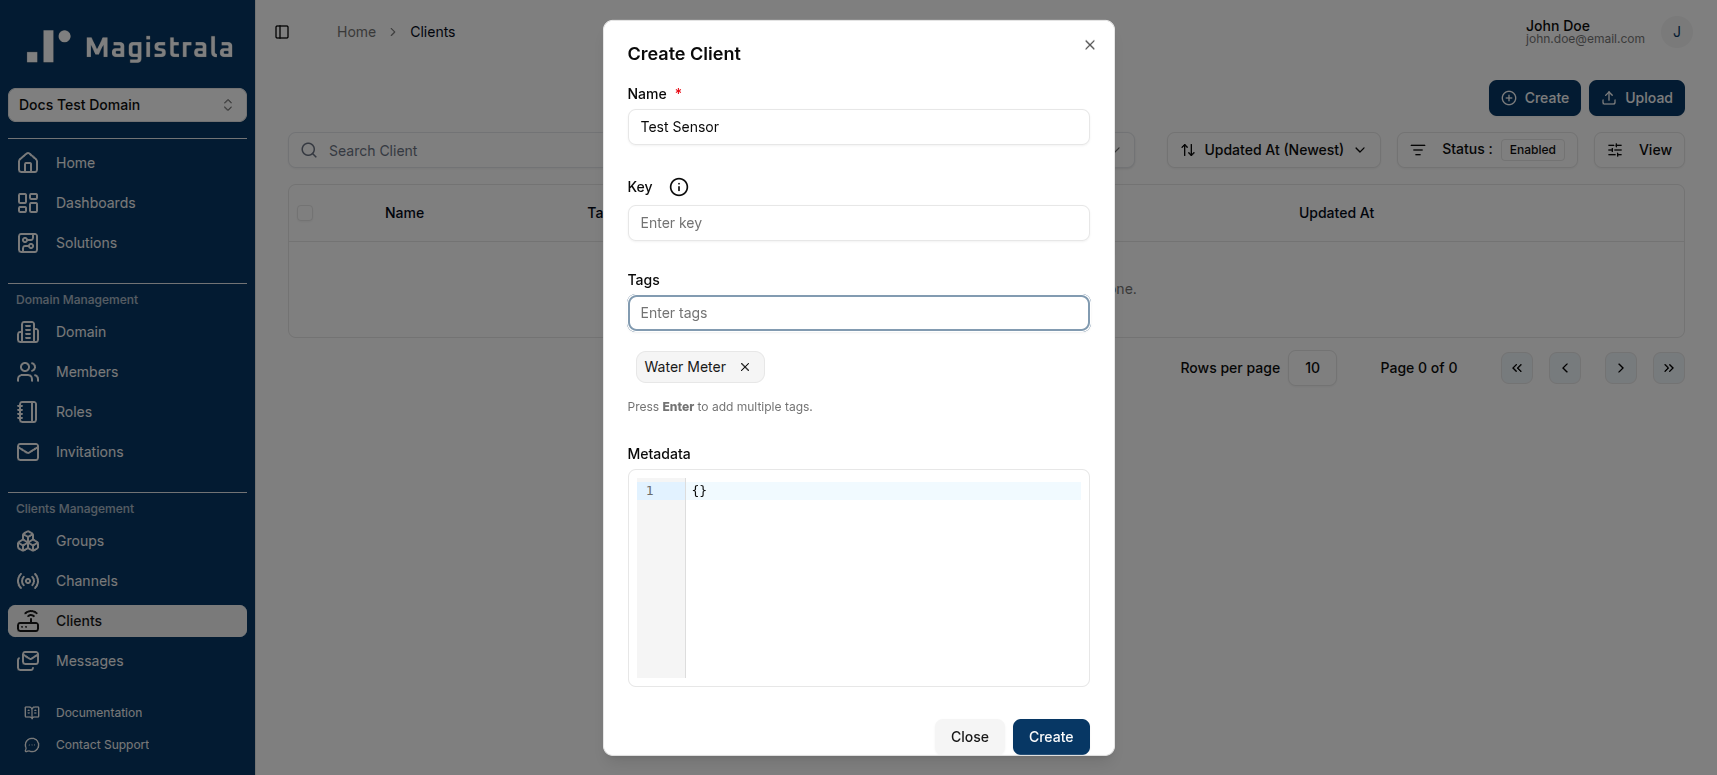
The client key is used to authorize the device when sending messages.
Bulk Creation
Clients can be created in bulk using a .csv file with the following fields (in order):
- Name (Required)
- Secret
- Tags
- Metadata
A sample clients CSV file is available.
View a Client
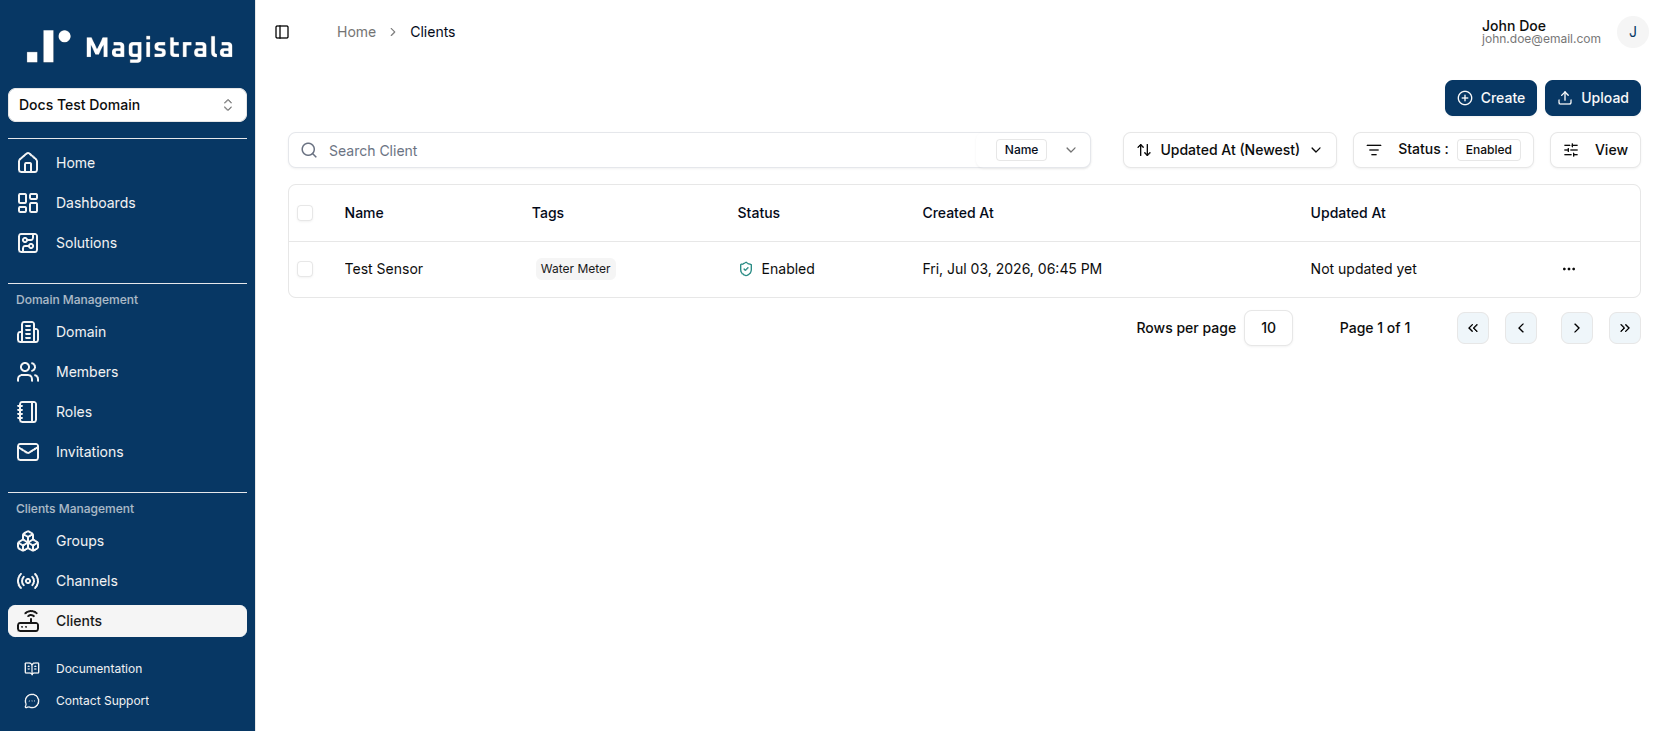
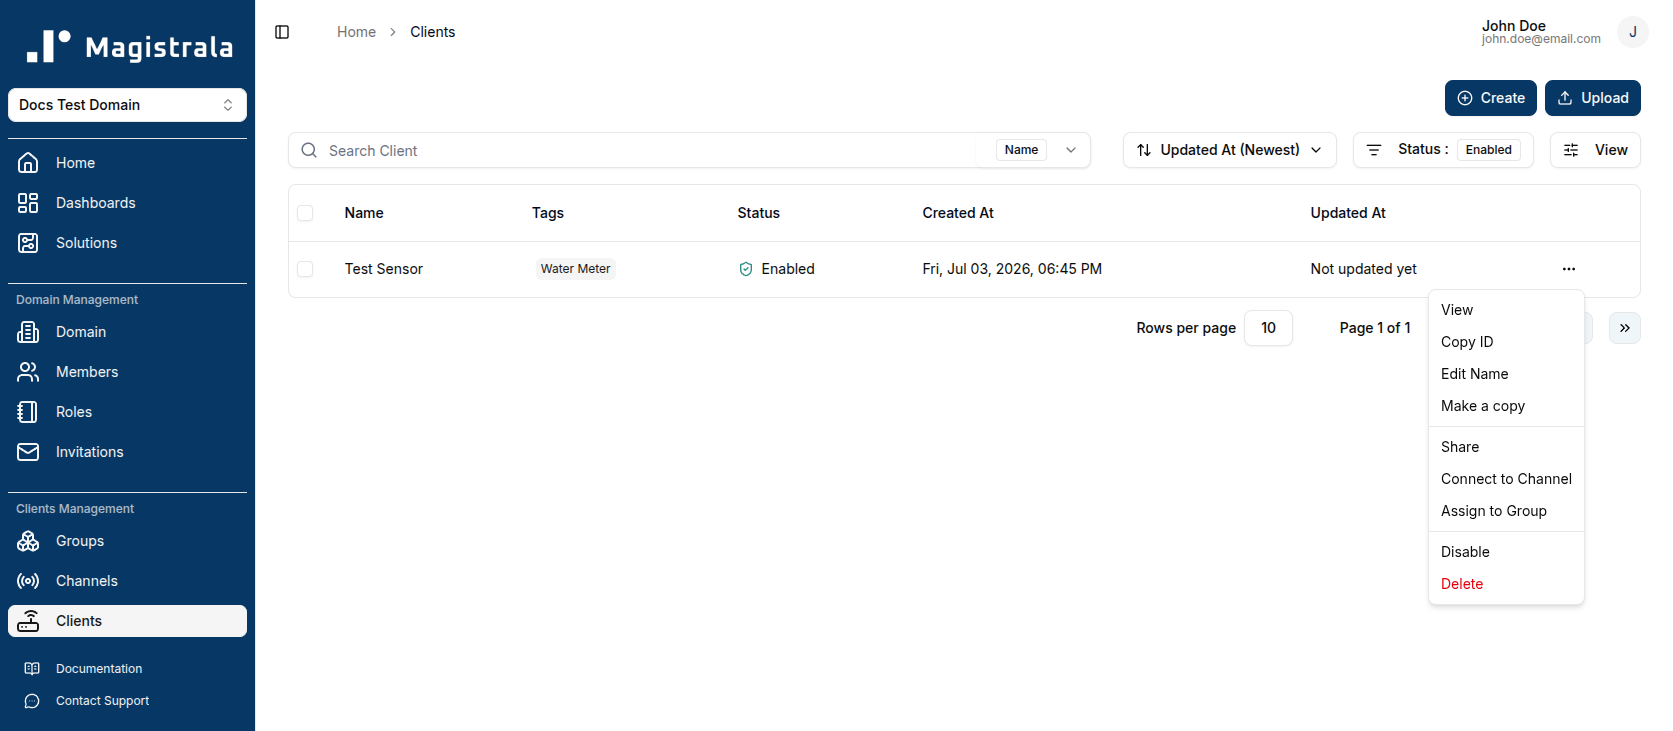
After creation, clients are listed in the Clients table.
Click a row (or the View button in the row actions) to open the client’s configuration page.
Configurations
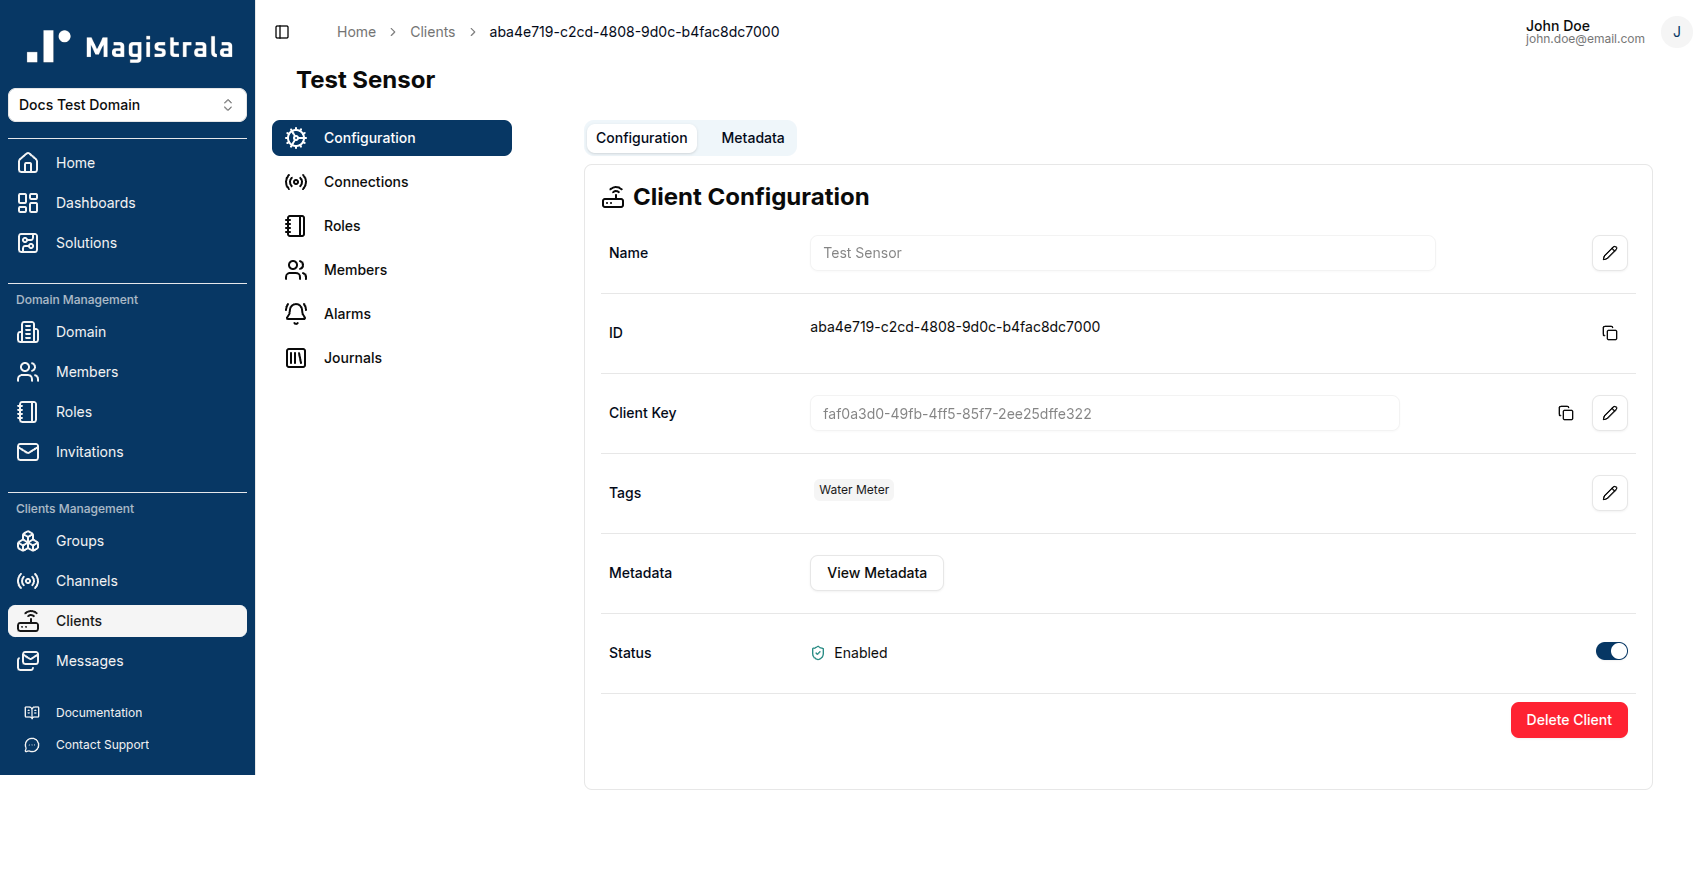
The client configuration page has two tabs: Configuration and Metadata.
Configuration Tab
The Configuration tab displays key details about a client and allows you to edit core properties:
Editable Fields:
- Name – Client identifier
- Client Key – Authorization key for message sending. The key is hidden by default; click the eye icon to reveal it.
- Tags – Keywords for organization (press
Enterafter each tag to confirm) - Status – Enable or disable the client using the toggle switch
View-Only Fields:
- ID – Unique client identifier
- Metadata – View existing metadata in JSON format (managed in the Metadata tab)
To update a field, click the pencil icon next to it. Once you have updated the value, click the check icon to save changes or the cross icon to cancel.
Metadata Tab
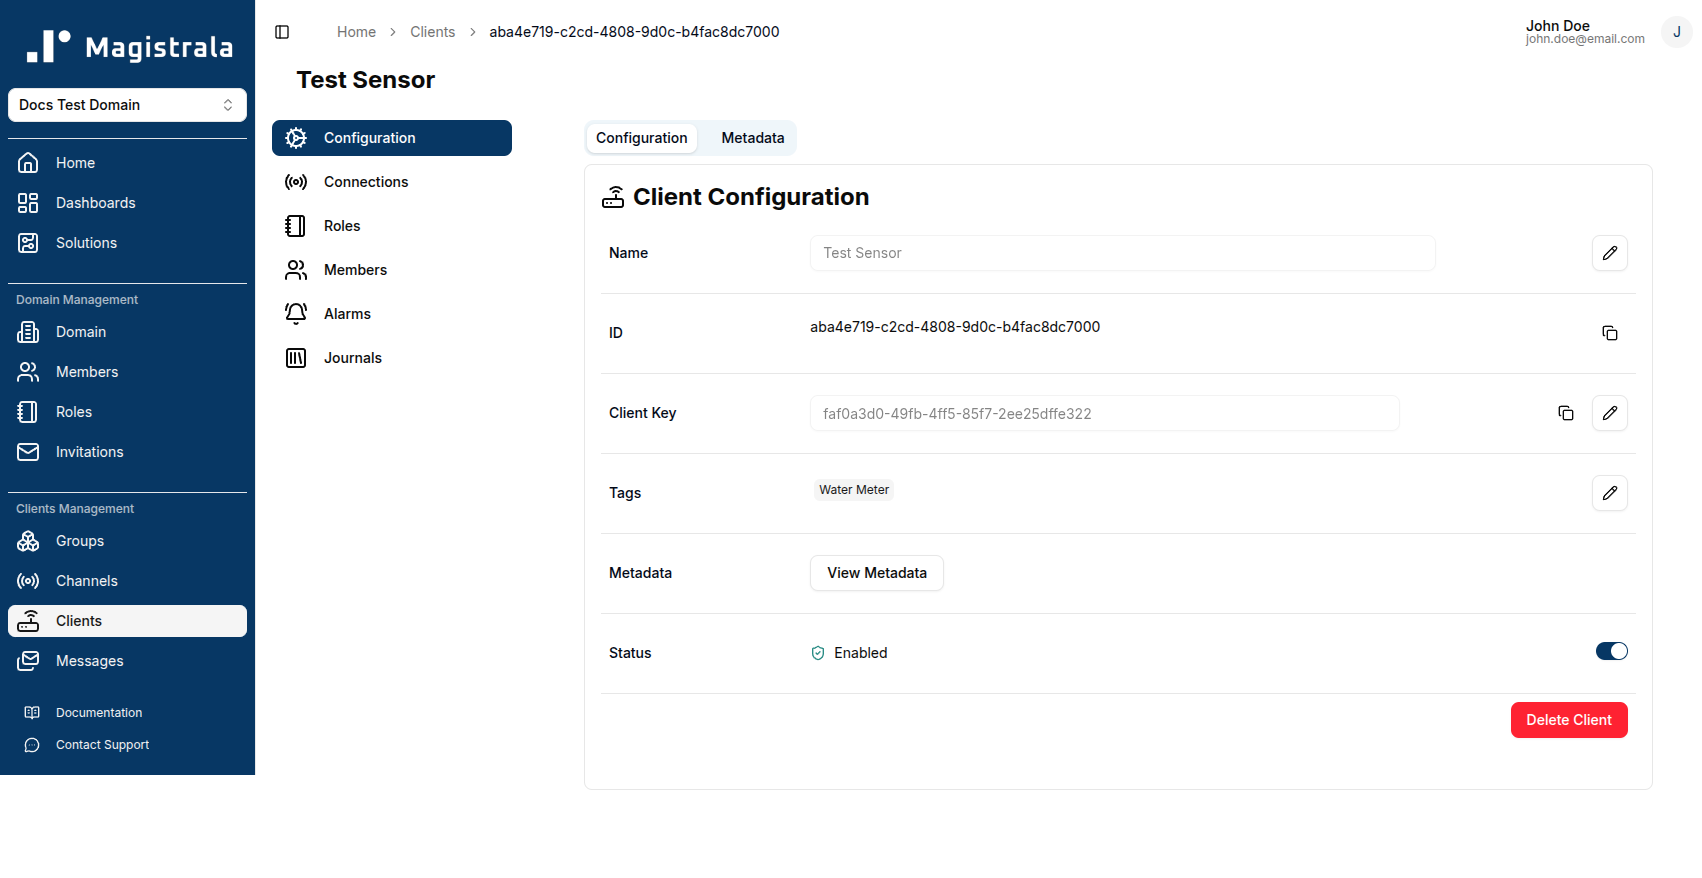
The Metadata tab allows you to add, view, and manage additional information for the client. Metadata supports various value types including text, numbers, booleans, JSON objects, locations, and perimeters.
For detailed instructions on managing metadata, including working with interactive maps for location and perimeter data, see the Metadata Management Guide.
Connect to a Channel
Navigate to the Connections tab of the client sidebar to see connected channels.
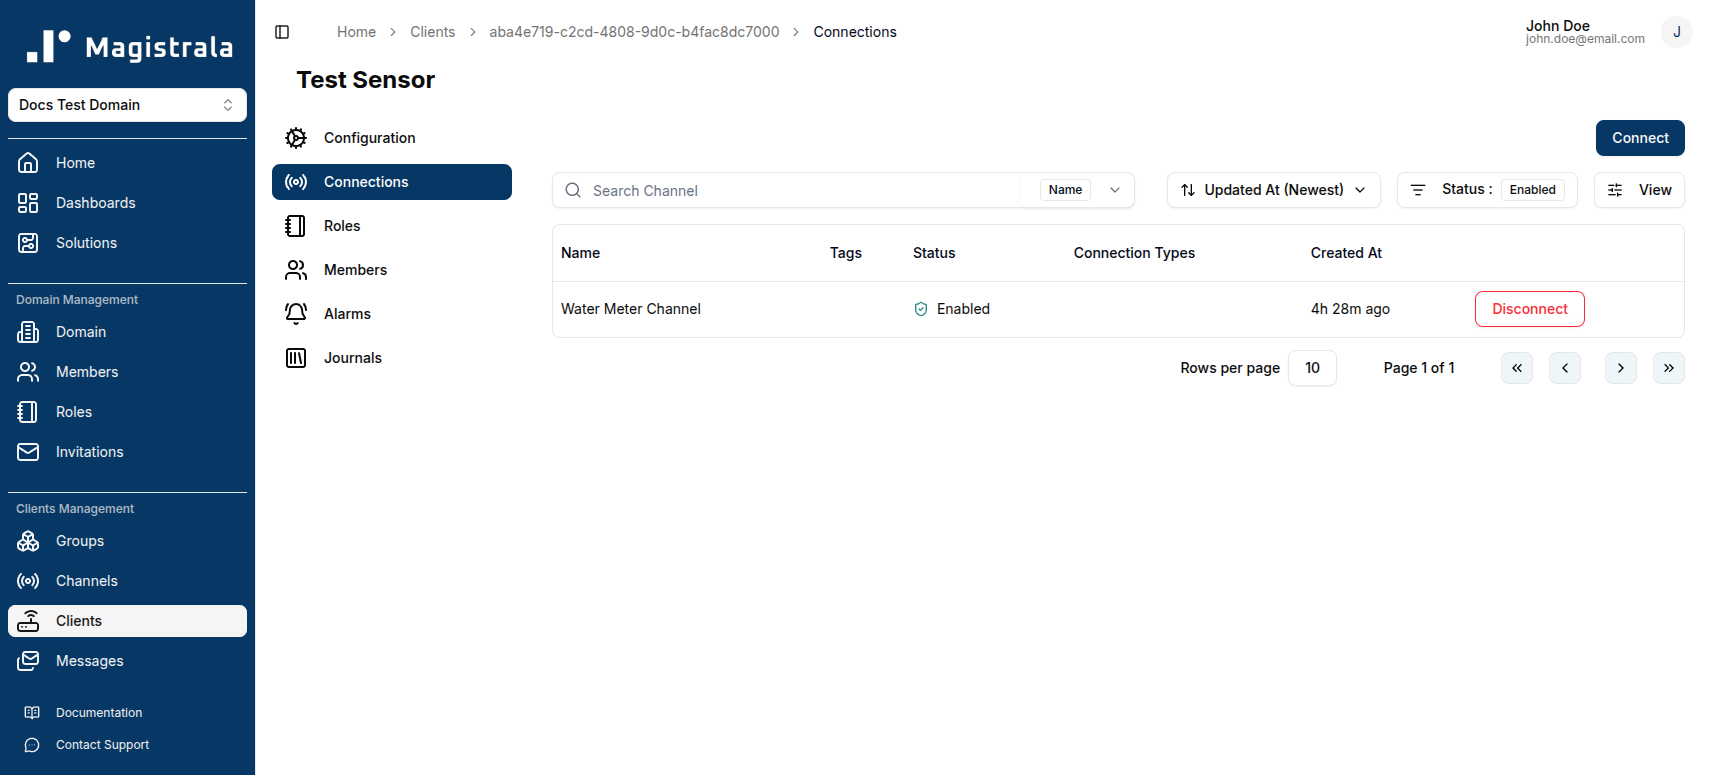
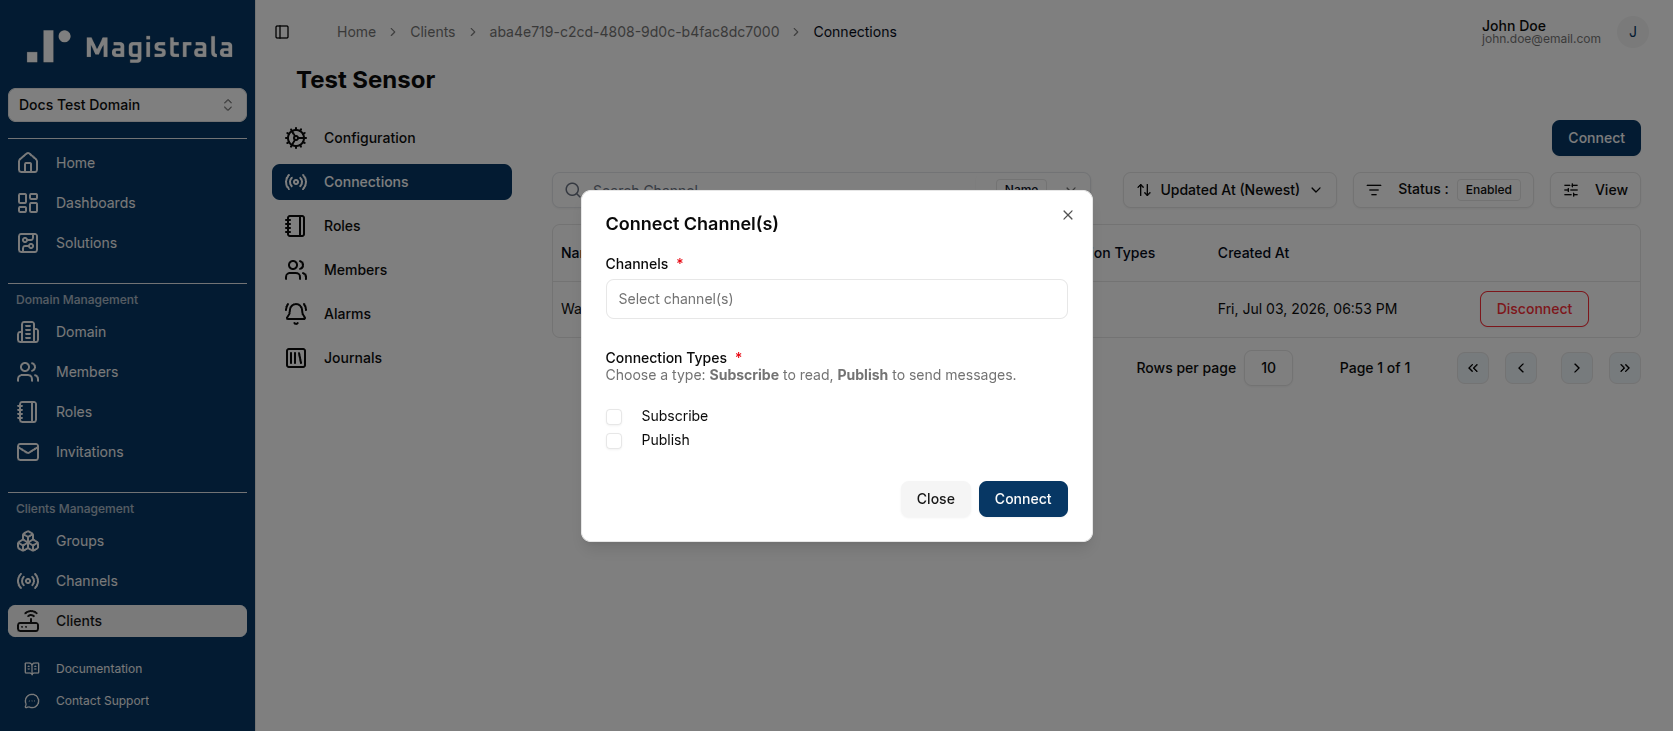
In this page you are able to add a connection by clicking on the Connect button on the top right corner.
A dialog will open where you can select channels and connection types. A client can have both connection types selected.
There are two connection type options:
- Publish: allows the client to send messages in the channel
- Subscribe: allows the client to read messages in the channel
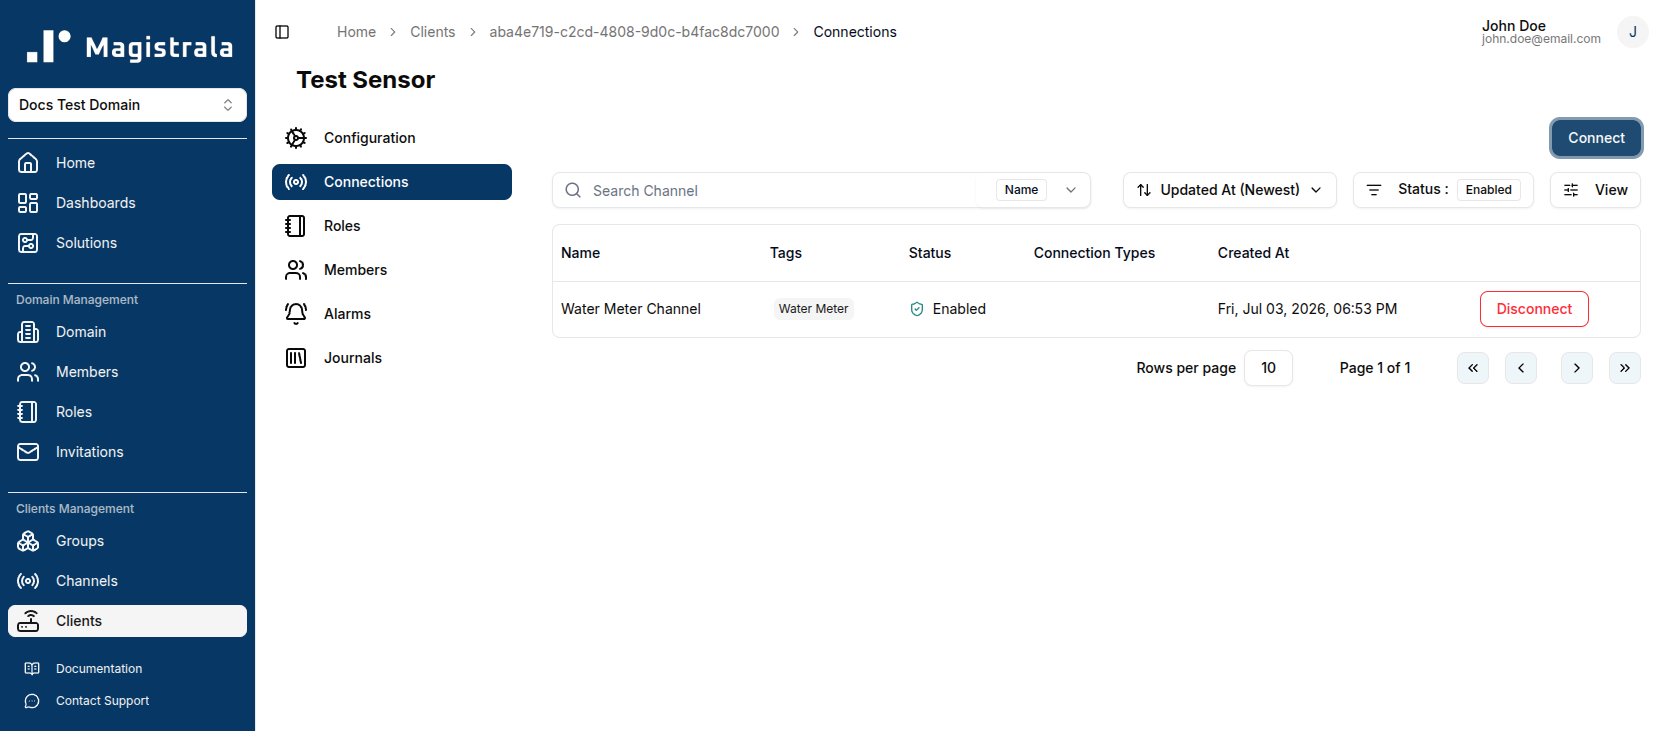
To disconnect from the channel, click on the Disconnect button at the end of the channel row.
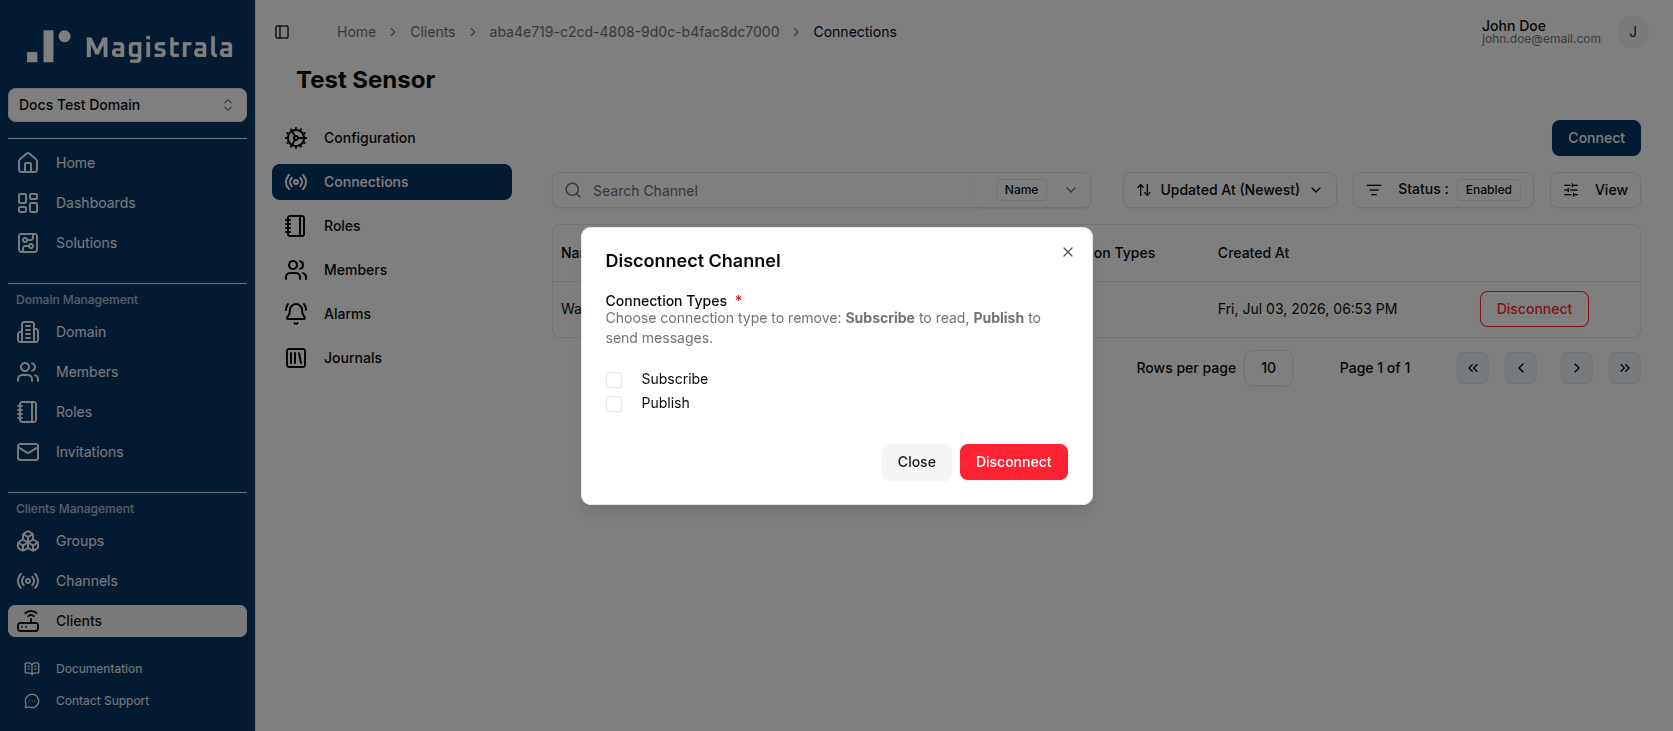
This will open up a dialog that allows you to select which connection type you want to remove. You can remove one or both of the connection types if you have multiple.
Client Roles
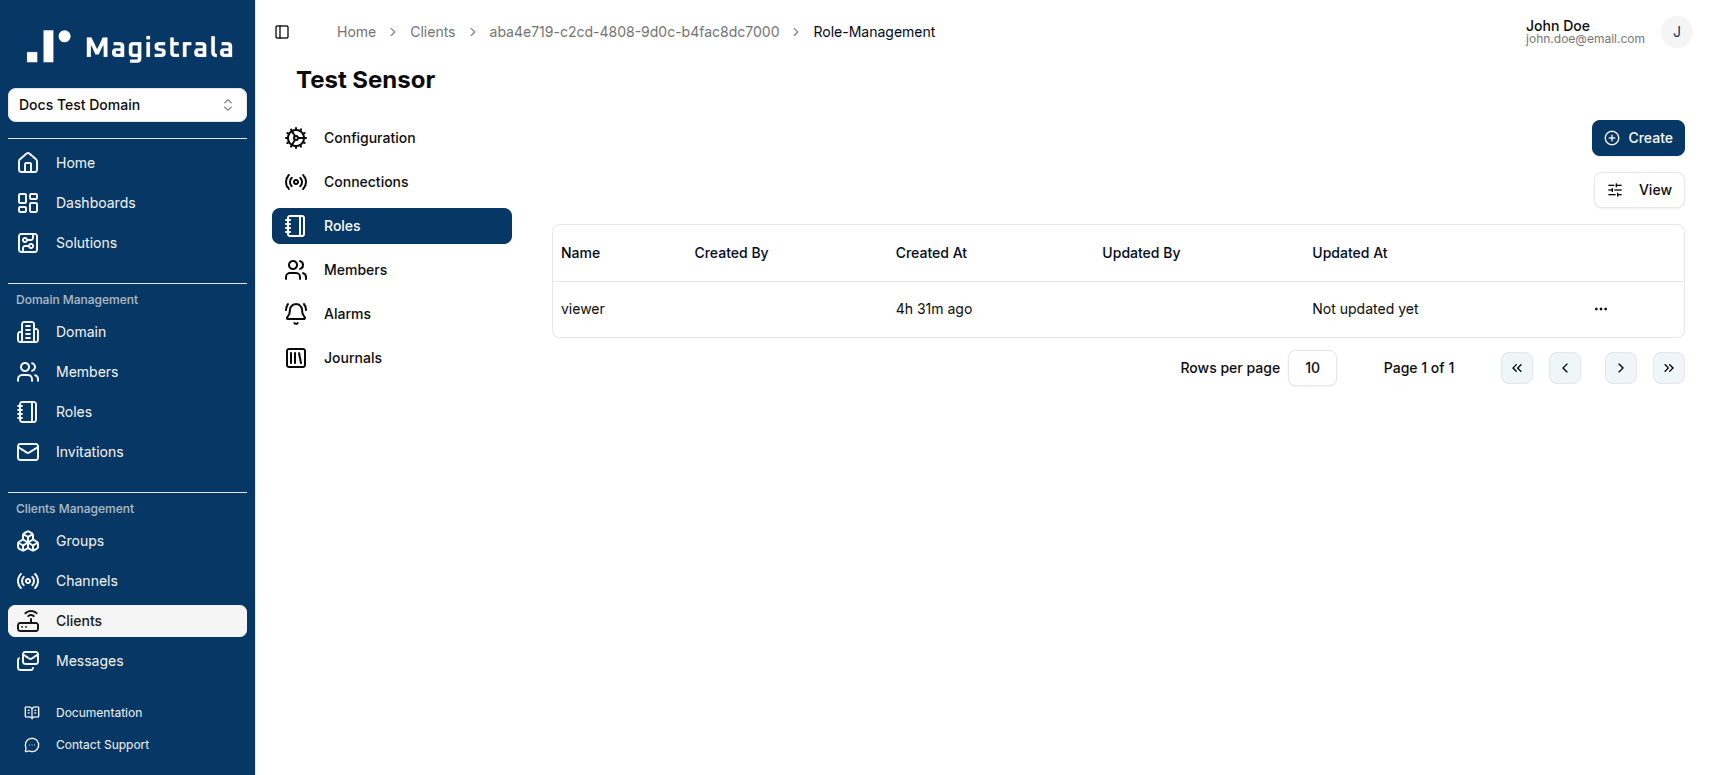
Roles define a set of actions that can be allocated to users. The Roles table lists each role's Name, Created By, Created At, Updated By and Updated At.
To create a role, navigate to the Roles tab on the client sidebar. Click on the Create button and provide a role name. The actions and members are optional fields.
Role Information
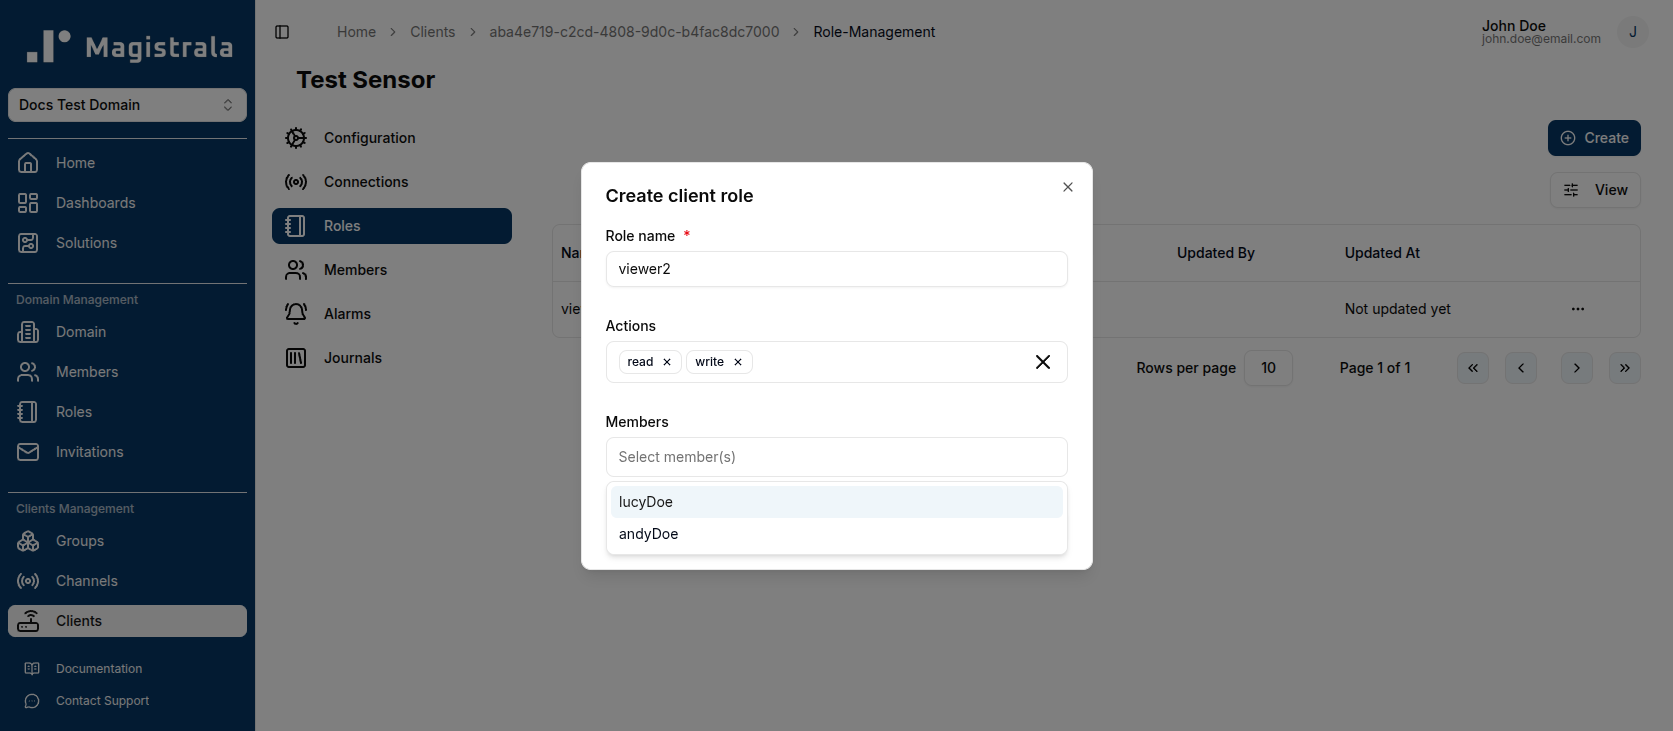
The Role name is compulsory. You can optionally provide the role actions by selecting from the available actions. You can also optionally provide the members by searching for a user with their username.
The following is the list of available actions for a client:
- read
- write
- delete
- role.manage
- policy.manage
Update Client Roles
Click a role in the Roles table to open its page. The page shows the role's Name and ID, its Permissions (the selected actions, with buttons to add or remove actions), and an Assignments table of the members currently holding the role.
To update a role name, click on the pencil icon on the far right end of the field, update the value then click on the check icon to update the changes or the cross icon to cancel the changes.
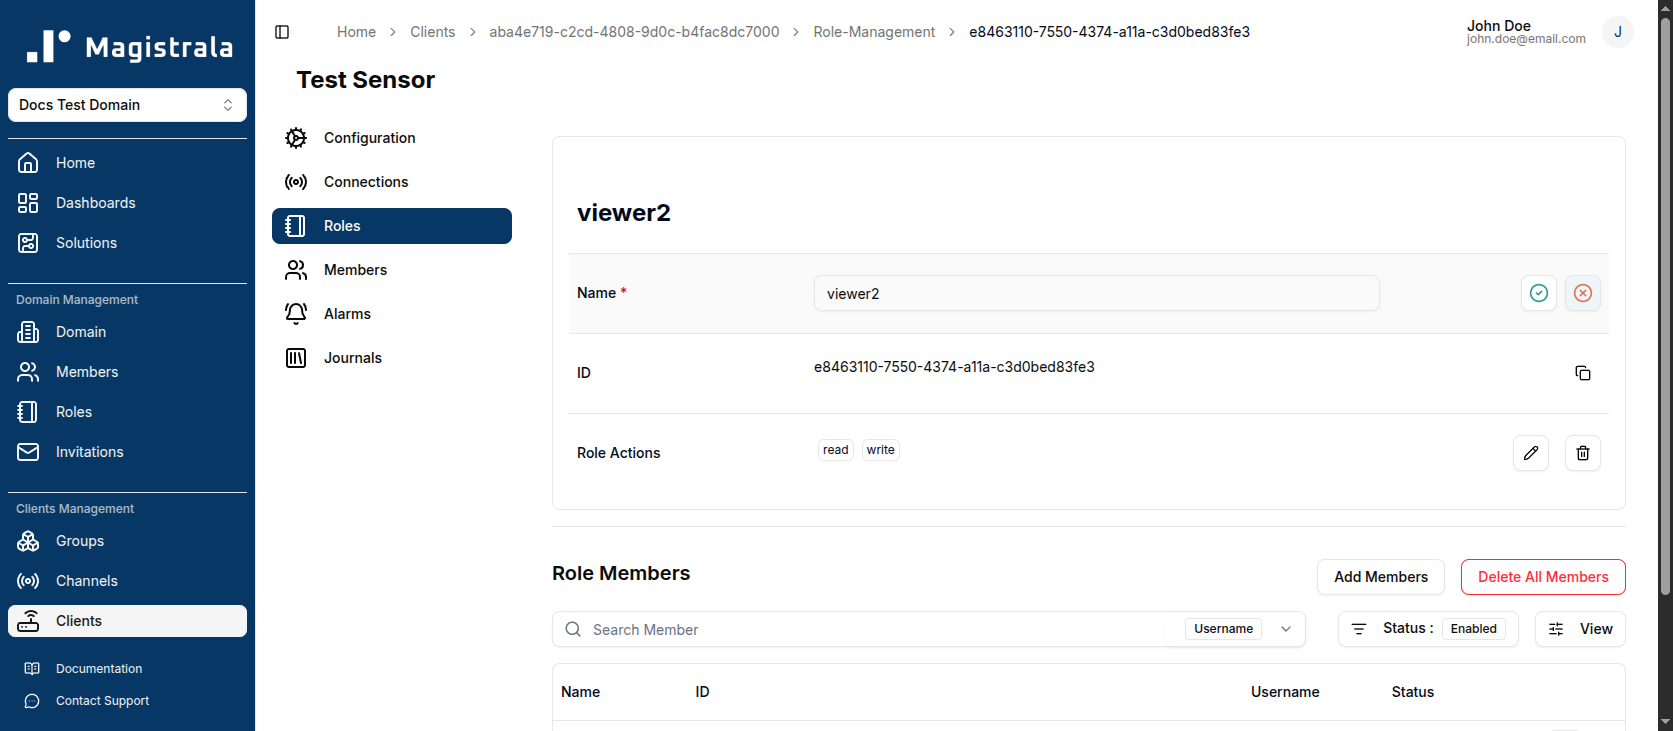
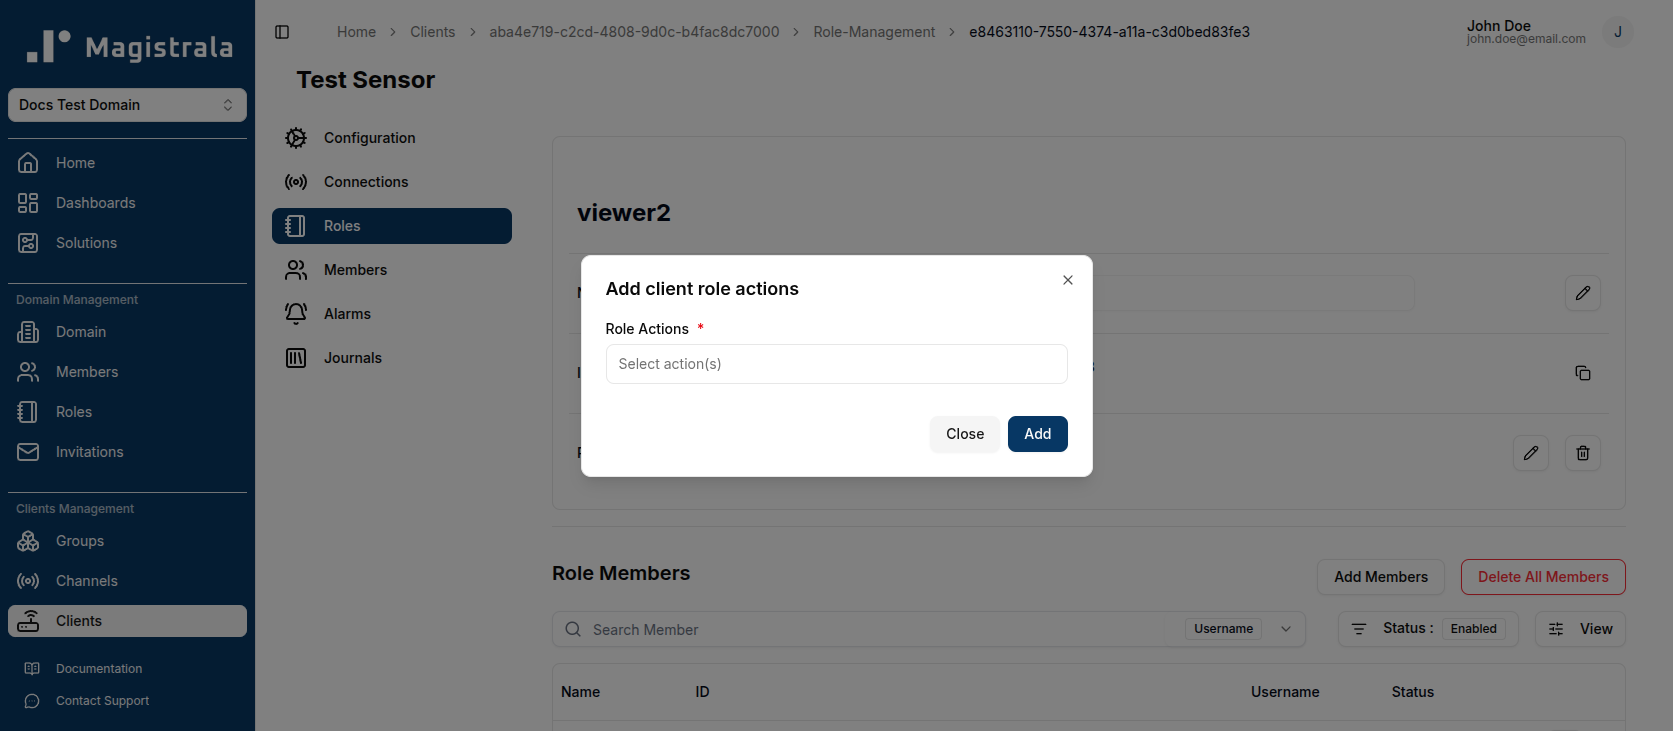
To update the role's Permissions, use the Add actions / Remove actions buttons to open a dialog box allowing you to select the actions you want to add or remove.
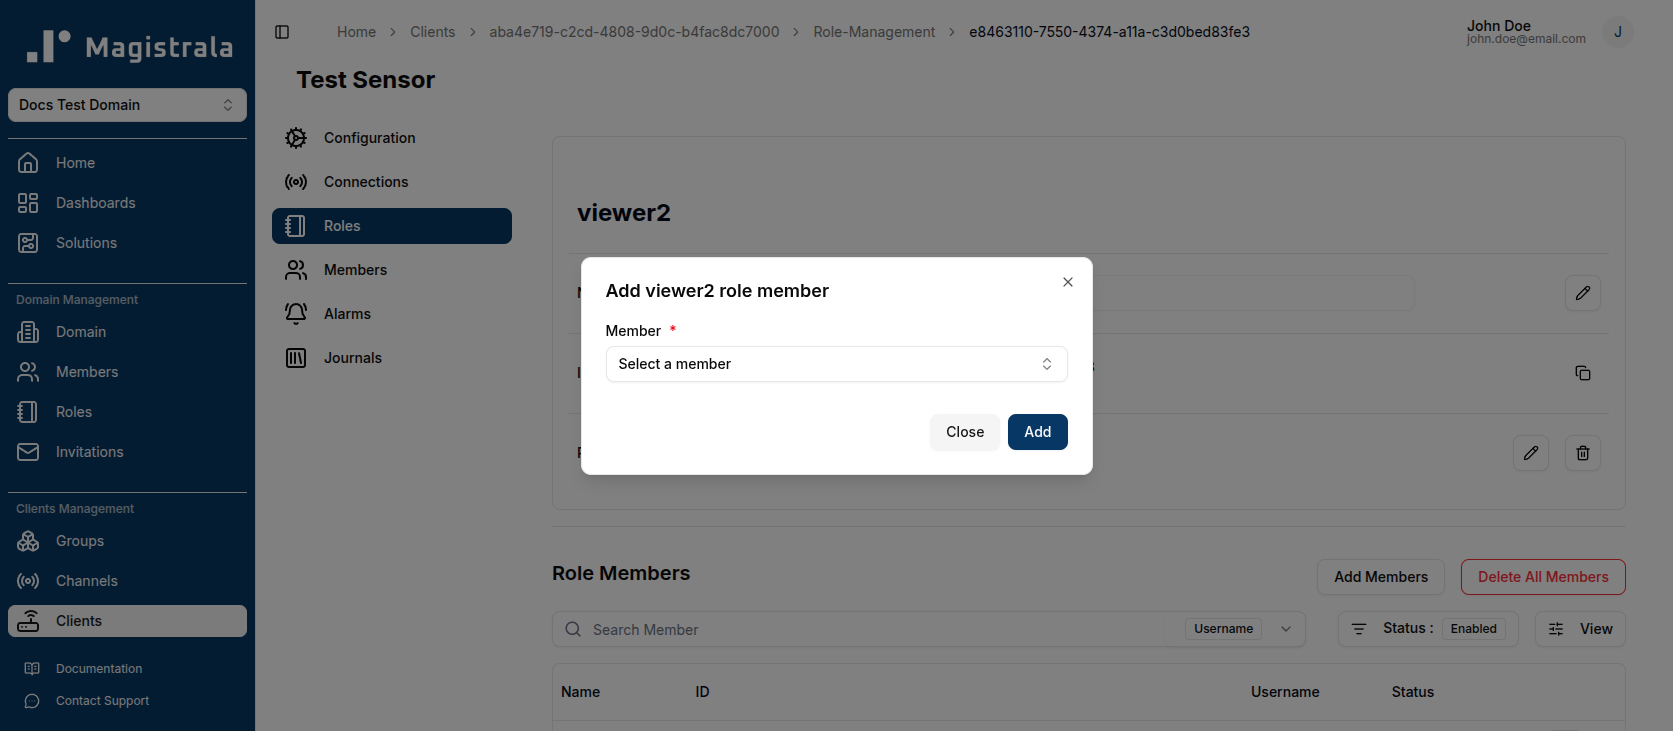
To update the Assignments, click the Add Members button. A popup dialog will appear with the list of Domain Members from which a user can select.
Delete Client Roles
You can also delete actions and members by clicking on the trash icon. It pops up a dialog that allows you to select which action you want to remove. There is also an option for clearing the whole list if that is needed as well.
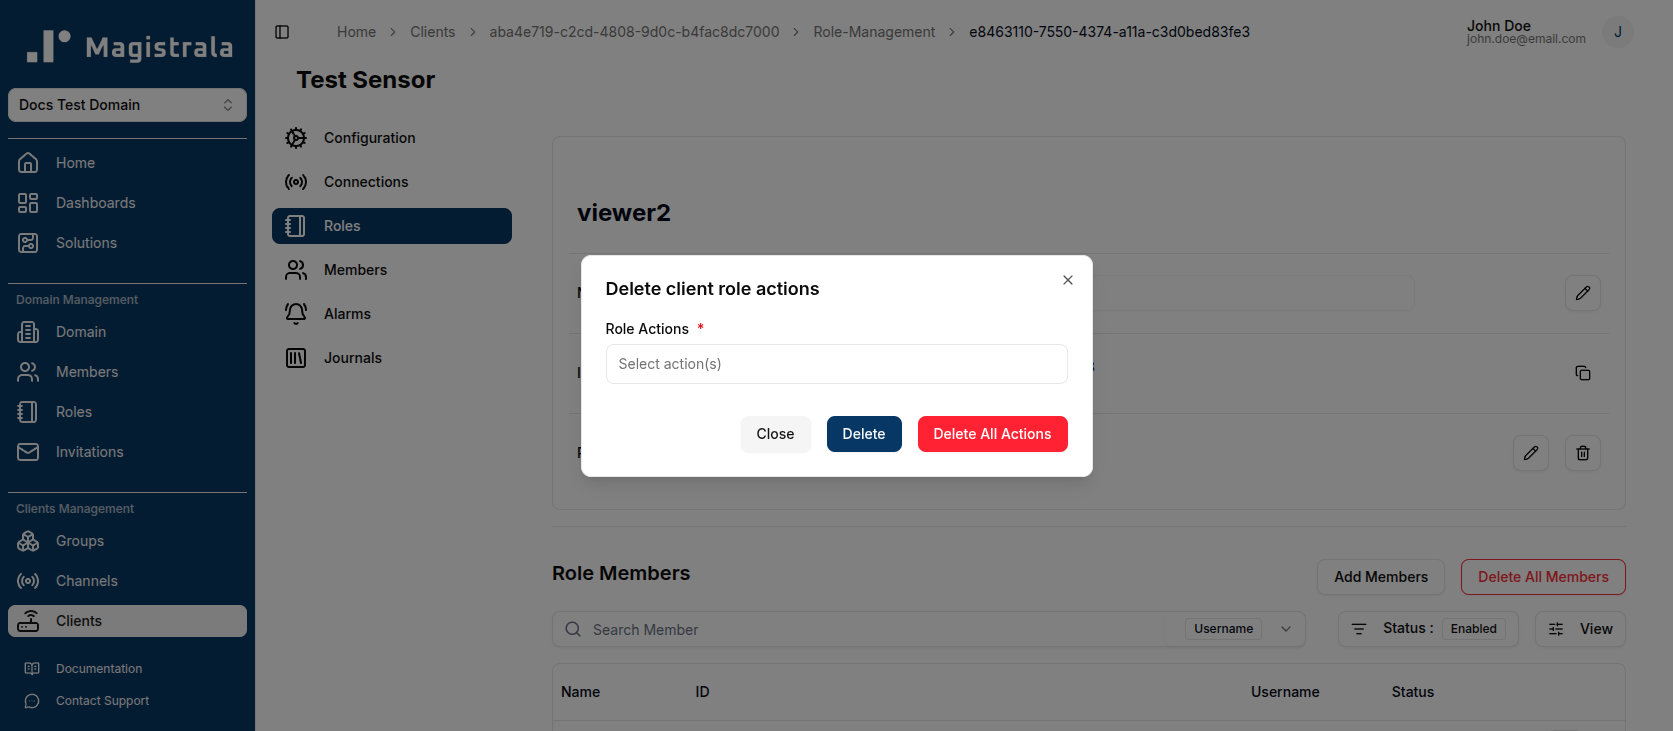
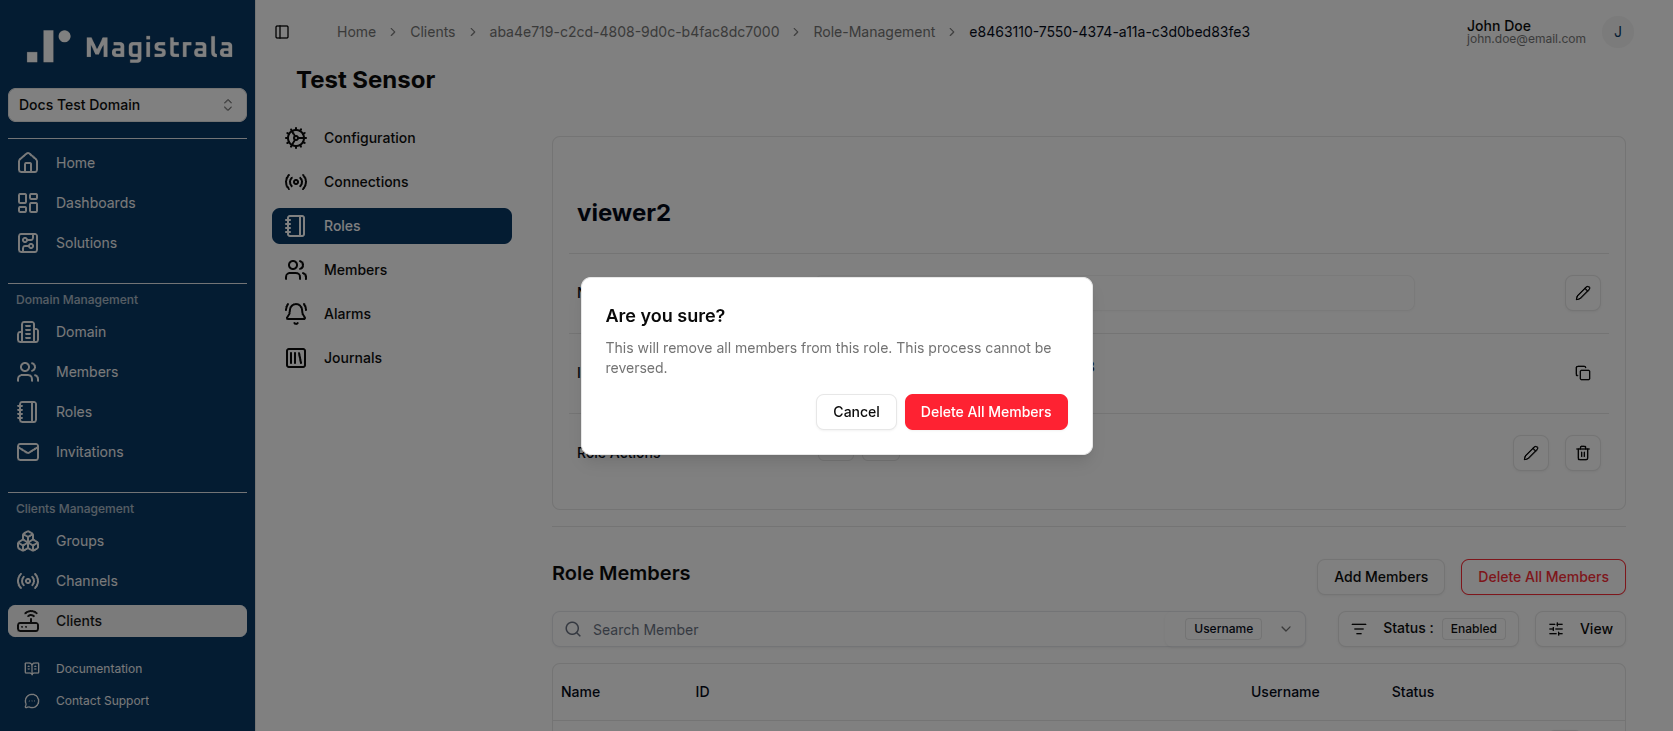
When it comes to Assignments, you can clear the whole table with the Delete All Members which will lead to this alert dialog:
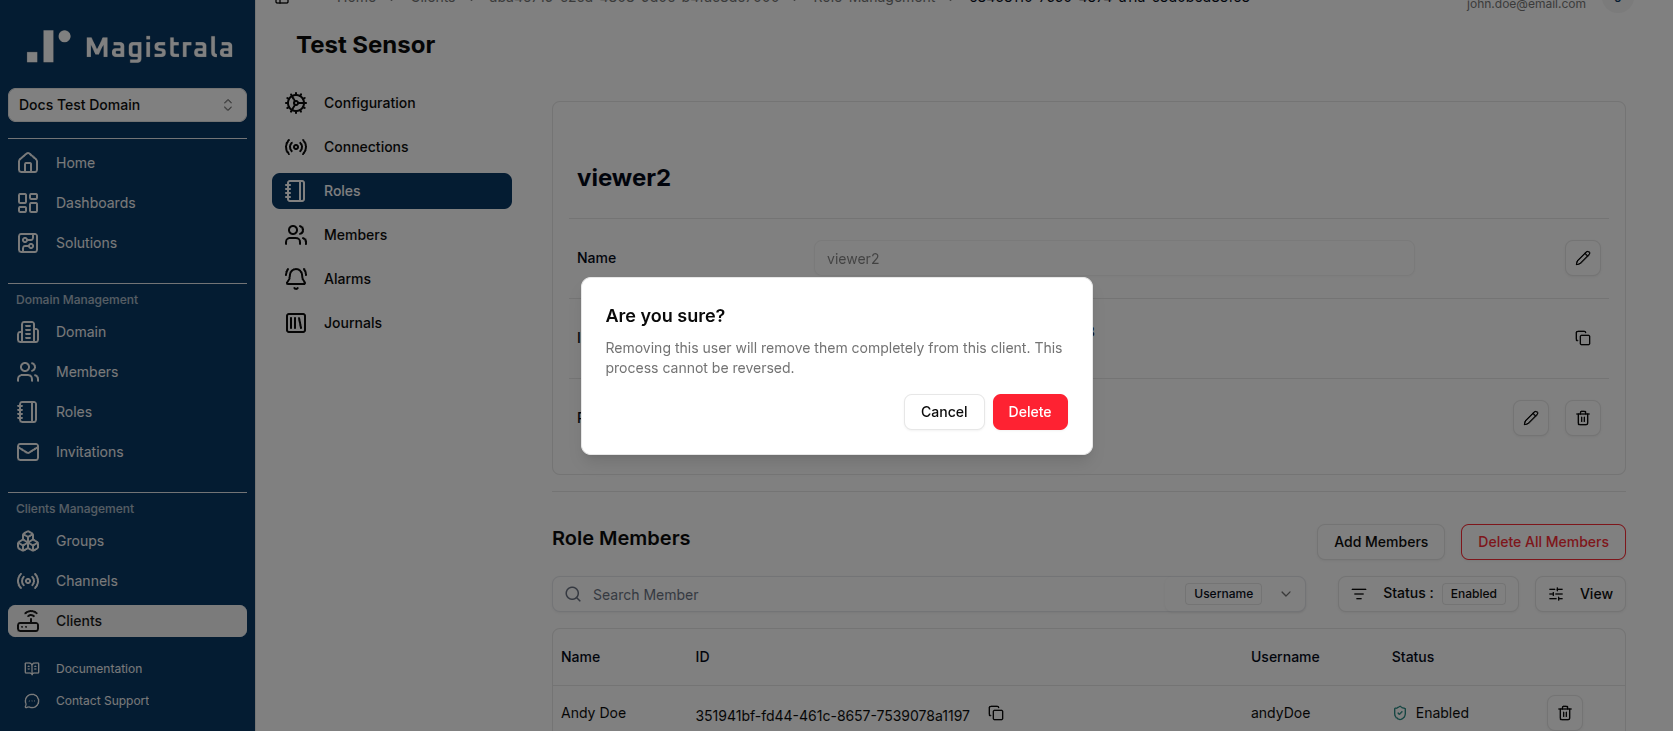
To delete specific members from the Assignments table, click on the trash icon.
Client Members
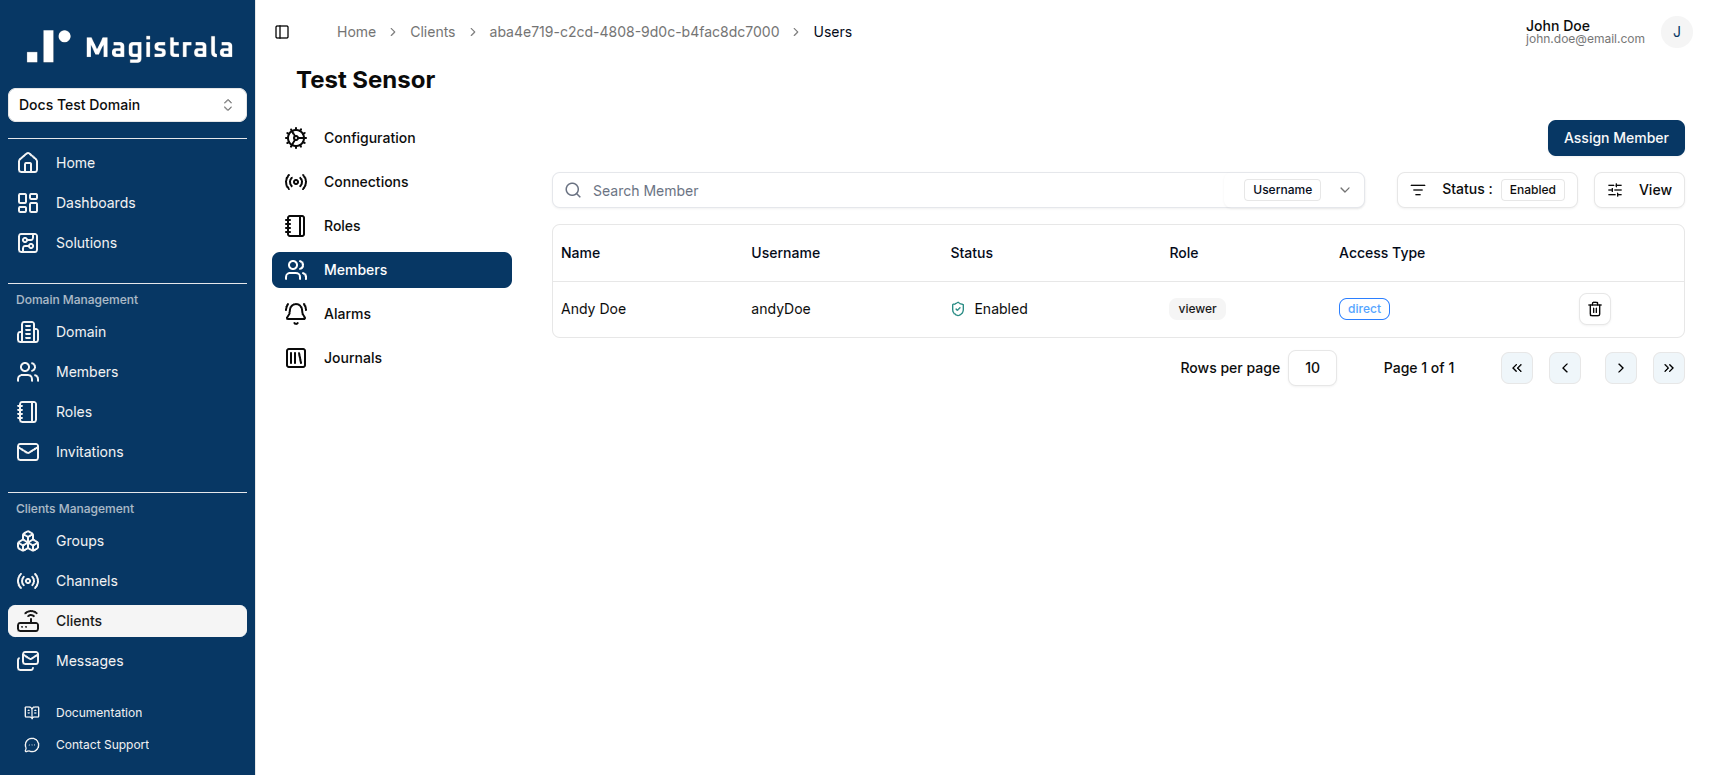
While we can create new members from the Roles section alongside the new roles actions, we can also assign members to the client through the Members Section.
Clicking on the Assign Member button will open a dialog box that allows the user to select amongst the Domain Members present as well as the Roles present in the Client.
Client Alarms
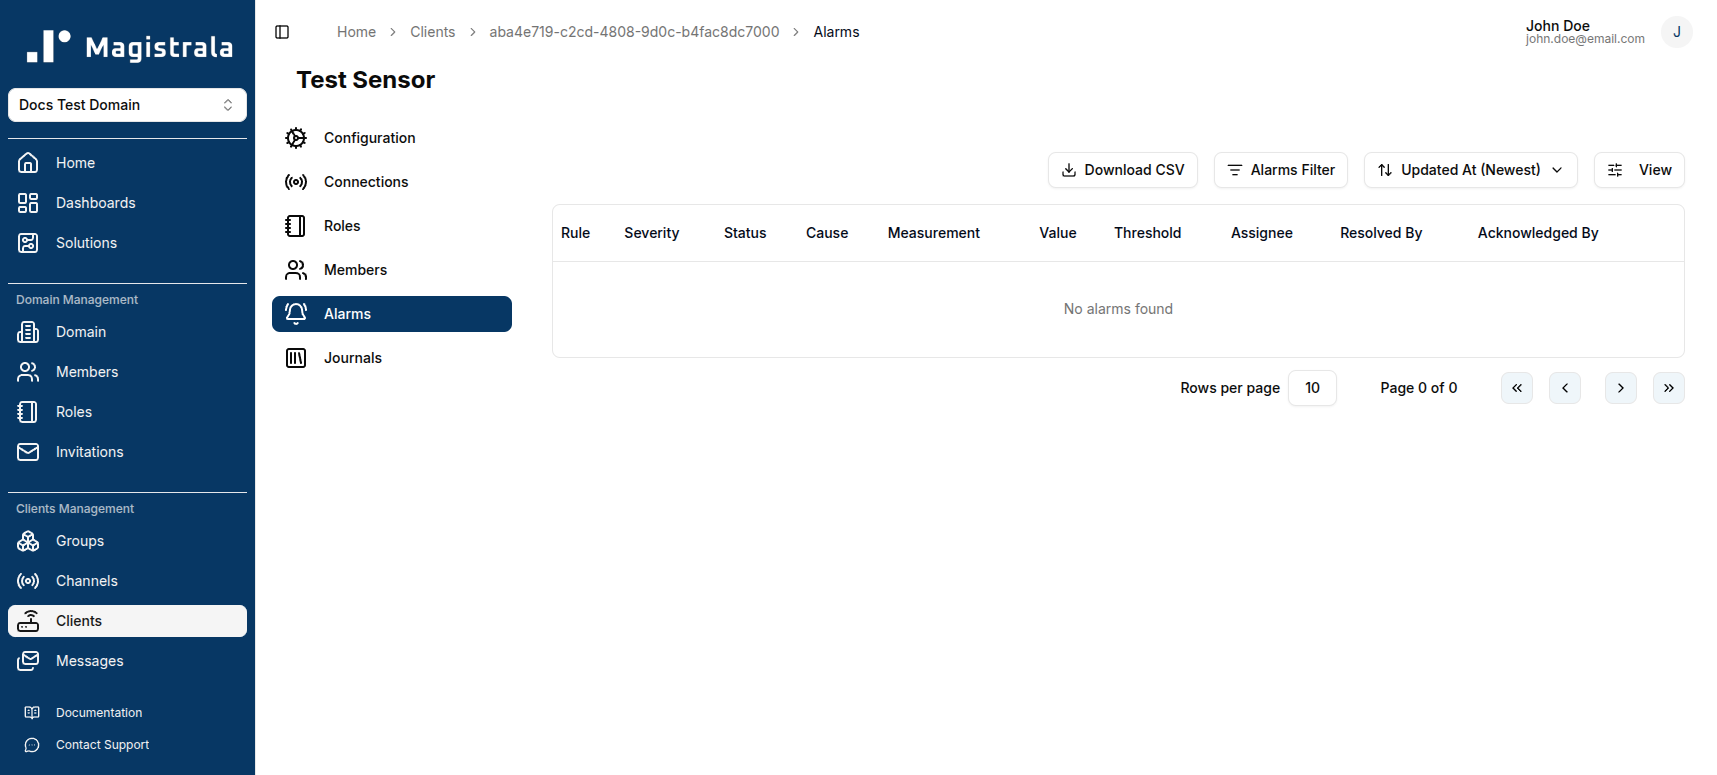
The Alarms section displays all alarms triggered by this specific client. This provides a focused view of alerts related to the client's activity and helps with targeted troubleshooting.
From this page, you can perform all standard alarm management actions:
- View alarm details
- Assign alarms to team members
- Acknowledge alarms
- Clear/resolve alarms
- Delete alarms
For detailed instructions on managing alarms, see the Alarms documentation.
Journals
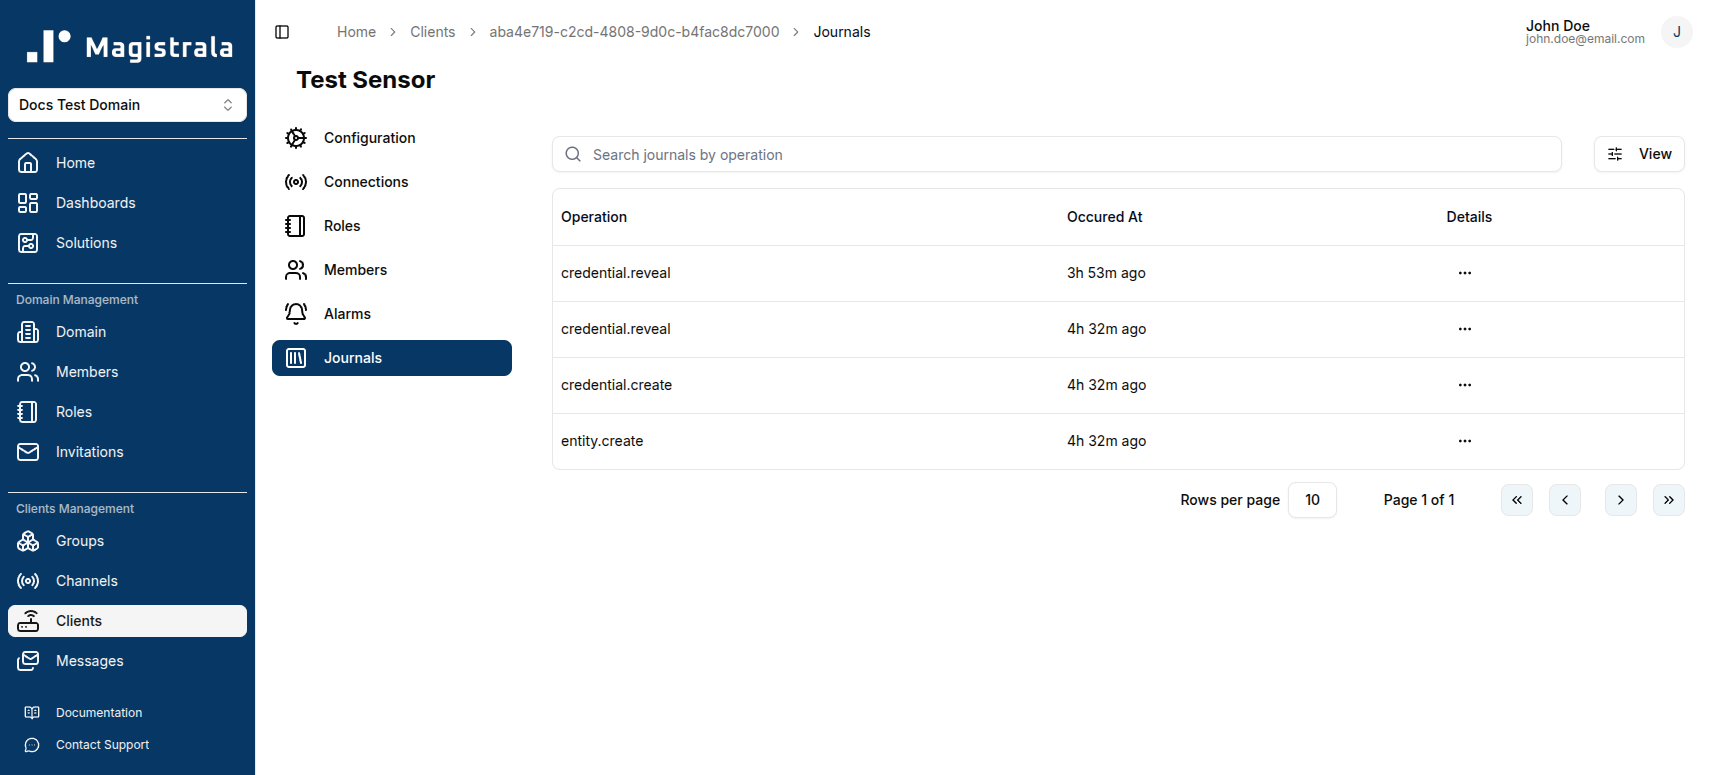
The Journals tab (formerly named Audit Logs) tracks all client-related events, including creation, updates, disabling, connectivity and role changes
Each log entry displays the operation, an Occured At timestamp, and optional details for deeper inspection.
You can search logs by operation type using the search input above the log table.
The most recent operations—such as entity.create, credential.create, and entity.update—are displayed at the top.
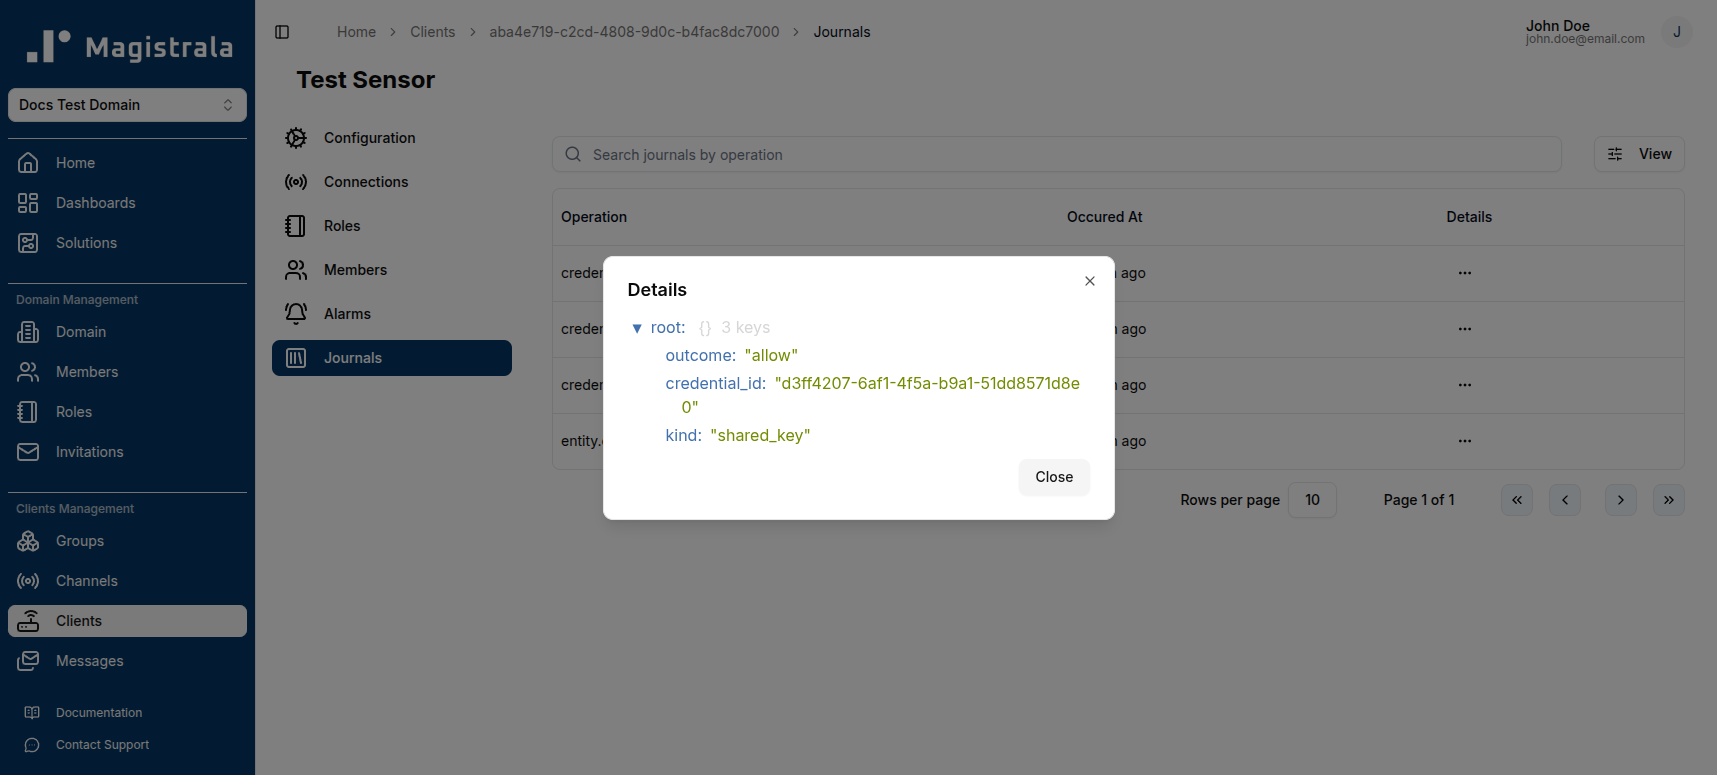
Clicking on the ··· button at the end of each row opens a modal displaying structured details about the selected operation.
For most operations, the details modal shows an outcome field (e.g., "allow"), which is the access-control decision for that action.
This enables users to trace changes, audit security, and diagnose issues efficiently.
Delete a Client
To delete a client, click the Delete button in the row actions of the clients table, or from the client view page.
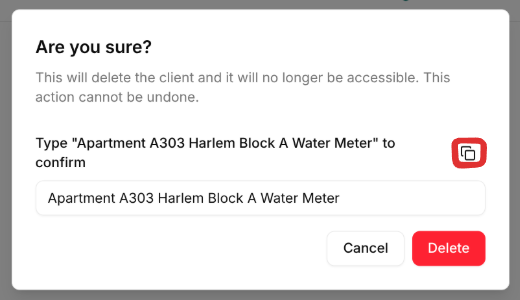
A confirmation dialog appears asking you to type the client's name before deletion is finalized. Use the copy button to copy the name, paste it into the input field, then click Delete to permanently remove the client.